Before You Begin
There are a number of principles to be aware of before you begin working with PDT:
Be sure to check out latest menus to see current layouts.
PDT is split into several sections and this list will grow as the add-on develops.
PDT has a concept of a
Working Planethat applies in all Operations, i.e. those defined in the Design section and some in the Pivot Point section.PDT has been designed to work as far as possible in Edit and Object modes with many commands equally applicable to both.
Certain Operations relating to
Cursor PlacementandPivot Point Placementhave been set to work in either Selected, or Relative Modes, these will be explained later.PDT can be driven from its own Command Line input for most operations.
The first thing to establish is the Working Plane, here a number of choices are available:
Front(X-Z)- Uses Global X and Z axes, if you want to work from the Back view, the working plane is also this as the axes remain the same.Top(X-Y)- Uses Global X and Y axes, if you want to work from the Bottom view, the working plane is also this as the axes remain the same.Right(Y-Z)- Uses Global Y and Z axes, if you want to work from the Left view, the working plane is also this as the axes remain the same.View- This uses axes relative to your screen, no matter how the 3D View is rotated, X is always view-horizontal, Y is always view-vertical and Z is always view-depth.
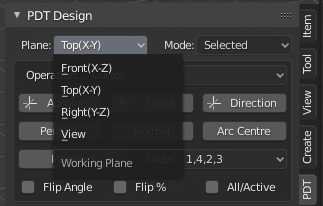
Setting the Working Plane.
Whatever your View is set to other than View,
it does not matter how the view is oriented, inputs are always along global axes.
The second thing is whether you want Cursor, or Pivot Point locations to be based upon Selected,
or Current values. Set Selected if you want the Cursor to be placed relative to selected geometry,
or Current if you want it to be placed relative to its current location.
For example, moving the cursor in Current mode by a Delta
input of 1,3,2 will move the cursor relative to itself,
so it moves this amount every time you activate the command.
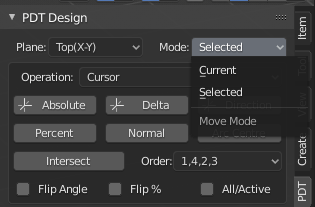
Setting the Cursor/Pivot Point Movement Mode.
Then you can set the type of Operation you want to undertake, these will be discussed on another page. There are a number of Operations, shown below:
Cursor.
Pivot Point.
Move.
New Vertex.
Extrude Vertices.
Split Edges.
Duplicate Geometry.
Extrude Geometry.
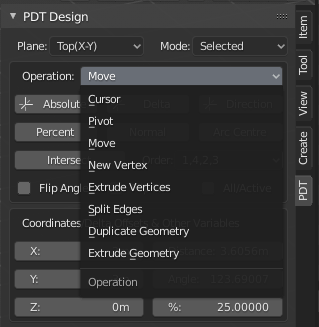
Setting the Operation Mode.
Setting the Operation mode determines what the buttons below this command actually do,
so for example to move the Cursor to Absolute location, you would select Cursor operation,
set the input values for X, Y & Z then click the Absolute button.
Below is a table showing which options are available in which Modes, including Edit, or Object Modes in Blender:
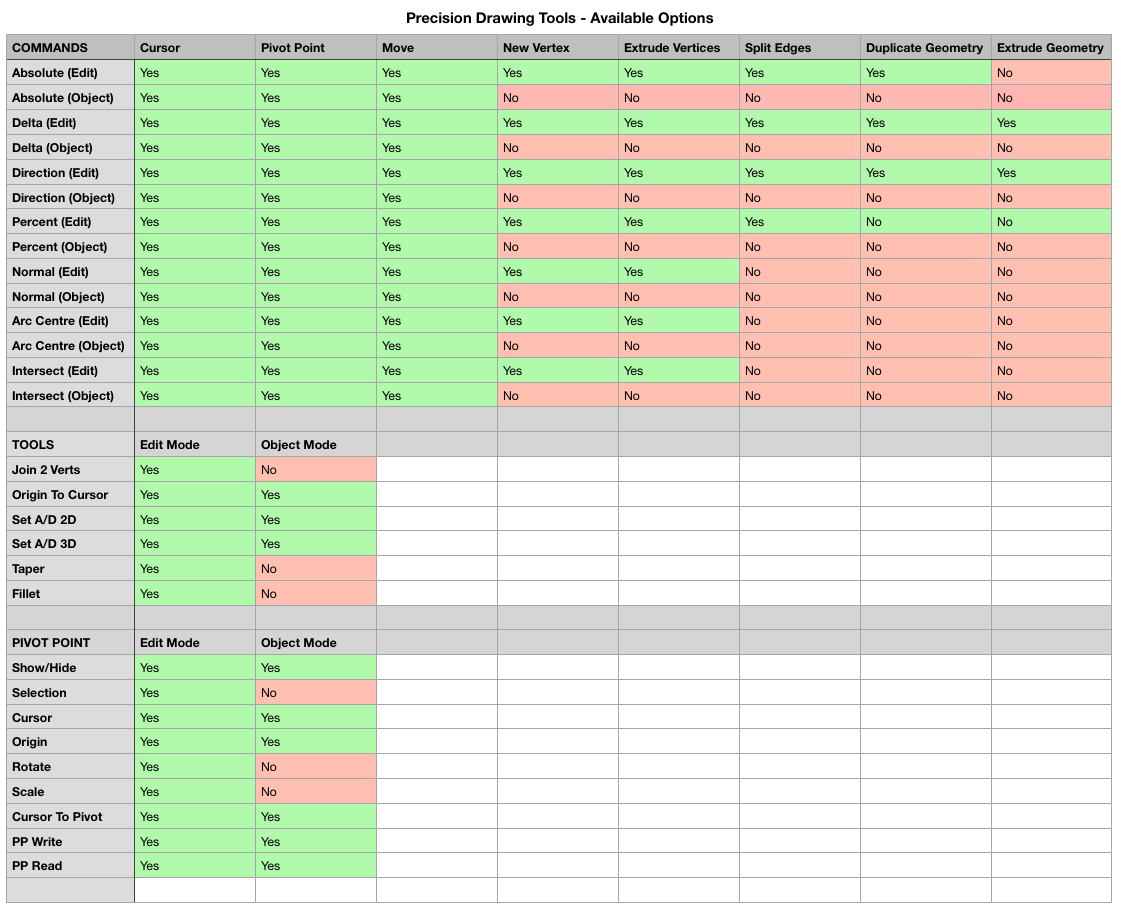
Note! Only Edit and Object Modes are supported by PDT at present, Further, only Mesh Objects are supported, not Curves for now.
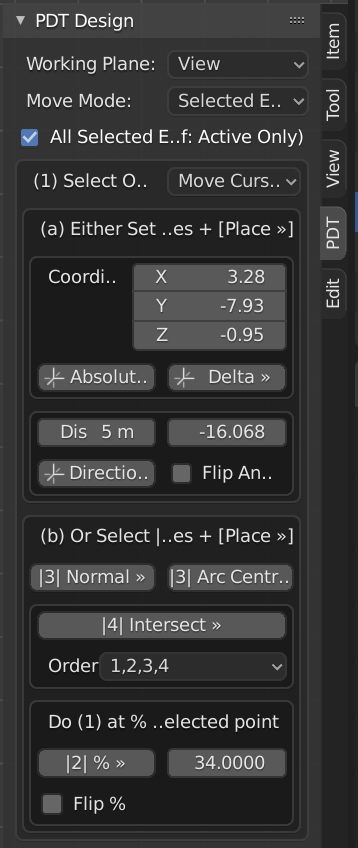
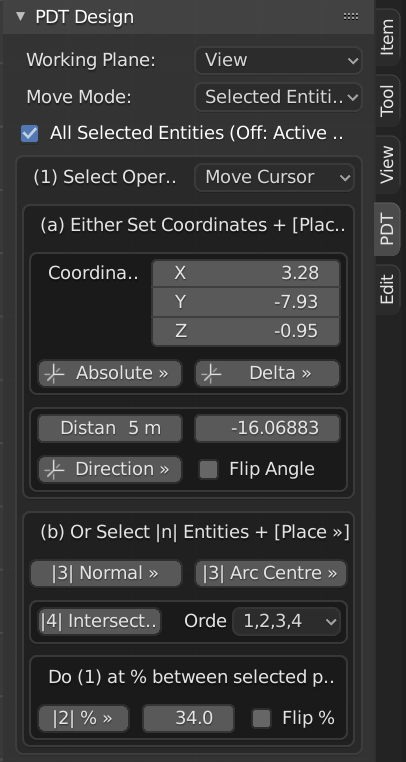
Note! From Version 1.1.8, Menu widths will affect how the menus are arranged, with less items per row as the width decreases below a threshold set in the PDT add-on’s Preferences. Here are two sample Images:
Note! PDT Add-on Preferences now also sets the Parts Library location and Debug mode.
