Arranging Nodes
Snapping
The snapping options can be found on the rightmost side of the node editor’s header.
- Snap Shift-Tab
Toggle snapping on or off. You can also do this temporarily by holding Ctrl after starting to drag one or more nodes around.
- Snap Node Element Shift-Ctrl-Tab
What to snap the selected nodes to:
- Grid:
Snap to the grid in the background.
- Node X:
Snap to the X coordinate of another node’s vertical border.
- Node Y:
Snap to the Y coordinate of another node’s horizontal border.
- Node X/Y:
Combination of the above.
- Snap Target
Which part of the selected nodes to snap:
- Closest:
Snap closest point onto target.
- Center:
Snap center of selected nodes onto target.
- Median:
Snap median of selected nodes onto target.
- Active:
Snap active node onto target.
Auto-Offset
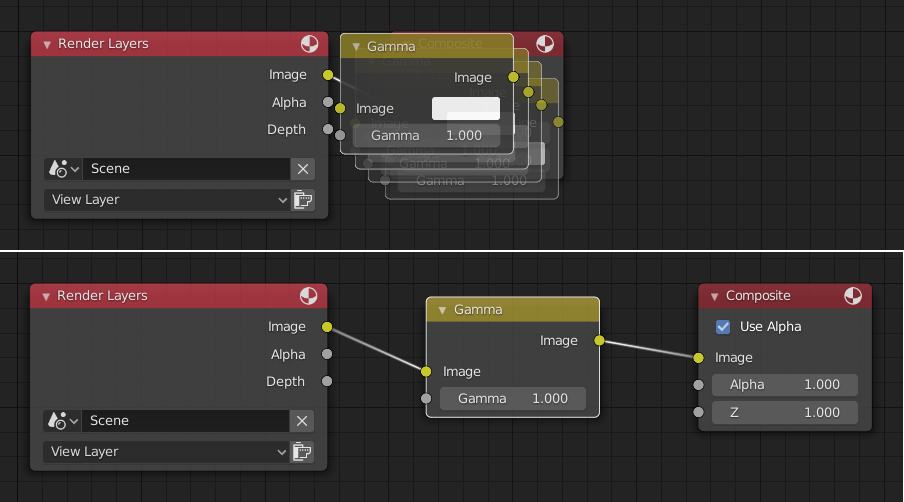
When you drop a node with at least one input and one output socket onto an existing connection between two nodes, Auto-offset will, depending on the direction setting, automatically move the left or right node away to make room for the new node. Auto-offset is a feature that helps organizing node layouts interactively without interrupting the user workflow.

Auto-offset is enabled by default, but it can be disabled in the User Preferences.
You can toggle the offset direction while you are moving the node by pressing T.
The offset margin can be changed using the Auto-offset Margin setting in the Editing section of the Preferences.