Child Of Constraint
Child Of is the constraint version of the standard parent/children relationship between objects (the one established through the Ctrl-P shortcut, in the 3D Views).
Parenting with a constraint has several advantages and enhancements, compared to the traditional method:
You can have several different parents for the same object (weighting their respective influence with the Influence slider).
As with any constraint, you can key (i.e. animate) its Influence setting. This allows the object which has a Child Of constraint upon it to change over time which target object will be considered the parent, and therefore have influence over it.
Wichtig
Do not confuse this „basic“ object parenting with the one that defines the chains of bones inside of an armature. This constraint is used to parent an object to a bone (the so-called object skinning), or even bones to bones. But do not try to use it to define chains of bones.
Options
- Target
The target object that this object will act as a child of. Data ID used to select the constraint’s target, and is not functional (red state) when it has none.
- Location X, Y, Z
Each of these buttons will make the parent affect or not affect the location along the corresponding axis.
- Rotation X, Y, Z
Each of these buttons will make the parent affect or not affect the rotation around the corresponding axis.
- Scale X, Y, Z
Each of these buttons will make the parent affect or not affect the scale along the corresponding axis.
- Set Inverse
By default, when you parent your owner to your target, the target becomes the origin of the owner’s space. This means that the location, rotation and scale of the owner are offset by the same properties of the target. In other words, the owner is transformed when you parent it to your target. This might not be desired! So, if you want to restore your owner to its before-parenting state, click on the Set Inverse button.
- Clear Inverse
This button reverses (cancels) the effects of the above one, restoring the owner/child to its default state regarding its target/parent.
Tips
When creating a new parent relationship using this constraint, it is usually necessary to click on the Set Inverse button after assigning the parent. As noted above, this cancels out any unwanted transform from the parent, so that the owner returns to the location/rotation/scale it was in before the constraint was applied. Note that you should apply Set Inverse with all other constraints disabled (their Influence set to 0.0) for a particular Child Of constraint, and before transforming the target/parent (see example below).
About the toggle buttons that control which target’s (i.e. parent’s) individual transform properties affect the owner, it is usually best to leave them all enabled, or to disable all three of the given Location, Rotation and Scale transforms.
Technical Note
If you use this constraint with all channels on, it will use a straight matrix multiplication for the parent relationship, not decomposing the parent matrix into loc/rot/size. This ensures any transformation correctly gets applied, also for combinations of rotated and non-uniform scaled parents.
Examples
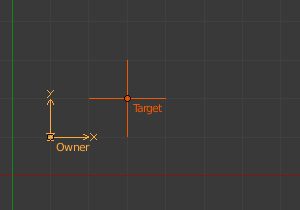
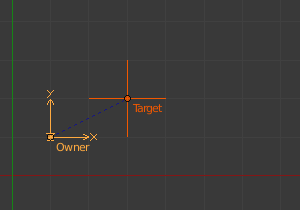
Child Of just added.¶ Here you can see that Owner empty is now 1.0 unit away from Target_1 empty along X and Y axes. |
|
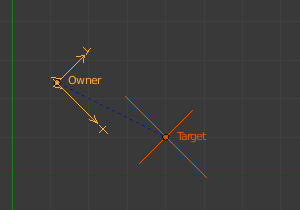
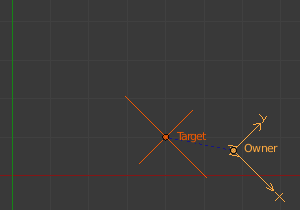
Target/parent transformed.¶ Target_1 has been moved along the XY plane, rotated around the Z axis, and scaled along its local X axis. |
|
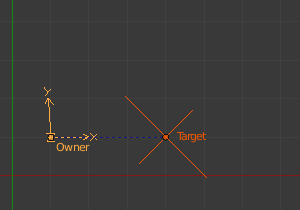
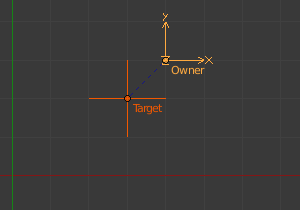
Offset set again.¶ Set Offset has been clicked again. As you can see, it does not gives the same result as in (Target/parent transformed). As noted above, use Set Inverse only once, before transforming your target/parent. |
