Measure
Referenz
- Modus:
All Modes
- Tool:
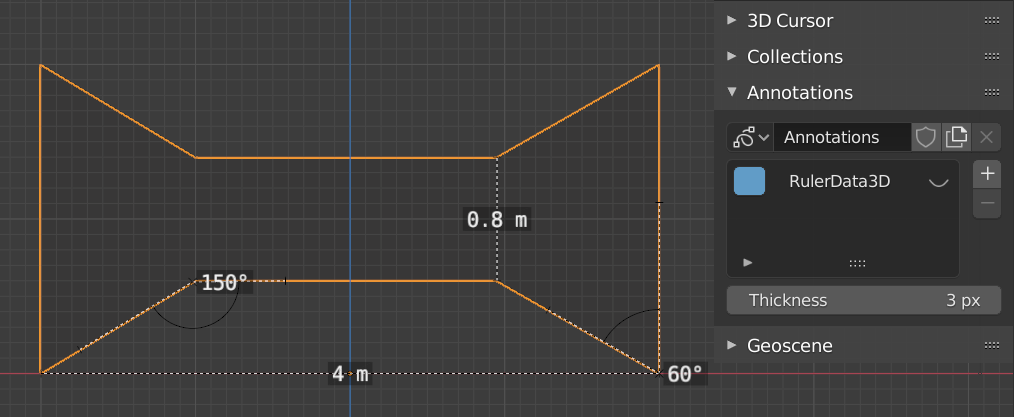
The Measure tool is an interactive tool where you can drag lines in the scene to measure distances or angles. Snapping to geometry could be activated for better accuracy or to measure wall thickness. The Measure tool can be accessed from the Toolbar.

Examples of the Measure tool.
Nutzung
Here are some common steps for using the Measure tool:
Activate the Measure tool from the Toolbar.
Click and drag in the viewport to define the initial start and end point for the ruler. You can add multiple rulers in the viewport.
Drag either end of the ruler to move it.
Holding Ctrl while moving enables snapping to edges and vertices.
Holding Shift while moving lets you measure the distance between faces. This only works well with parallel faces, e.g. walls.
You can always navigate (pan, zoom, …) or change the view (orthogonal, perspective) in the viewport to have better access to the ruler.
Click on the midpoint of a created ruler to convert it to a protractor. The midpoint can then be dragged just like the endpoints.
A selected ruler can be deleted with Delete or X. To delete all measurements, delete the „RulerData3D“ layer in the panel (see image above).
All measurements are hidden when another tool is selected. They are shown when the Measure tool is selected again. However, you can do editing operations while the ruler is active. For example, you can edit the rotation or scale of the selected object in the Sidebar.
Measurements do not appear in the Render output.
Unit settings and scale from the scene are used for displaying dimensions. Changing the unit system (metric, imperial), or the units of length (cm, m, …) or angle (degrees, radians) will update the measurements.
Tipp
In Edit Mode only, there is also a Measurement group in the Viewport Overlays popover. Using the settings in this group, you can have the viewport automatically display measurements for selected edges and faces, without the need to manually create a ruler.