Introduction
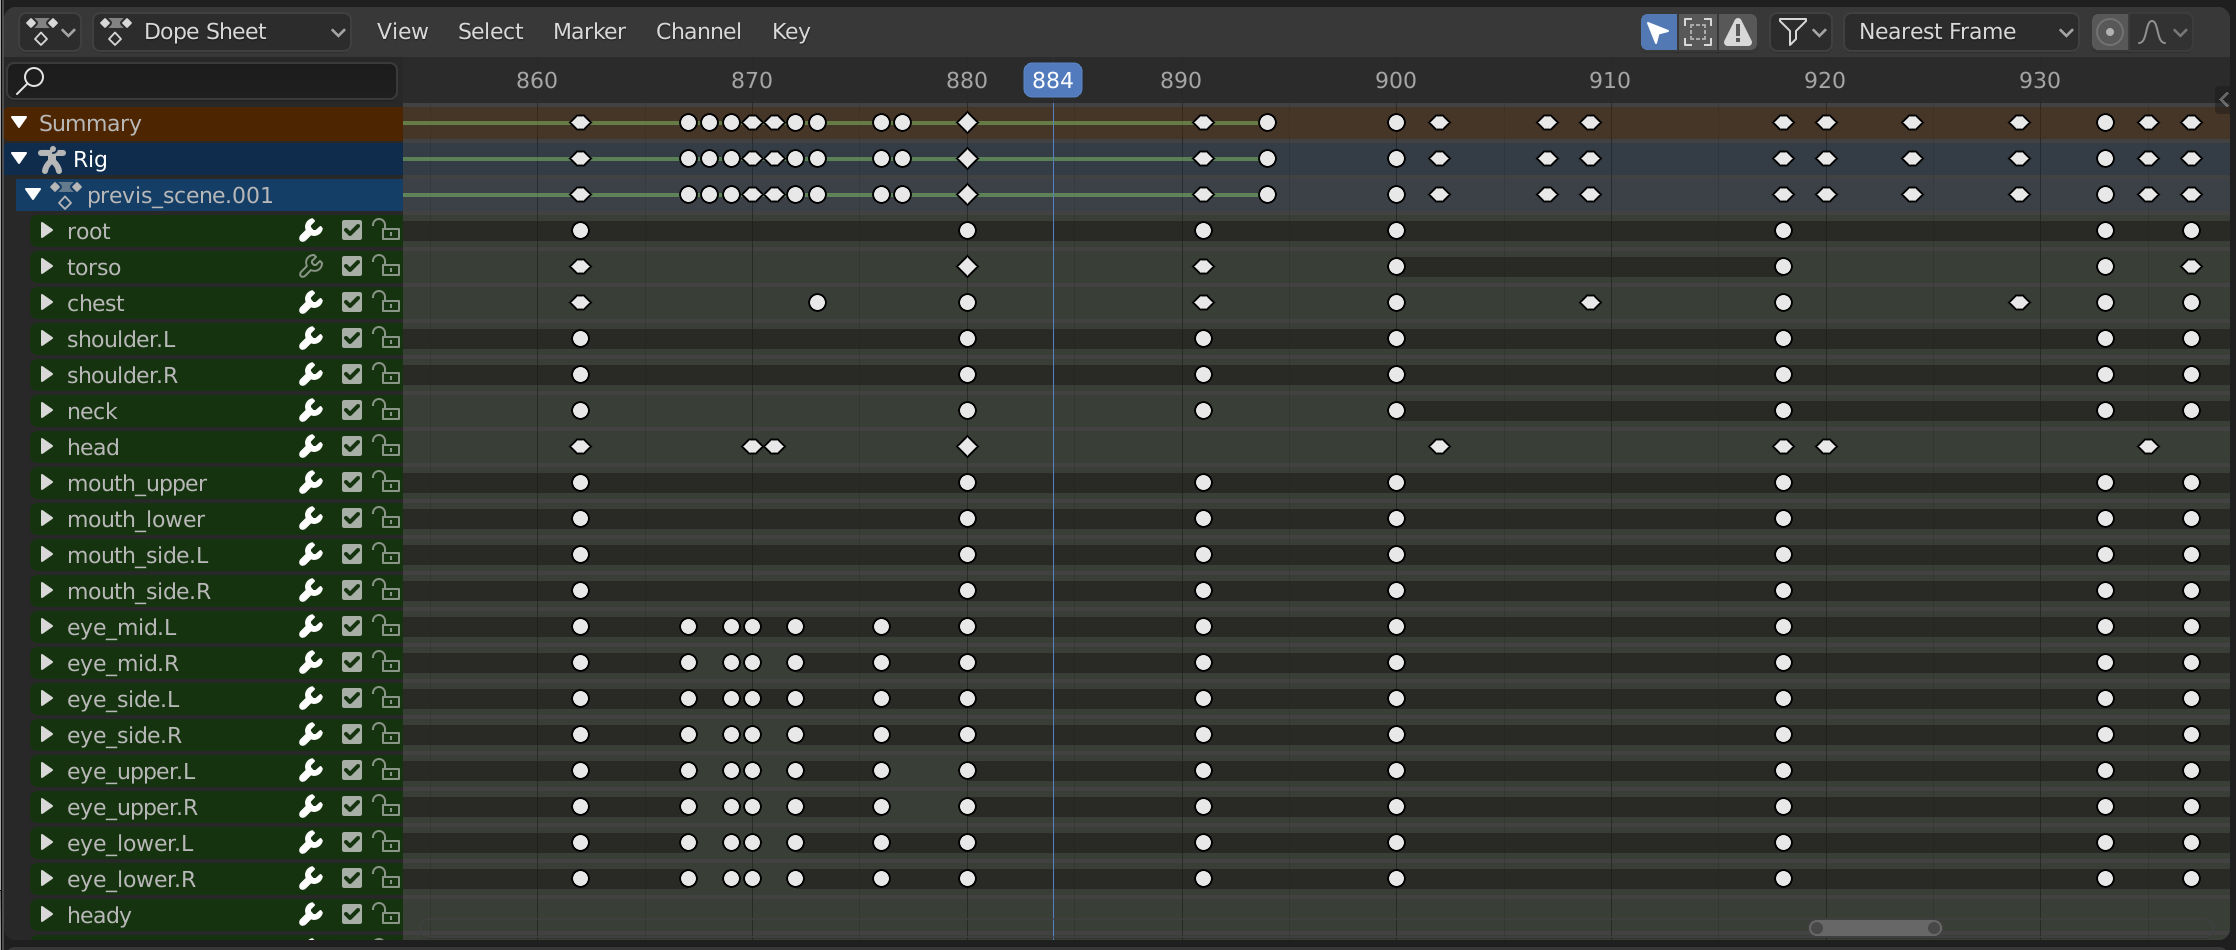
The Dope Sheet gives the animator a birds-eye-view of the keyframes inside the scene.
The Dope Sheet is inspired by classical hand-drawn animation process, in which animators will make use of a chart, showing exactly when each drawing, sound and camera move will occur, and for how long. This is called an exposure-sheet or ‘dope sheet’. While CG foundations dramatically differ from classical hand-drawn animation, Blender’s Dope Sheet inherits a similar directive.
Dope Sheet Modes

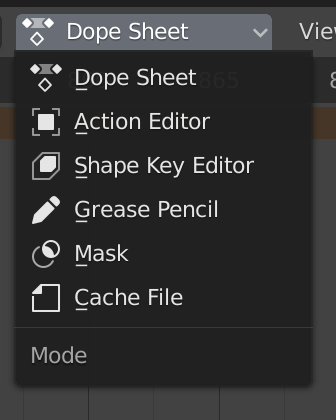
Dope Sheet modes.
While the Dope Sheet Mode allow you to edit multiple actions at once, the other ones are dedicated to view and edit specific data-blocks used in different context of animation.
- Dope Sheet
- Action Editor
- Shape Key Editor
- Grease Pencil
- Mask
- Cache File: Alembic Todo 2.78.
Main Region
Keyframes

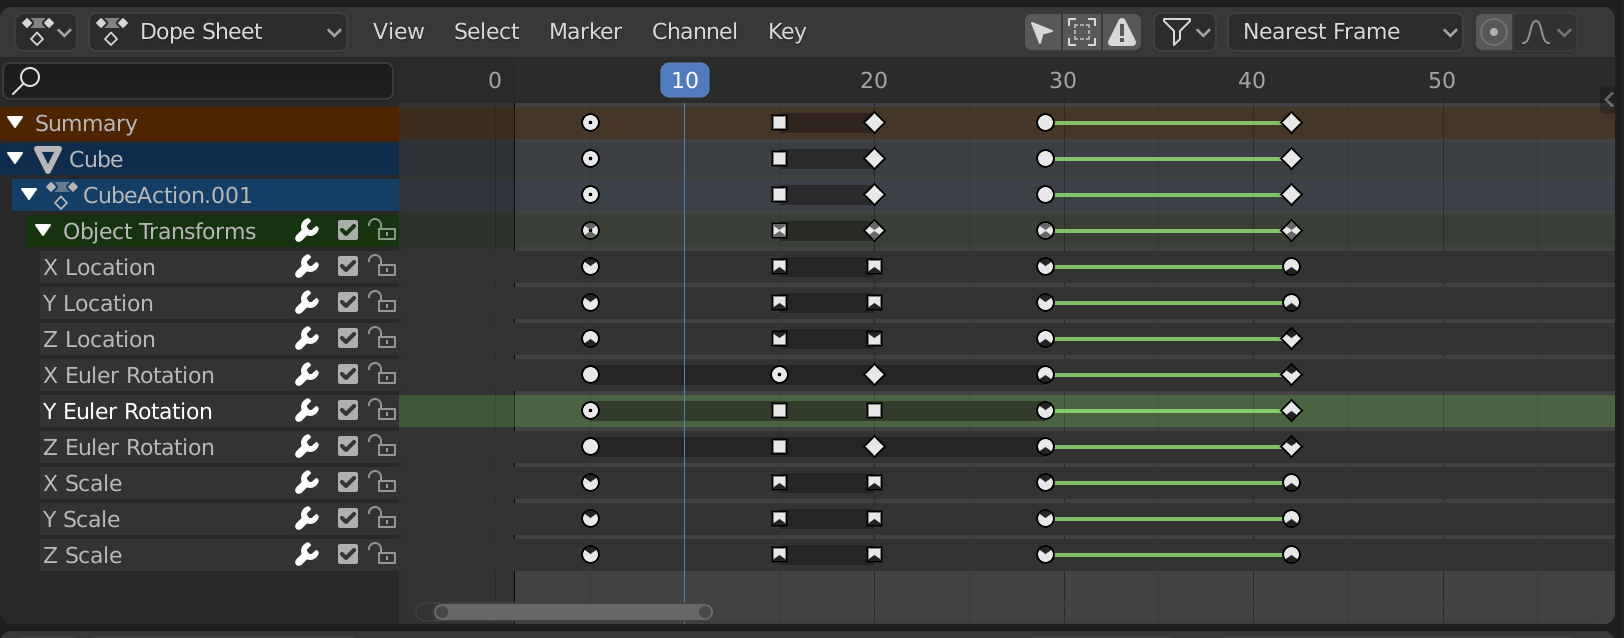
The Dope Sheet Editor with object channels.
This area contains keyframes for all visible action channels. As with the other time-based editors, the X axis represents time. The Y axis represents a stack of action channels.
On these channels lay the keyframes, which can show different information:
| Gray | Unselected |
| Yellow | Selected |
| Diamond | Free Keyframe Handle |
| Round | Auto-Clamped Keyframe Handle |
| Circle | Automatic Keyframe Handle |
| Square | Vector Keyframe Handle |
| Rhombus | Aligned Keyframe Handle |
| Various colors | These represent custom keyframe tags set by the user () |
| Gray bar between keys | Held key (the two keyframes are identical) |
| Green line between keys | Fixed keyframe interpolation (set in ) |
| Upwards arrow | Maximum Extreme keyframe (visible if are enabled) |
| Downwards arrow | Minimum Extreme keyframe (visible if are enabled) |
Selecting Keyframes
Selection tools are available in the Select menu in the header, and the main shortcuts are listed below:
- Selecting
- Click on a key to select it. Hold Shift to extend the current selection.
- Box Selecting
- Click and drag to box select multiple keyframes at once. You can hold Shift to extend or Ctrl to subtract from the current selection.
- Select/Deselect All
- To select all keys, press A.
- To deselect all keys, press Alt-A.
- To inverse the selection, press Ctrl-I.
- Select all to the right or left
- Hold Shift-Ctrl and click on either side of the Playhead. You can also use ] and [.
See the Select menu for a full list of selection tools.
Manipulating Keyframes
Keyframe tools are available in the Key menu in the header, and the main shortcuts listed below:
- Moving Keyframes
- To move a single keyframe, click and drag on a key. To move multiple keyframes, make sure several keys are selected and press G.
- Scaling Keyframes
- To scale (stretch) selected keys, press S.
- Extending Keyframes
- To extend the time between two keys, select all with A, place the Playhead between two keyframes and press E.
See the Key menu for a full list of selection tools.
Header
Here you find the menus, a first group of controls related to the editor “mode”, a second one concerning the action data-blocks, and a few other tools (like the copy/paste buttons, and snapping type).
- Summary
- Toggles the “Dope Sheet Summary” channel at the top of the Channels Region. This is used to give an overview of all the channels by combining all the actions into one channel.


