Corrective Smooth Modifier
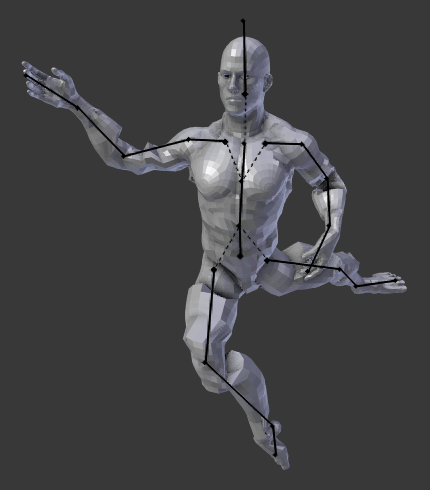
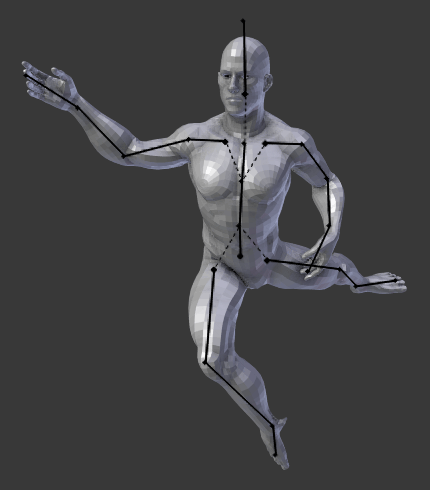
The Corrective Smooth modifier is used to reduce highly distorted areas of a mesh by smoothing the deformations.
This is typically useful after an Armature modifier, where distortion around joints may be hard to avoid, even with careful weight painting.
To use this modifier effectively, it is important to understand the basics of how it works.
- Rest State
Used as a reference to detect highly distorted areas. The original vertex locations are used by default.
- Smoothing
Many options for this modifier relate to smoothing which is used internally to correct the distorted regions.
Options

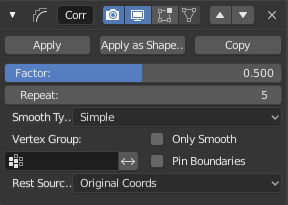
The Corrective Smooth modifier.
- Factor
The factor to control the smoothing amount. Higher values will increase the effect.
Values outside expected range (above 1.0 or below 0.0) will distort the mesh.
- Repeat
The number of smoothing iterations, equivalent to executing the Smooth tool multiple times.
- Smooth Type
Select the smoothing method used.
- Simple
This simply relaxes vertices to their connected edges.
- Length Weight
Uses a method of relaxing that weights by the distance of surrounding vertices. This option can give higher quality smoothing in some cases, by better preserving the shape of the original form.
- Vertex Group
If set, restrict the effect to the only vertices in that vertex group. This allows for selective, real-time smoothing, by painting vertex weights.
- Only Smooth
This option is included to preview the smoothing used, before correction is applied.
- Pin Boundaries
Prevent boundary vertices from smoothing.
- Rest Source
Select the source for reference vertex positions that defines the undeformed state.
- Original Coordinates
Use the original input vertex positions. This relies on the original mesh having the same number of vertices as the input, modified mesh.
- Bind Coordinates
Optionally you may bind the modifier to a specific state. This is required when there are constructive modifiers such as Subdivision Surface or Mirror in the stack before this modifier.

