Introduction
The first step is to unwrap your mesh. You want to unwrap when you feel your mesh is complete with respect to the number of faces it needs to have. If you do add faces or subdivide existing faces when a model is already unwrapped, Blender will add those new faces for you, but you may need to do additional mapping or editing. In this fashion, you can use the UV texture image to guide additional geometry changes.
About UVs
Every point in the UV map corresponds to a vertex in the mesh. The lines joining the UVs correspond to edges in the mesh. Each face in the UV map corresponds to a mesh face.
Each face of a mesh can have many UV textures. Each UV texture can have an individual image assigned to it. When you unwrap a face to a UV texture in the UV Editor, each face of the mesh is automatically assigned four UV coordinates: These coordinates define the way an image or a texture is mapped onto the face. These are 2D coordinates, which is why they are called UV, to distinguish them from XYZ coordinates. These coordinates can be used for rendering or for real-time viewport display as well.
Every face in Blender can have a link to a different image. The UV coordinates define how this image is mapped onto the face. This image then can be rendered or displayed in real-time. A 3D Viewport has to be in “Face Select” mode to be able to assign Images or change UV coordinates of the active mesh object. This allows a face to participate in many UV textures. A face at the hairline of a character might participate in the facial UV texture, and in the scalp/hair UV texture.
These are described more fully in the next sections.
Getting Started
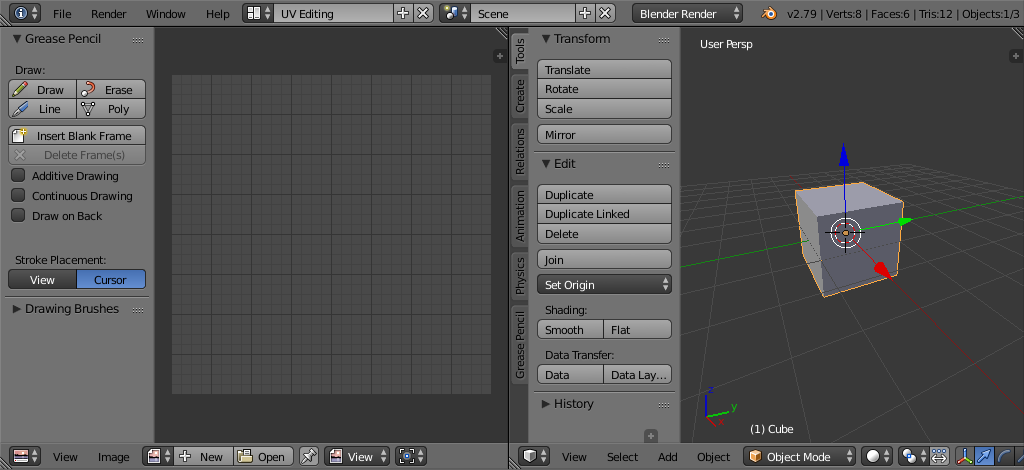
UV Editing screen layout.
By default, meshes are not created with UVs. First you must map the faces, then you can edit them. The process of unwrapping your model is done within Edit Mode in the 3D Viewport. This process creates one or more UV Islands in the UV Editor.
To begin, choose the UV Editing workspace from the selection list at the top of your screen in the Preferences header. This sets one of the areas to show you the UV Editor, and the other area to the 3D Viewport.
Enter Edit Mode, as all unwrapping is done in Edit Mode. You can be in vertex, face, or edge selection mode.
Workflow
The process for unwrapping is straightforward, but there are a lot of options available, each of which dramatically affect the outcome of the unwrap. By understanding the meaning behind the options, you will become more efficient at unwrapping.
The process is:
Mark Seams if necessary.
Select all of the mesh components.
Select a UV mapping method from the UV Unwrap menu.
Adjust the unwrap settings.
Add a test image to see if there will be any distortion. See Applying Images to UVs.
Adjust UVs in the UV editor. See Editing UVs.