Introduction
Brush cursor.
Brush Control
Set brush size F
Set brush strength Shift-F
Rotate brush texture Ctrl-F
Invert stroke toggle Ctrl
You can then either adjust the value interactively or by typing in numbers. After pressing the hotkey move the mouse to increase/reduce the value (additionally with precision and/or snapping activated). Finally confirm (LMB, Return) or cancel (RMB, Esc).
Selection Masking
If you have a complex mesh, it is sometimes not easy to paint on all vertices. Suppose you only want to paint on a small area of the Mesh and keep the rest untouched. This is where “selection masking” comes into play. When this mode is enabled, a brush will only paint on the selected vertices or faces. The option is available from the header of the 3D Viewport (see icons surrounded by the yellow frame):

You can choose between Face Selection masking (left button) and Vertex selection masking (right button).
Selection masking has some advantages over the default paint mode:
The original mesh edges are shown, even when modifiers are active.
You can select faces to restrict painting to the vertices of the selected faces.
Details About Selecting
The following standard selection operations are supported:
RMB – Single faces. Use Shift-RMB to select multiple.
A – All faces, also to deselect.
B – Box selection.
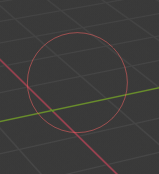
C – Circle select with brush.
L – Pick linked (under the mouse cursor).
Ctrl-L – Select linked.
Ctrl-I – Invert selection Inverse.
Vertex Selection Masking
Reference
- Mode
Vertex and Weight Paint Modes
- Header
- Shortcut
V
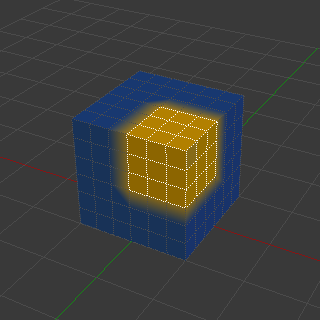
In this mode you can select one or more vertices and then paint only on the selection. All unselected vertices are protected from unintentional changes.
Vertex Selection masking.
Face Selection Masking
Reference
- Mode
Texture, Vertex, and Weight Paint Modes
- Header
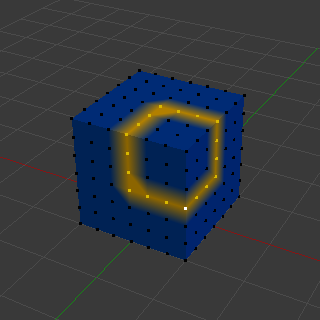
The Face Selection masking allows you to select faces and limit the paint tool to those faces, very similar to Vertex selection masking.
Face Selection masking.
Hide/Unhide Faces
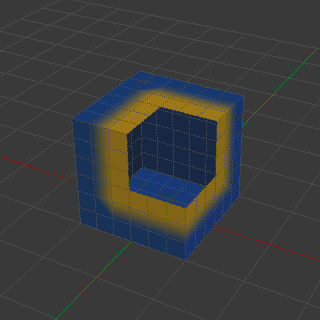
Hidden faces.
You also can hide selected faces as in Edit Mode with the keyboard Shortcut H, then paint on the remaining visible faces and finally unhide the hidden faces again by using Alt-H.
Hide/Unhide Vertices
You cannot directly hide selected faces in vertex mask selection mode. However, you can use a trick:
First go to Face selection mask mode.
Select the areas you want to hide and then hide the faces (as explained above).
Switch back to Vertex Selection mask mode.
Now the vertices belonging to the hidden Faces will remain hidden.
The Clipping Region
To constrain the paint area further you can use the Clipping Region. Press Alt-B and LMB-drag a rectangular area. The selected area will be “cut out” as the area of interest. The rest of the 3D Viewport gets hidden.
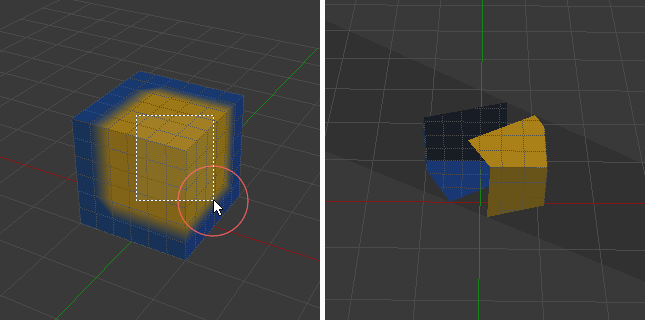
The Clipping Region is used to select interesting parts for local painting.
You make the entire mesh visible again by pressing Alt-B a second time.
All paint tools that use the view respect this clipping, including box select, and of course brush strokes.