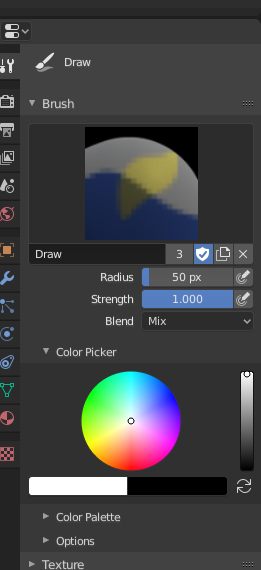
Brush Settings
Vertex Painting options.
- Radius
This option controls the radius of the brush, measured in pixels. F allows you to change the brush size interactively by dragging the mouse and then LMB (the texture of the brush should be visible inside the circle). Typing a number then enter while using F allows you to enter the size numerically.
- Size Pressure
Brush size can be affected by enabling the pressure sensitivity icon, if you are using a Graphics Tablet.
- Use Unified Radius
Use the same brush Radius across all brushes.
- Strength
How powerful the brush is when applied.
- Size Pressure
Brush Strength can be affected by enabling the pressure sensitivity icon, if you are using a Graphics Tablet.
- Use Unified Radius
Use the same brush Strength across all brushes.
Color Picker
The color of the brush. See Color Picker.
Press S on any part of the image to sample that color and set it as the brush color. Hold Ctrl while painting to temporally paint with the secondary color.
- Flip (cycle icon) X
Swaps the primary and secondary colors.
Note
Note that Vertex Paint works in sRGB space, and the RGB representation of the same colors will be different between the paint tools and the materials that are in linear space.
Advanced
- Affect Alpha
When this is disabled, it locks (prevents changes) the alpha channel while painting.
- Accumulate
This will allow a stroke to accumulate on itself, just like an airbrush would do.
- Front Faces Only
Only paint on the front side of faces.
Texture
See the global brush settings for Texture settings.
Stroke
See the global brush settings for Stroke settings.
Falloff
See the global brush settings for Falloff settings.
Cursor
See the global brush settings for Cursor settings.