Keying Screen Node
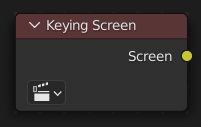
The Keying Screen node creates plates for use as a color reference for keying nodes. It generates gradients from sampled colors on motion tracking points on movie clips. It can be used to deal with uneven colors of green screens.
Entradas
This node has no input sockets.
Propiedades
- Movie Clip
The selectable clip data-block used as input for the gradient colors.
- Tracking Object
Tracking Object to generate the gradient. You will probably want to create new a tracking object in the Object panel, because tracks used for gradients can not actually be used for camera/object tracking. After this tracks might be placed in places where gradient colors should be sampled. These tracks could be tracked or moved manually, so gradients would be updating automatically along the movie. Tracks might have an offset for easier tracking of feature-less screens.
Salidas
- Screen
Gradient image output.
Ejemplo
Consider a node setup for green screen removal, using a Color Key:
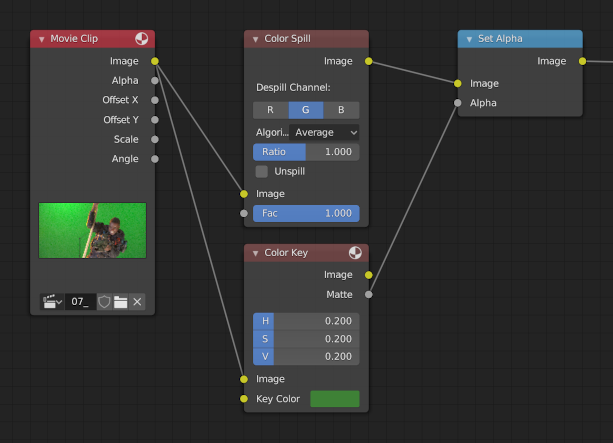
Often, lighting is uneven across the backdrop.

Example from the Mango Open Movie, Tears of Steel.
That can result in a bad matte.
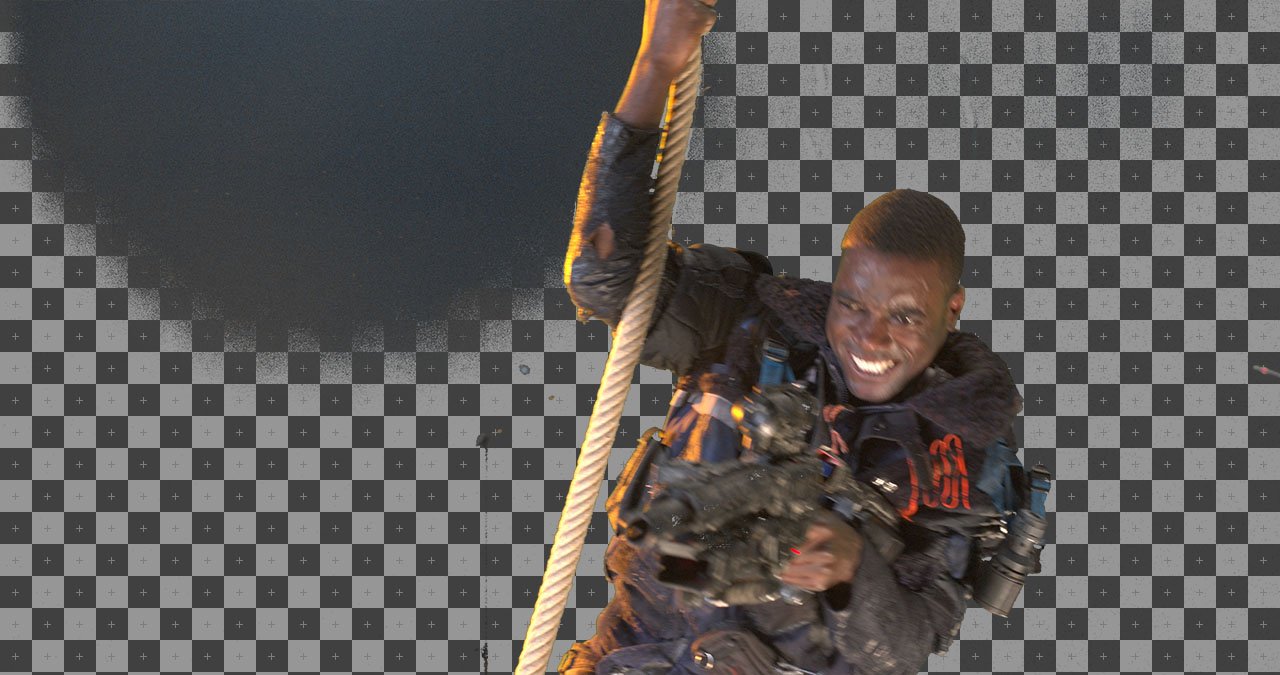
Example of a poor mask: Some of the backdrop is opaque, and some parts of the gun in the foreground are transparent.
If you increase the tolerances on the Color Key node, it will accept more shades of green to mask out. But it may also incorrectly mask out more of the foreground.
Instead of increasing the range of accepted shades to be masked out, the Keying Screen node lets you change what shade of green (or other color) to used for different parts of the image.
Start in the Movie Clip Editor. Open the Sidebar region and Toolbar to show tracking configuration. Tracks used for gradients are not useful for camera solving, because they do not track well. So create a new object track in the Objects selector. Place tracking markers on the clip to sample different parts of the backdrop.
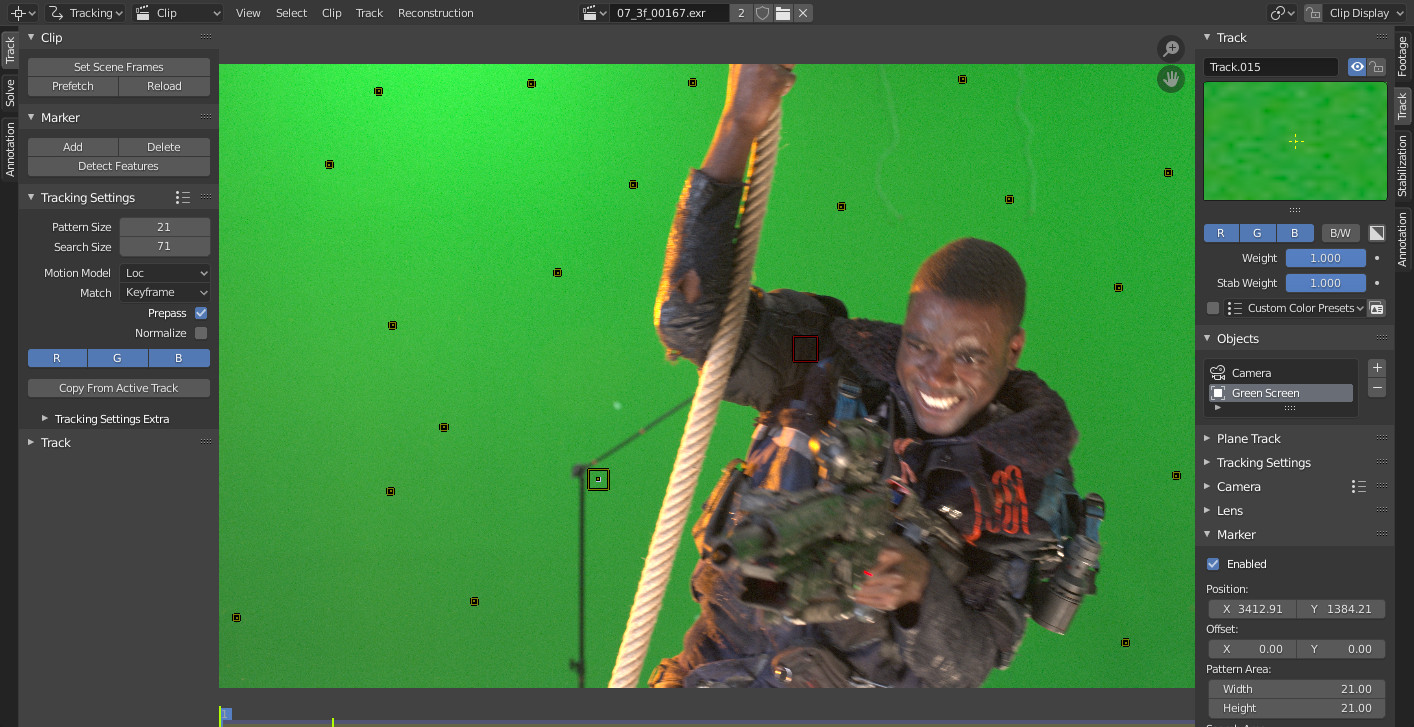
These tracks may be tracked or moved manually, so gradients can be updated over time. If the marker is not enabled for a frame, it will not be used creating the gradient. (Such as the red-colored marker on the arm in the screenshot above)
Once the tracks are created, add the node to your compositing setup, and select the tracking object used for the backdrop.
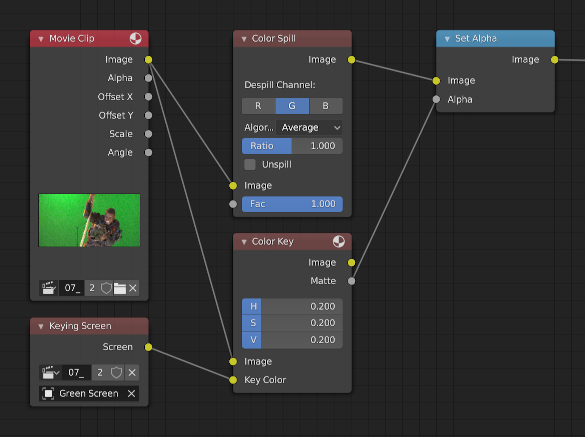
Node configuration with Keying Screen’s generated gradient plate connected to the Color input of the Keying node.

Gradient plate generated by Keying Screen.
The resulting image now has a better matte.
