View Regions
Clipping Region
Reference
- Mode
All modes
- Menu
- Shortcut
Alt-B
Allows you to define a clipping region to limit the 3D Viewport display to a portion of 3D space. It can assist in the process of working with complex models and scenes.
Once activated, you have to draw a rectangle with the mouse. It becomes a clipping volume of four planes:
A right-angled parallelepiped (of infinite length) if your view is orthographic.
A rectangular-based pyramid (of infinite height) if your view is in perspective.
Once clipping is used, you will only see what’s inside the volume you defined. Tools such as paint, sculpt, selection, transform snapping, etc. will also ignore geometry outside the clipping bounds.
To delete this clipping, press Alt-B again.
Example
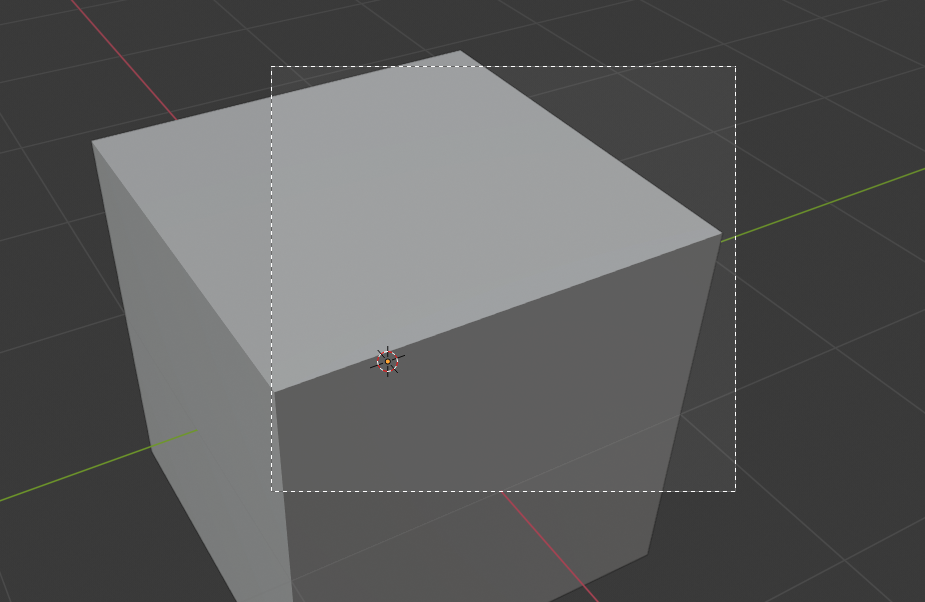
Selecting a region. |
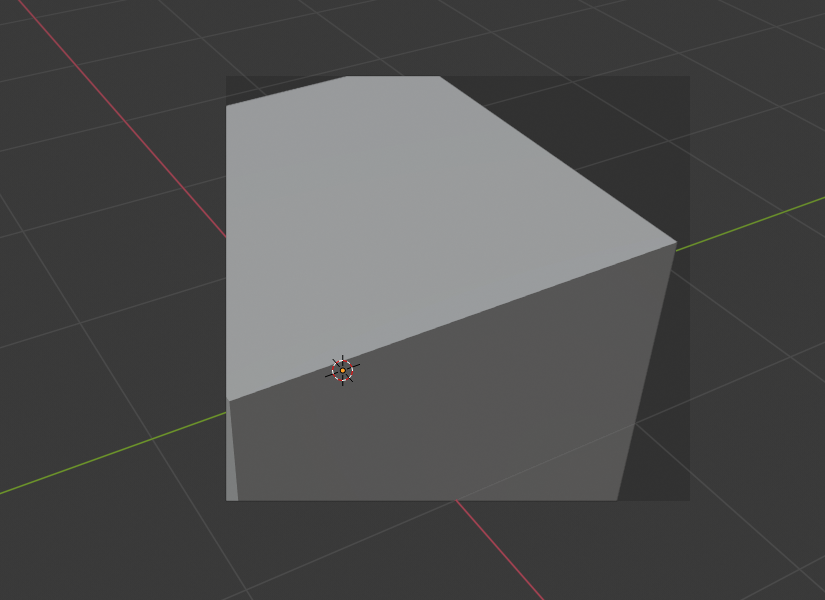
Region selected. |
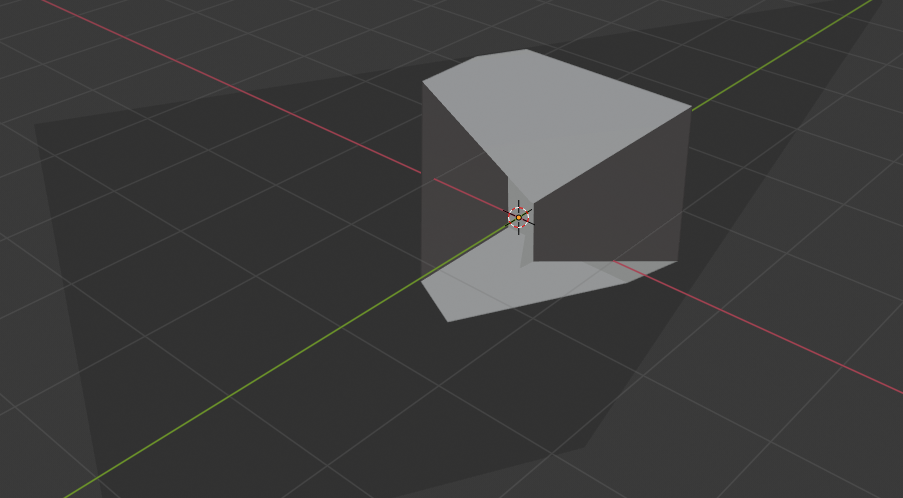
View rotated. |
The Region/Volume clipping image shows an example of using the clipping tool with a cube. Start by activating the tool with Alt-B. This will generate a dashed cross-hair cursor. Click with the LMB and drag out a rectangular region. Now clipping is applied against that region in 3D space. Use the MMB to rotate the view and you will see that only what is inside the clipping volume is visible. All the editing tools still function as normal, but only within the clipping volume.
The dark gray area is the clipping volume itself. Once clipping is deactivated with another Alt-B, all of 3D space will become visible again.
Render Region
Reference
- Mode
All modes
- Menu
- Shortcut
Mark: Ctrl-B Clear: Ctrl-Alt-B
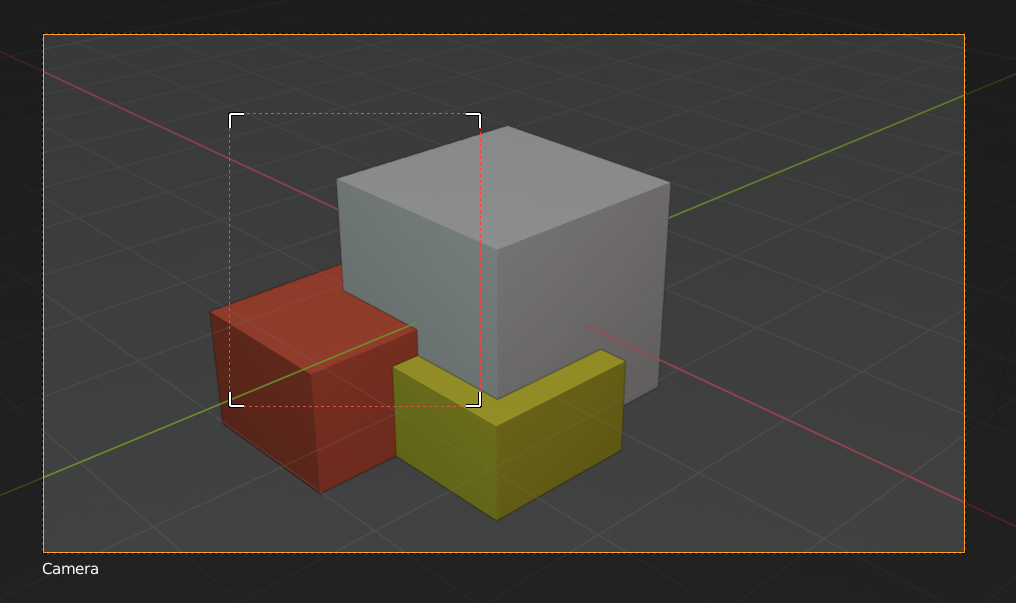
When using the Rendered shading mode, it can be quite slow to render the entire 3D Viewport. To fix this, you can define a subregion to render just a portion. This can be very useful for reducing render times for quick previews on an area of interest.
Apart from clearing the render region, you can also temporarily disable it in the Sidebar if you’re not in Camera View, or in the Output tab of the Properties editor if you are.
|
|
Vihje
If you set a render region while in camera view and have it enabled in the Output properties, it will be applied to the final render.
Katso myös