Exemples
To start with cloth, the first thing you need, of course, is some fabric. So, let us delete the default cube and add a plane. In order to get some good floppy and flexible fabric, you will need to subdivide it several times, about eight is a good number. So Tab into Edit Mode and subdivide the mesh a couple of times.
Maintenant nous allons fabriquer ce tissu en allant à l’onglet Physics. Défilez vers le bas jusqu’à ce que vous voyiez le panneau Cloth, et pressez le bouton Cloth. Maintenant un grand nombre de réglages apparaissent, pour le moment nous laisserons de côté la plupart d’entre eux.
That is all you need to do to set your cloth up for animating, but if you playback the animation, the drop of your newly created fabric will be quite unspectacular. That is what we will cover in the next two sections about pinning and colliding.
Utilisation de la simulation pour former/sculpter un maillage
Vous pouvez appliquer le modificateur Cloth en tout point pour figer la position du maillage dans cette trame. Vous pouvez alors réactiver le tissu, fixant les trames de début et de fin pour la simulation à lancer.
un autre exemple de vieillissement est un drapeau. Définissez le drapeau comme une simple forme de grille et épinglez l’arête contre la hampe du drapeau. Simulez pour 50 trames environ, et le drapeau va prendre sa position de « repos ». Appliquez le modificateur Cloth. Si vous voulez que le drapeau claque ou bouge autrement dans la scène, réactivez-le pour l’intervalle de trames quand il est en vue caméra.
Lissage de Cloth
Now, if you followed this from the previous section, your cloth is probably looking a little blocky. In order to make it look nice and smooth like the picture you need to apply a Smooth and/or Subdivision Surface Modifier in the Modifiers tab. Then, in the Toolbar, find the Edit panel and Press Smooth.
Cloth sur armature
Clothing can be simulated and pinned to an armature. For example, a character could have a baggy tunic pinned to the character’s waist with a belt.
The typical workflow for pinning:
- Set the armature to its bind pose.
- Model clothing that encloses but does not penetrate the character’s mesh.
- Parent the clothing objects to the armature. The armature will now have several child meshes bound to it.
- Create a new vertex group on each cloth object for its pinned vertices.
- Add vertices to be pinned to this vertex group and give these vertices non-zero weights (you probably want weight = 1). For example the belt area of the tunic would be in the vertex group and have weight one.
- Designate the clothing objects as « cloth » in the Physics tab of the Properties editor. Make sure the Cloth Modifier is below the Armature Modifier in the modifier stack.
- In the cloth Shape panel select the vertex group.
- Add collision physics to the character’s mesh.
- The clothing is now ready; non-pinned vertices will be under control of the Cloth modifier. Pinned vertices will be under control of the Armature modifier.
Note
When animating or posing the character you must begin from the bind pose. Move the character to its initial pose over several frames so the physics engine can simulate the clothing moving. Very fast movements and teleport jumps can break the physics simulation.
Tissu avec animation de groupes de sommets
Cloth with animated pinned vertices: Regression blend-file. Unsupported: Starting with a goal of 0 and increasing it, but still having the vertex not pinned will not work (e.g. from goal = 0 to goal = 0.5).
Cloth avec Peinture dynamique
Cloth with Dynamic Paint using animated vertex groups: Regression blend-file. Unsupported: Starting with a goal of 0 and increasing it, but still having the vertex not pinned will not work (e.g. from goal = 0 to goal = 0.5) because the necessary « goal springs » cannot be generated on-the-fly.
Utilisation de Cloth pour des Corps souples
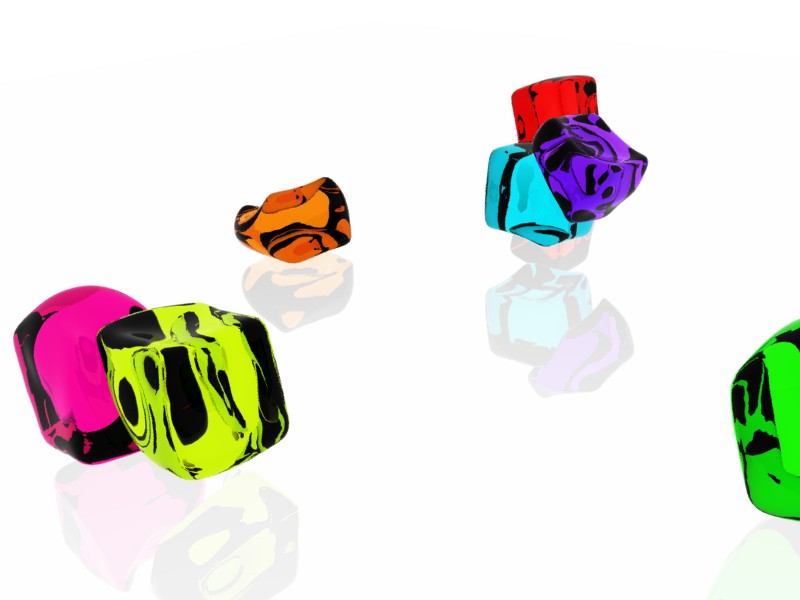
Utilisation de Cloth pour des Corps souples.
Cloth peut aussi être utilisé pour simuler des corps souples. Ce n’est certainement pas son objectif principal mais il fonctionne néanmoins. l’image exemple utilise un matériau Rubber, sans réglages fantaisistes, simplement pressez Alt-A.
Fichier blend pour l’image exemple : Utilisation de Cloth pour des Corps souples.
Tissu dans le vent
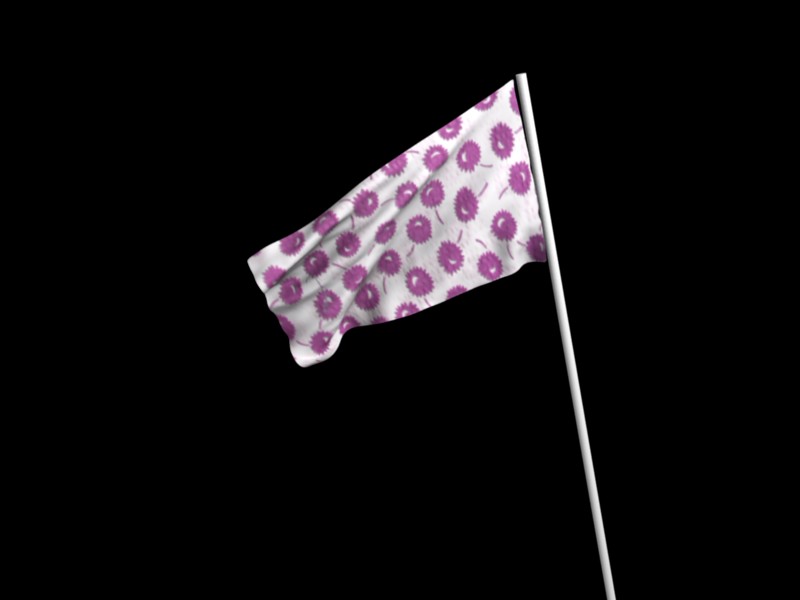
Drapeau avec le vent appliqué.
Regression blend-file for Cloth with wind and self-collisions (also the blend for the image above): Cloth flag with wind and self-collisions.