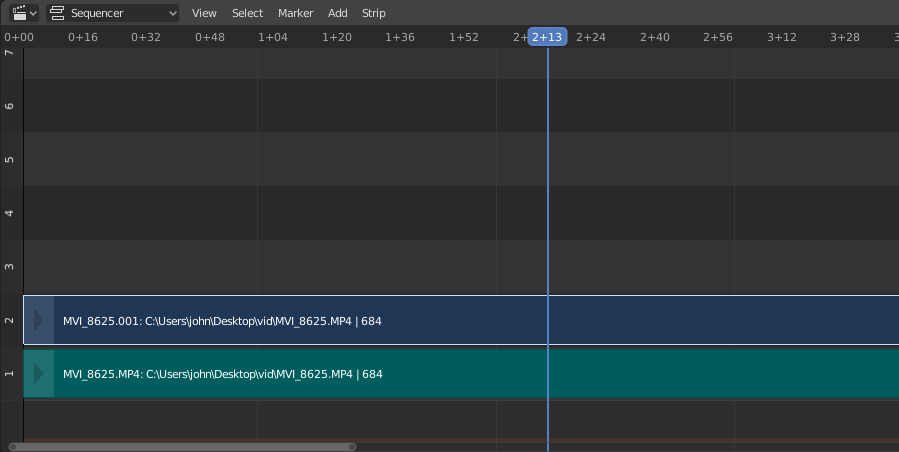
Movie Strips
Pour ajouter un film (avec ou sans audio), sélectionnez un ou plusieurs fichiers vidéo dans le navigateur de fichiers, par ex. au format Audio-Video Interleaved (fichier * .avi).
Note
Les clips peuvent être énormes
Un fichier Quicktime .mov de trois minutes peut faire 140 Mo. Le charger, même sur un LAN haut débit, peut prendre un certain temps. Ne présumez pas que votre ordinateur ou Blender s’est verrouillé si rien ne se passe pendant un certain temps.
Add Movie Strip
Reference
- Menu
- Relative Path
Store the location of the image file relative to the blend-file.
- Start Frame
The Start Frame to place the left handle of the strip.
- Channel
The Channel to place the strip.
- Replace Selection
Replaces the currently selected strips with the new strip.
- Fit Method
Determines how images with an aspect ratio different than the Scene’s are scaled to fit inside the render area.
- Scale to Fit
Adjusts the strips Scale Transforms so the visual contents of the strip to fit exactly within the project’s Dimensions while maintaining the original aspect ratio.
This may mean that the transparent areas may be added along the content’s border to fit the content in the rendered area.
- Scale to Fill
Adjusts the strips Scale Transforms so the visual contents of the strip to span the project’s Dimensions while maintaining the original aspect ratio.
This may mean that portions of the original image no longer fit the content inside the rendered area.
- Stretch to Fill
Adjusts the strips Scale Transforms so the visual contents of the strip to fill the project’s Dimensions. Note, unlike the other two methods described above, Stretch to Fill does not maintaining the original aspect ratio.
This may mean that the original image becomes distorted to fit the content inside the rendered area.
- Sound
Add a Sound Strip that contains the movie’s audio track.
- Use Movie Frame Rate
Sets the Scene Frame Rate to the frame rate encoded in the movie file.
Bandes d’image / séquence
Image unique
Lorsque vous ajoutez une seule image fixe (*.jpg, *.png, etc.), Blender crée une bande de 25 images qui affichera cette image le long de la plage des bandes.
Séquence d’images
Dans le cas de séquences d’images (numérotées) (par exemple *-0001.jpg, *-0002.jpg, *-0003.jpg, etc, de n’importe quel format d’image), vous avez le choix:
- Range
Naviguez dans le répertoire, cliquez LMB et faites glisser sur une plage de noms pour mettre en surbrillance plusieurs fichiers. Vous pouvez faire défiler la page vers le bas et continuer cliquer-faire glisser Maj-LMB pour rajouter à la sélection.
- Batch
Cliquez Shift-LMB sur les images fixes non liées sélectionnées pour le traitement par lots; chaque image sera une trame (frame), dans l’ordre de tri, et peut être un mélange de types de fichiers (
jpg,png,exr, etc.).- All
Appuyez sur A pour sélectionner/désélectionner tous les fichiers du répertoire.
Astuce
Gérer différentes tailles
Il est difficile de gérer des images de différentes tailles et des sorties de différentes tailles. Si vous avez un décalage entre la taille de l’image d’entrée et la taille de sortie du rendu, le VSE essaiera de mettre automatiquement l’image à l’échelle pour l’adapter entièrement à la sortie. Cela peut entraîner un écrêtage. Si vous ne le souhaitez pas, utilisez Crop et/ou Offset dans le panneau de saisie pour déplacer et sélectionner une région de l’image dans la sortie. Lorsque vous utilisez Crop ou Offset, la mise à l’échelle automatique est désactivée et vous pouvez la redimensionner manuellement en ajoutant l’effet de transformation.
Ajouter une bande d’images
Reference
- Menu
- Relative Path
Store the location of the image file relative to the blend-file.
- Start Frame
The Start Frame to place the left handle of the strip.
- End Frame
The end frame to place the right handle of the strip.
Astuce
Subtract the Start Frame from the End Frame to get the strip’s duration.
- Channel
The Channel to place the strip.
- Replace Selection
Replaces the currently selected strips with the new strip.
- Fit Method
Determines how images with an aspect ratio different than the Scene’s are scaled to fit inside the render area.
- Scale to Fit
Adjusts the strips Scale Transforms so the visual contents of the strip to fit exactly within the project’s Dimensions while maintaining the original aspect ratio.
This may mean that the transparent areas may be added along the content’s border to fit the content in the rendered area.
- Scale to Fill
Adjusts the strips Scale Transforms so the visual contents of the strip to span the project’s Dimensions while maintaining the original aspect ratio.
This may mean that portions of the original image no longer fit the content inside the rendered area.
- Stretch to Fill
Adjusts the strips Scale Transforms so the visual contents of the strip to fill the project’s Dimensions. Note, unlike the other two methods described above, Stretch to Fill does not maintaining the original aspect ratio.
This may mean that the original image becomes distorted to fit the content inside the rendered area.
- Use Placeholders
Image sequences can use placeholder files. This works by enabling Use placeholders checkbox when adding an image strip. The option detects the frame range of opened images using Blender’s frame naming scheme (
filename + frame number + .extension) and makes an image sequence with all files in between even if they are missing. This allows you to render an image sequence with a few frames missing and still the image strip will have the correct range to account for the missing frames displayed as black.When the missing frames are rendered or placed in the same folder, you can refresh the Sequencer and get the missing frames in the strip. The option is also available when using the Change Data/File operator and allows you to add more images to the range.