Introduzione
The Image Editor is where you can view/edit 2D assets like images or textures.
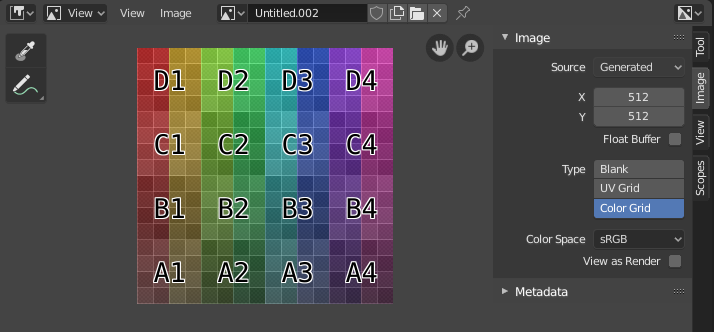
Editor Immagini con una texture della griglia di prova.
Barra degli strumenti
- Sample Tool
Used to sample a pixel’s color from anywhere within Blender.
- Dimensione Campione
The dimensions of the square used to sample underlying pixels. If larger than 1 the resulting sample is an average of all underlying pixels.
- Annota
See Annotations for more information.
Intestazione
- Modalità
- Vista
Displays Images.
- Pittura
- Maschera
- Vista
Strumenti per controllare la modalità di visualizzazione del contenuto nell’editor. Vedi Navigazione.
- Immagine
Tools for opening and manipulating images. See Modifica.
- Immagine
A data-block menu used for selecting images. When an image has been loaded or created in the Image editor, the Image panel appears in the Sidebar region. See Impostazioni Immagine.
Render Result
Viewer Node
- Image Pin
Todo.
- Slot
You can save successive renders into the render buffer by selecting a new slot before rendering. If an image has been rendered to a slot, it can be viewed by selecting that slot. Empty slots appear as blank grids in the Image editor. Use the J and Alt-J to cycle forwards and backwards through saved renders. Alternatively you can use the number keys 1, 2, 3, etc, to select the slot with the corresponding number. A slot can be renamed by double clicking its name in the Image panel in the Sidebar.
- Visualizza Livello
If you are using View Layers, use this menu to select which layer is displayed.
- Render Pass
If you are using Render Passes, use this menu to select which pass is displayed.
- Viewport Gizmos
- Selectively show or hide specific gizmo controls that are displayed in the 2D viewport.
All gizmos can be hidden or shown at once with the toggle next to the pop-over arrow.
- Visualizza Canali
Select what color channels are displayed.
- Color and Alpha
Replaces transparent pixels with background checkerboard, denoting the alpha channel.
- Colore
Display the colored image, without alpha channel.
- Trasparenza
Displays the Alpha channel a grayscale image. White areas are opaque, black areas have an alpha of 0.
- Z-Buffer
Display the depth from the camera, from Clip Start to Clip End, as specified in the Camera settings.
- Rosso, Verde, Blu
Single Color Channel visualized as a grayscale image.
Vista Principale
When LMB / RMB dragging mouse the color under the cursor is shown in the footer as well the cursor position and the color values in the RGBA, HSV and Luminance Color Model.