はじめに
Blender contains different node-based editors with different purposes, so this section only explains how to work with nodes in general. The list below shows the different types of nodes and where they're documented.

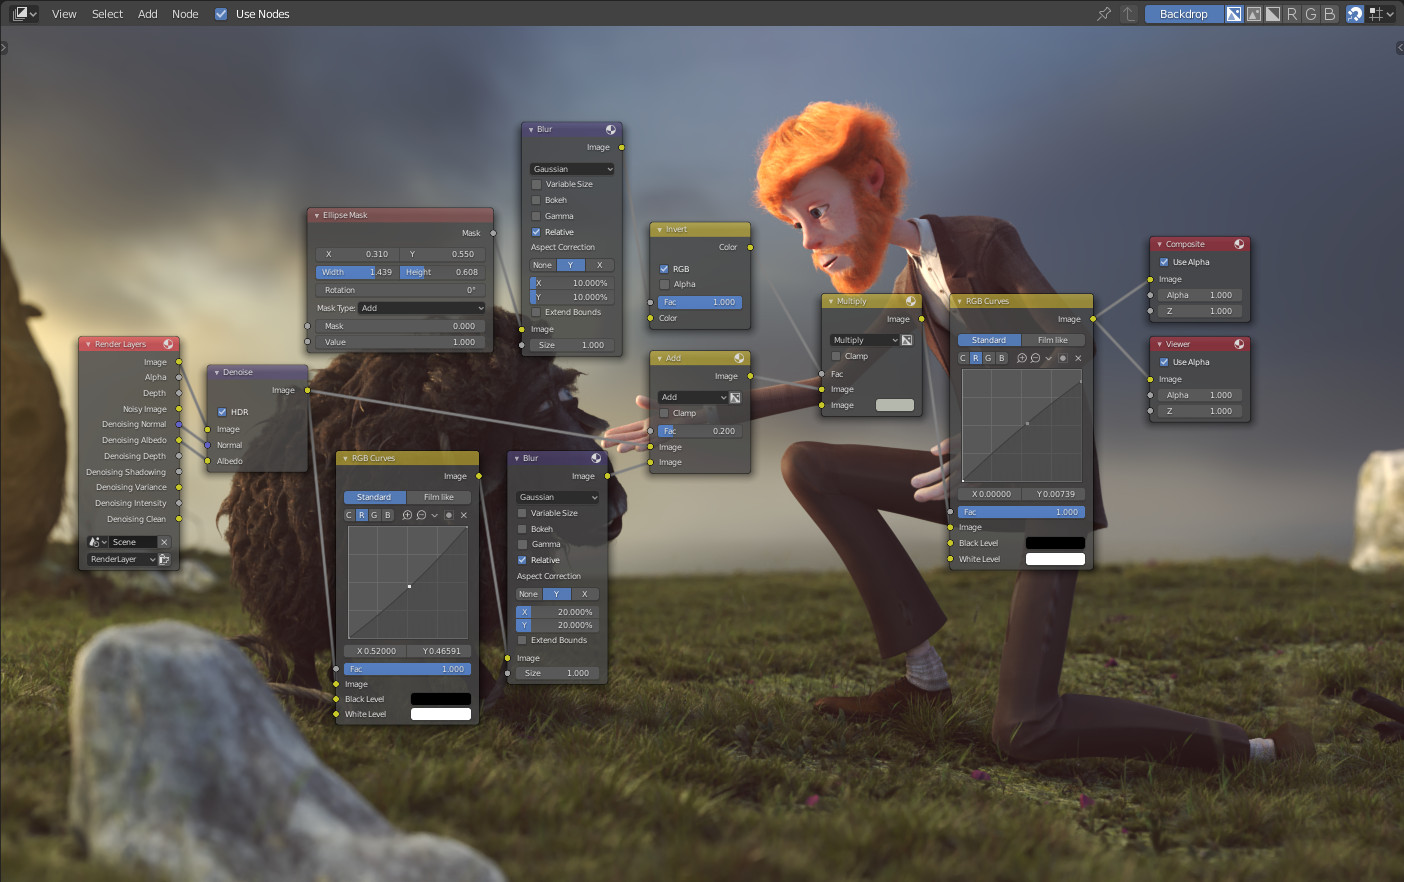
ノード エディタの例。
アイコン |
Name(名前) |
ドキュメント |
|---|---|---|
Shader Nodes(シェーダーノード) |
Render(レンダー) の章に記述しています。 |
|
Composite(コンポジット) ノード |
Compositing(コンポジティング) の章に記述しています。 |
|
Texture Nodes(テクスチャノード) |
UV Editor(UVエディター) の章で説明しています。 |
エディタのインターフェース
ヘッダー
ヘッダー には、現在のノードツリータイプに一部基づいた、さまざまなメニューとボタン、およびオプションが含まれています。

一般的なノードエディタのヘッダーオプション。
- View(ビュー)
エディタの表示を変更します。
- Select(選択)
ノードまたはノードグループを選択します。
- Add(追加)
ノードを追加します。
- Node(ノード)
選択しているノードへの操作を行います。
- Use Nodes(ノードを使用)
マテリアルカラーの計算や最終イメージのレンダリングを行うにあたって、ノードツリーを使用するようにレンダーエンジンに指示します。そうでない場合、ツリーは無視されます。マテリアルの場合については、昔はノードツリーでのマテリアル作成ができなかったことから、既にレガシーなオプションになっています。
- Use Pinned(ピン止め)
有効にすると、ユーザーが別のオブジェクトを選択した場合でも、エディタでのマテリアルやテクスチャの表示が維持されます。それによって3D Viewport(3Dビューポート)でのオブジェクト選択とは無関係に、ノードツリーを編集できるようになります。
- Parent Node Tree(親ノードツリー)
Leaves the current node group and returns to the parent node group/tree.
- Snapping(スナップ)
より整理されたノードツリーのレイアウトを実現するために、ノードの位置をスナップするオプションを設定します。
Overlays(オーバーレイ)
オーバーレイは、ノードとノードツリーの上に表示される情報です。オーバーレイポップオーバーの横にあるノードエディタのすべてのオーバーレイを表示または非表示にするトグルがあります。
- Wire Colors(ワイヤカラー)
接続されているソケットに基づいてノードのリンクに色を付けます。
- Context Path(コンテクストパス)
Display breadcrumbs in the upper left corner indicating the hierarchy location of the node tree/group that's currently being displayed.
- Annotations(アノテーション)
プレビュー領域に Annotations(アノテーション) を表示します。
Toolbar(ツールバー)
ツールバー には、ノードエディタで使用できる一連のツールが含まれています。
ノードの追加
参照
- Menu(メニュー)
- ショートカットキー
Shift-A
Nodes are added via the Add menu in the editor's header or using a keyboard shortcut.
Nodes can also be added by dragging a connection from an existing node's input or output socket and dropping the connection above an empty space instead of connecting to another socket. This action will open a search menu with a list of compatible nodes and their sockets that can be added and connected to the existing node. Confirming the menu selection will add the node which can then be moved and placed.


