Transform Orientation
参照
- Mode(モード):
Object Mode(オブジェクトモード) と Edit Mode(編集モード)
- Panel(パネル):
- ショートカットキー:
Comma
The Transform Orientation determines the orientation of the Object Gizmo. Changing this orientation can make it easier to perform transformations in the direction you want.
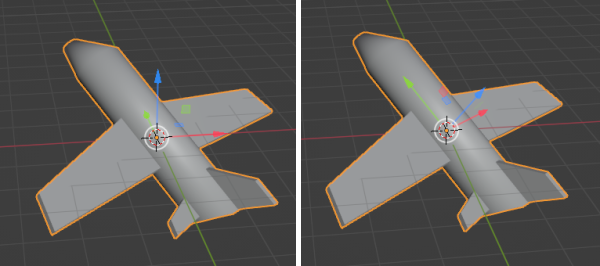
With the default Global transform orientation (left) it's tricky to move the plane in the direction it's facing, but with Local (right) it's easy.
The Transform Orientation can be changed using a selector in the 3D Viewport's header:

Transform Orientation selector.
The orientation can also be changed temporarily while performing a hotkey-based transformation with axis locking. For example, if you first press G to start moving an object, then X to lock to the orientation's X axis, and finally X a second time, you'll get a lock to an alternative orientation: the Local orientation if it was Global previously, and the Global orientation otherwise.
In addition to the builtin orientations, you can also define your own (see Custom Orientations below).
座標系
- Global(グローバル)
Align the transformation axes to world space. The world axes are shown by the Navigation Gizmo in the top right corner of the viewport, as well as the Grid Floor.
- Local(ローカル)
Align the transformation axes to the active object's orientation.
- Normal(ノーマル)
In Edit Mode, orient the transformation axes so that the Z axis of the gizmo matches the average Normal of the selected elements.
In Object Mode, this is equivalent to Local orientation.
- Gimbal(ジンバル)
Orient the transformation axes to visualize the workings of the object's Rotation Mode. This is specifically useful for the Euler modes, where the object is rotated one axis at a time: the rotation axes don't stay perpendicular to each other and might even overlap, a phenomenon known as gimbal lock that complicates animation.
- View(ビュー)
Align the transformation axes to the view (meaning they change as you orbit around):
X: 左/右
Y: 上/下
Z: 画面の方向/画面から遠ざかる方向
- Cursor(カーソル)
Align the transformation axes to the 3D Cursor.
- Parent(親・ペアレント)
Align the transformation axes to the Parent.
例
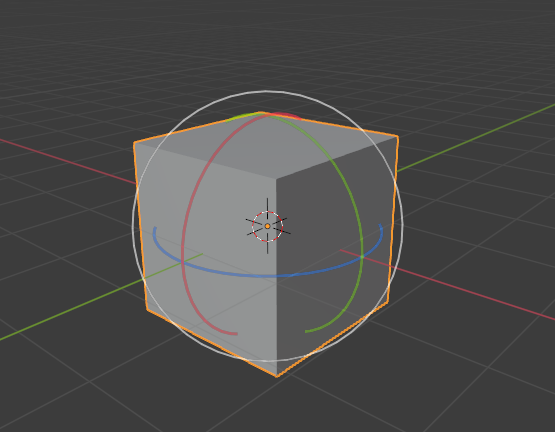
グローバル変換座標系が選択されたデフォルトの立方体。 |
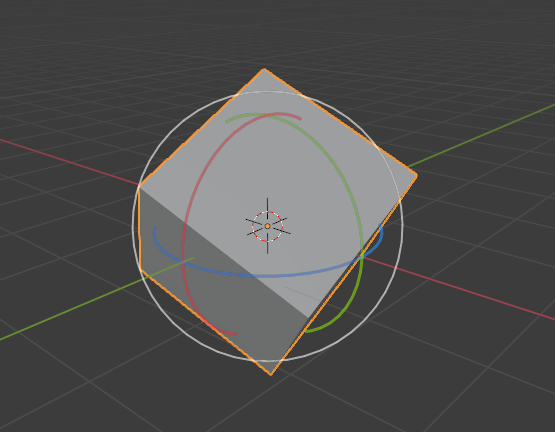
グローバル座標系で回転した立方体、ギズモは変わりません。 |
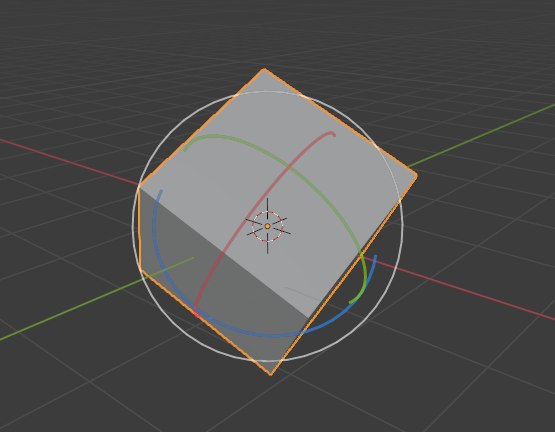
Local orientation, gizmo matches the object's rotation. |
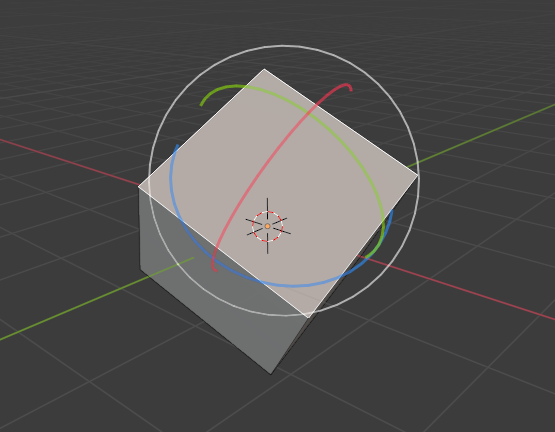
Edit Mode(編集モード)にて、法線の方向。 |
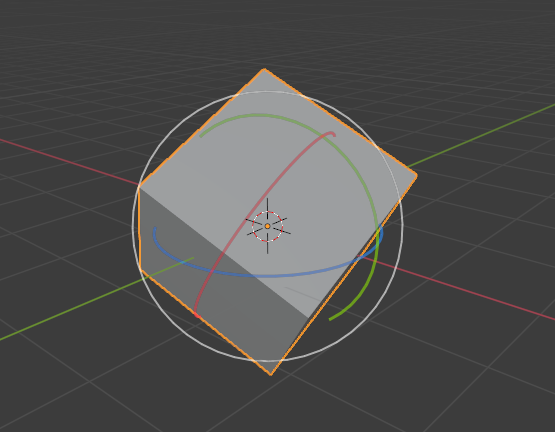
ジンバル変換座標系。 |
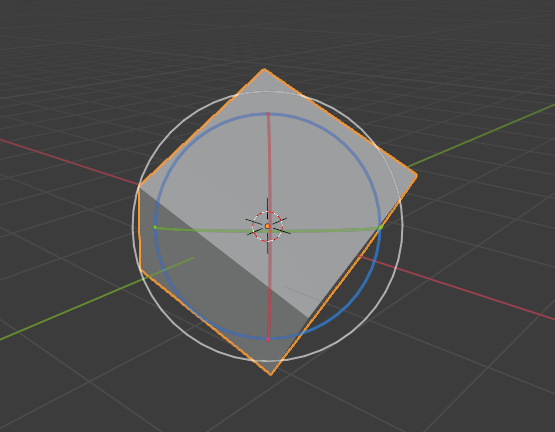
ビュー変換座標系。 |
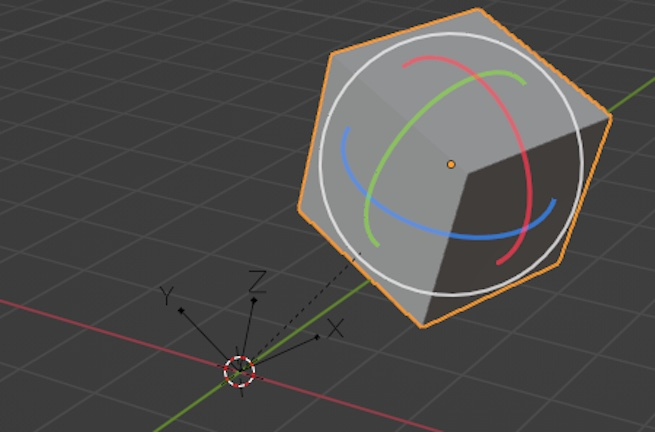
Parent transform orientation. Cube parented to rotated empty. |
カスタム座標系
参照
- Mode(モード):
Object Mode(オブジェクトモード) と Edit Mode(編集モード)
- Panel(パネル):
You can define custom transform orientations using objects or mesh elements. Custom orientations defined from an object use the Local orientation of that object, whereas those defined from mesh elements (vertices, edges, faces) use the average Normal orientation of those elements.
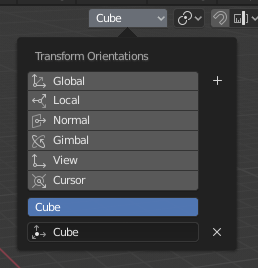
Transform Orientation panel.
The Transform Orientation panel, found in the header of the 3D Viewport, can be used to select, add, remove, and rename transform orientations.
The default name for these orientations is derived from the selection. If it's an object it will take that object's name, if it's an edge it will be titled "Edge", and so on.
Create Orientation(座標軸の向きを作成)
To create a custom orientation, select an object or mesh element(s) and click the "+" button in the Transform Orientation panel.
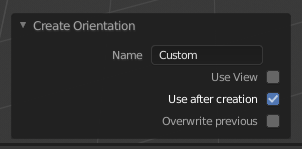
Create Orientation(座標軸の向きを作成) Adjust Last Operation(最後の操作を調整) パネル。
Right after creating the orientation, the Create Orientation Adjust Last Operation(最後の操作を調整) panel gives a few options:
- Name(名前)
新しい座標系に名前を付けるためのテキストフィールド。
- Use View(ビューを使用)
新しい座標系はビュー空間に揃えられます。
- Use After Creation(作成後に使用)
The new orientation stays selected.
- Overwrite Previous(以前の物を上書き)
If the new orientation is given an existing name, a suffix will be added to it's name to avoid overwriting the existing orientation, unless Overwrite Previous is checked, in which case it will be overwritten.
Delete Orientation
To delete a custom orientation, simply select it and click the × button.