着色
平滑着色
参考
- 模式
物体模式
- 菜单
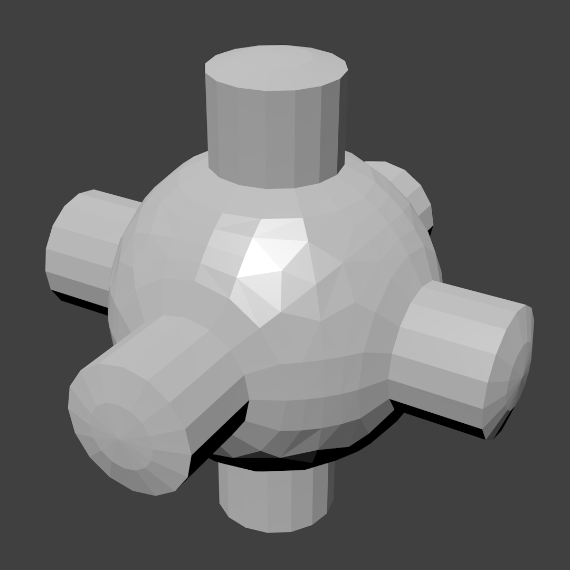
The easiest way is to set an entire object as smooth or faceted by selecting a mesh object, and in Object Mode, select Shade Smooth in the Object menu. This forces the assignment of the "smoothing" attribute to each face in the mesh, including when you add or delete geometry.
可以注意到物体的轮廓仍然是棱角分明的。激活光滑属性实际上并没有修改物体的几何形状,只是改变了表面着色的计算方式(对法向进行插值),造成光滑表面的错觉而已。
Select the Shade Flat item in the Object menu to revert the shading back (normals will be constant) to that shown in the first image below.

|

|
自动平滑着色
参考
- 模式
物体模式
- 菜单
Automatically applies smooth shading to faces with a defined shallow angle and all other faces are sharp. This method works great for objects with both sharp and smooth areas.
Selecting the Shade Flat will revert the shading back to flat; additionally, pressing Shade Smooth will disable all flat normals, making the entire object appear smooth again.
When this operator is used it enables the Auto Smooth property. See Advanced Smooth Shading & Sharp Edges for more details.
平直着色
参考
- 模式
物体模式
- 菜单
As seen in the previous sections, polygons are central to Blender. Most objects are represented by polygons and truly curved objects are often approximated by polygon meshes. When rendering images, you may notice that these polygons appear as a series of small, flat faces. Sometimes this is a desirable effect for hard surfaces, but for organic surfaces you usually want your objects to look smooth.