遮罩
Masking to control which areas of the mesh are influenced by sculpting.
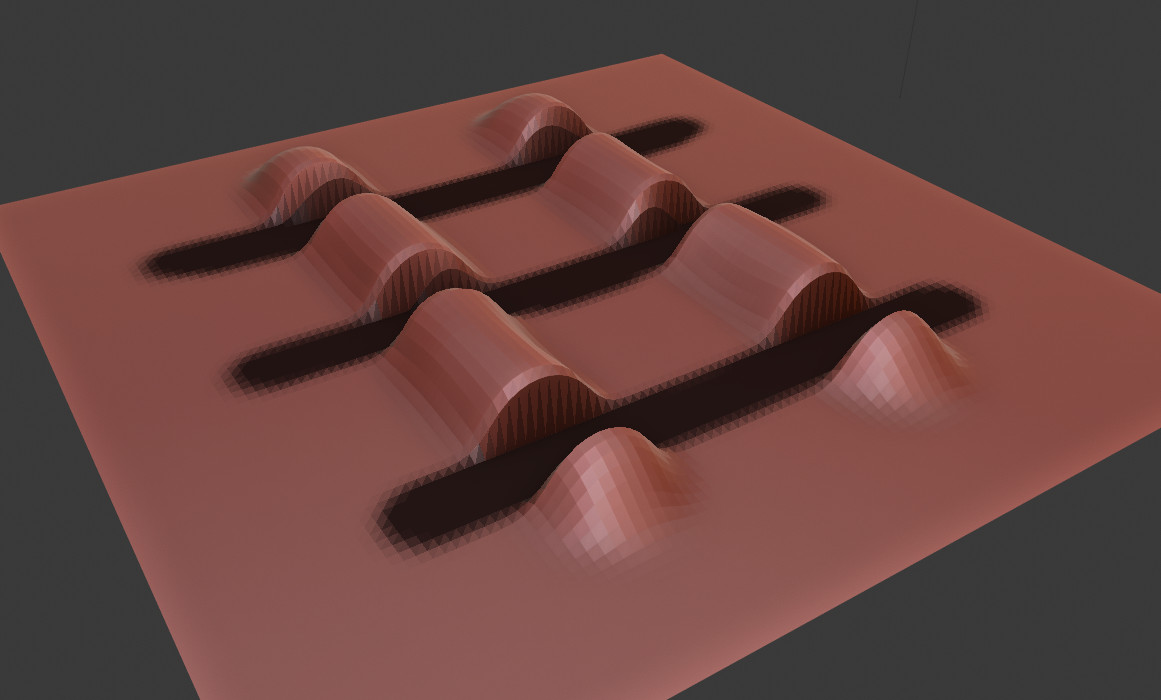
Black part is masked.
笔刷
To edit the mask, select the Mask Brush from the Brush panel.
编辑
参考
- 模式
雕刻模式
- 菜单
- 快捷键
A
Masks can be edited across the entire model. Using A opens a pie menu to choose different operations.
反转遮罩
参考
- 模式
雕刻模式
- 菜单
- 快捷键
Ctrl-I
Inverts an existing mask.
填充遮罩
参考
- 模式
雕刻模式
- 菜单
Fills the whole mask with a value of 1.
清除遮罩
参考
- 模式
雕刻模式
- 菜单
- 快捷键
Alt-M
Fills the mask with a value of 0. To completely remove the mask data, see Clear Sculpt-Mask Data.
框选遮罩
参考
- 模式
雕刻模式
- 菜单
- 快捷键
B
Works like the Box Select tool, it creates a rectangular mask region. Hold Shift to clear the mask of the selected region.
套索遮罩
参考
- 模式
雕刻模式
- 菜单
- 快捷键
Shift-Ctrl-LMB
Can be used to create a free-form mask, similar to the Lasso Select tool.
Tip
To clear the mask of areas with the Lasso Mask tool, first invert the mask, apply the Lasso Mask, and then invert the mask back.
遮罩滤镜
参考
- 模式
雕刻模式
- 菜单
Mask filters are operations that are applied to the whole paint mask.
- 类型
- 平滑/锐化遮罩
Changes the crispness of the mask edge.
- 生长/收缩遮罩
Changes the size of the mask.
- 提高/降低对比度
更改遮罩的对比度。
- 迭代
The number of times that the filter is going to be applied.
- 自动迭代次数
Use an automatic number of iterations based on the number of vertices of the sculpt.
按拓扑展开遮罩
参考
- 模式
雕刻模式
- 菜单
- 快捷键
Shift-A
Creates a mask radiating outwards from the active vertex in a uniform manner.
Note
This operator is meant to be used interactively through the shortcut.
快捷键
- 反转
F Flips between expanding a positive mask (value of one) or a negative mask (value of zero). In the case of face sets, this option flips between including areas inside the masked area or areas outside the masked area.
- 切换保留状态
E Accumulates the new mask on top of the previous one instead of replacing it. For Face Sets, this creates Face Sets boundaries instead of replacing the existing Face Set.
- 切换渐变
G Enables linear gradient, creates a linear gradient of values from the origin to the current active vertex.
- 测地法递归步骤
R Generate a new Geodesic falloff from the boundary of the enabled vertices of the current falloff.
- 拓扑递归步骤
Alt-R Generate a new topology flood fill falloff from the boundary of the enabled vertices of the current falloff.
- 移动原点
Spacebar Moves the initial vertex used for calculating the falloff.
- 测地线衰减
1 使用基于 测地线 距离的衰减,从边缘边界到活动顶点。
- 拓扑衰减
2 使用基于泛滥填充的渐变,使用边缘。
- 对角线偏移
3 利用多边形的对角线和边缘,在泛滥填充的基础上使用淡化。
- 球形
4 Uses a falloff based on the Euclidean distances from the edge boundary to the active vertex.
- 对齐扩展到面组
Ctrl 将扩展的区域隔离到游标下设置的面的边界。
- 循环计数增加
W 增加运行运算符的循环或迭代次数;使用四个循环会将掩码分成四个部分。
- 循环计数减少
Q Decrease the number of loops or iterations the operator is run; using four loops will split the mask into four parts.
- 切换画笔渐变
B Similar to linear gradient but uses the current brush Falloff to define the shape of the falloff.
- 纹理失真增加
Y 在使用纹理扭曲遮罩形状时增加衰减距离。
- 纹理失真减少
T Decreases the falloff distance when using a texture to distort the mask shape.
用法
纹理
Textures can be used to affect the "strength" of the mask. This feature can be combined with loops and recursion to create really unique looking masks. To enable textures, you first need to create/select a texture to use, this is done by in the Properties editor's Texture Properties. Next select the texture in the Texture Brush Settings, while there make sure to enable 3D Mapping. Now, you can use Y and T to increase or decrease the affect the texture has on the edge of the mask.
按法向展开遮罩
参考
- 模式
雕刻模式
- 菜单
- 快捷键
Shift-Alt-A
Creates a mask radiating outwards from the active vertex while following the curvature of the mesh. This operator uses the same internal operator as 按拓扑展开遮罩 meaning all the shortcuts and functionality works the same as that tool.
Note
This operator is meant to be used interactively through the shortcut.
遮罩提取
参考
- 模式
雕刻模式
- 菜单
Creates a duplicate mesh object based on masked geometry.
- 阈值
最小遮罩值,用以考虑从原始网格中提取面的顶点有效。
- 添加边界循环
Creates and extra boundary loop on the edges of the geometry, making it ready for adding a Subdivision Surface modifier later.
- 平滑迭代
应用于提取网格的平滑迭代次数。
- 投影至雕刻
将提取的网格投影到原始雕刻物体中。
- 提取为实心
向新创建的网格物体添加 实体化修改器。
遮罩切片
参考
- 模式
雕刻模式
- 菜单
从网格中删除遮罩顶点。
- 阈值
最小遮罩值,用以考虑从原始网格中提取面的顶点有效。
- 填充洞面
使用可能由 遮罩切片 操作产生的几何体填充凹孔。
- 切片到新物体
从被遮蔽的几何体创建新的物体。
Mask From Cavity
参考
- 模式
雕刻模式
- 菜单
Generates a mask based on the cavity of the surface. The settings of the operation can be changed in the Adjust Last Operation panel.
- 模式
Choose how the newly created mask is mixed with the existing one. By default it will replace the old mask via "Mix".
- 混合因子
The factor of the mix effect. Choose how strong the new mask is applied on the existing one.
- Automask Settings
The same settings as the Auto-Masking settings are applied.
- 系数
Same as Auto-Masking.
- 模糊
Same as Auto-Masking.
- 反转
Same as Auto-Masking.
- 自定义曲线
Same as Auto-Masking.
随机遮罩
参考
- 模式
雕刻模式
- 菜单
根据不同的网格数据为整个对象生成具有随机值的掩码。
- 逐顶点
为每个顶点分配一个随机掩码值。
- 逐面组
为每个 面组 分配一个随机遮罩。
- 删除松散元素
为网格的每个不相交部分指定一个随机掩码值。
显示设置
参考
- 模式
雕刻模式
- 弹出框
遮罩显示可以切换为 视口叠加 。在叠加弹出框中,可以调整遮罩叠加的不透明度,使其在网格上或多或少可见。
清除雕刻遮罩数据
参考
- 模式
物体/编辑模式
- 菜单
将掩模数据层从网格中完全释放出来。虽然这不是一个巨大的好处,但如果不再使用面具,这可以加快雕刻速度。