Introduction
Sculpt Mode is similar to Edit Mode in that it is used to alter the shape of a model, but Sculpt Mode uses a very different workflow: instead of dealing with individual elements (vertices, edges, and faces), an area of the model is altered using a brush. In other words, instead of selecting a group of vertices, Sculpt Mode manipulates geometry in the brush region of influence.
Sculpt Mode
Sculpt Mode is selected from the mode menu of the 3D View header. Once Sculpt Mode is activated, the Toolbar of the 3D View will change to Sculpt Mode specific panels. The panels will be Brush, Texture, Stroke, Falloff, Display, Dyntopo, Symmetry, and Options. A red circle will appear and follow the location of the cursor in the 3D View.
Note
To have a predictable brush behavior, apply the scale of your mesh.
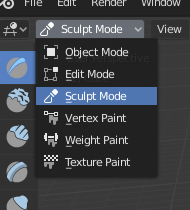
3D View Mode selector: Sculpt Mode.
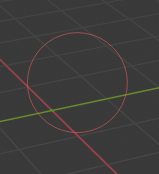
The cursor in Sculpt Mode.
Keyboard Shortcuts
- Smooth stroke toggle Shift
- Invert stroke toggle Ctrl
- Cancel Stroke in Progress Esc
- By pressing Esc while in the middle of a sculpt stroke, the stroke will be canceled and any changes will be undone.