Introduction
The different node editors are used to work with node-based workflows. Each node editor type has its own specific purpose. Therefore, this section only explains how to work with nodes in general. In the list below it shows a list of different types of node trees and where each is documented.

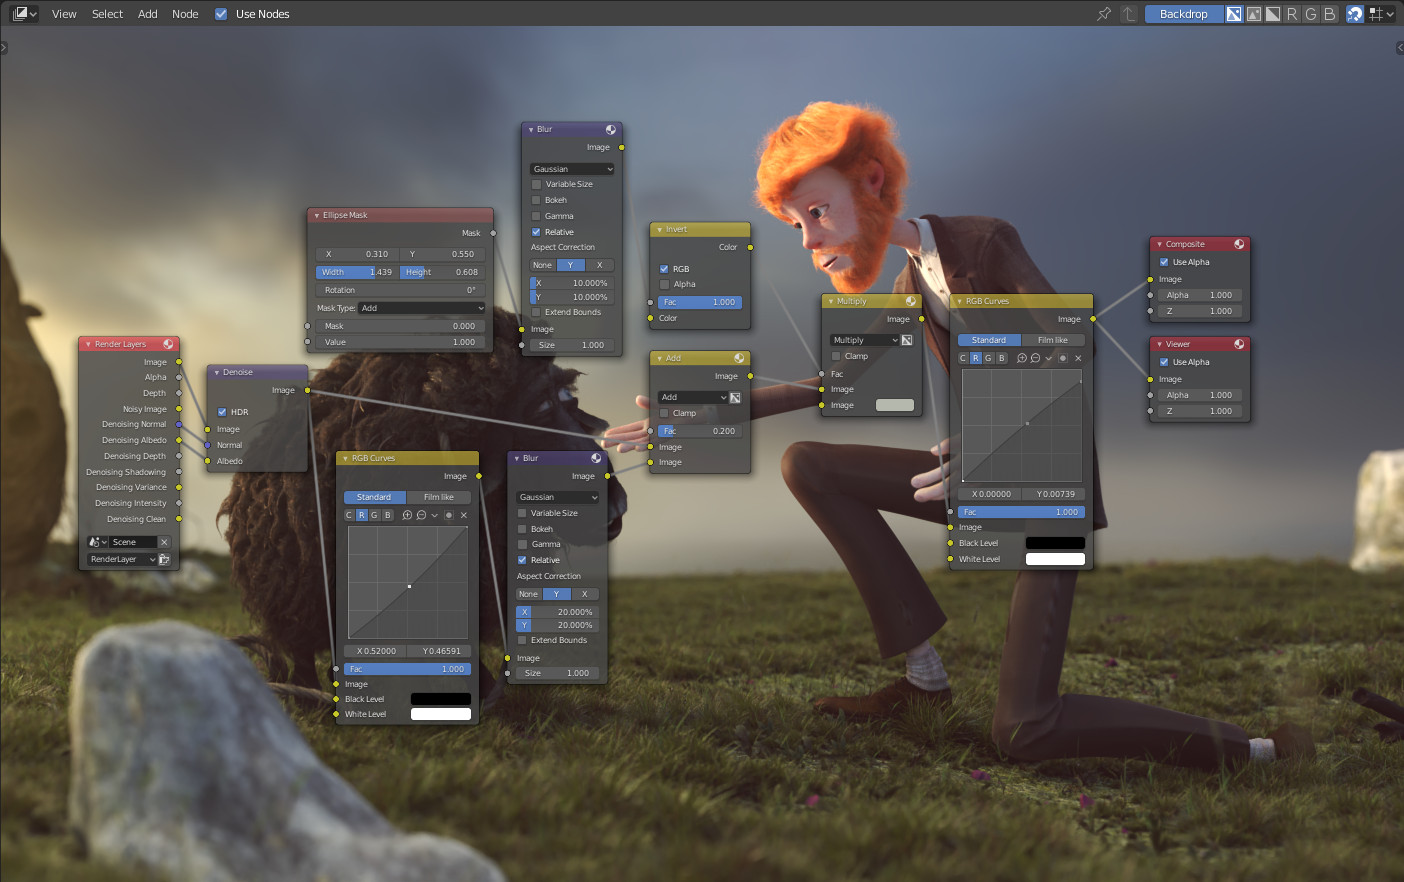
Example of a node editor.
Icon |
Name |
Documentation |
|---|---|---|
Shader Nodes |
Documentation is in the Render section. |
|
Composite Nodes |
Documentation can be found in the Compositing section. |
|
Texture Nodes |
Texture Nodes are covered in the UV editor docs. |
Editor Interface
Header
The Header contains various menus, buttons and options, partially based on the current node tree type.

Common node editor header options.
- View
This menu changes your view of the editor.
- Select
This menu allows you to select a node or groups of nodes.
- Add
This menu allows you to add nodes.
- Node
This menu allows you to do things with selected nodes.
- Use Nodes
Tells the render engine to use the node tree when computing the material color or rendering the final image, or not. If not, the tree is ignored. For materials, this is mostly a legacy option, because in the past materials could not be created with node trees.
- Use Pinned
When enabled, the editor will retain the material or texture, even when the user selects a different object. A node tree can then be edited independent of the object selection in the 3D Viewport.
- Parent Node Tree
This button allows you go to parent node tree e.g. leaving a group.
- Snapping
Change options for snapping node positions to achieve a cleaner node tree layout.
Toolbar
The Toolbar contains a set of tools that can be used in the node editor.
Adding Nodes
Reference
- Mode
All Modes
- Tool
- Menu
- Shortcut
Shift-A
Nodes are added via the Add menu or using the Shift-A shortcut.