Configuring Peripherals
Displays
A full HD display or higher is recommended. Multi-monitor setups are supported, and workspaces can be configured to span multiple monitors.
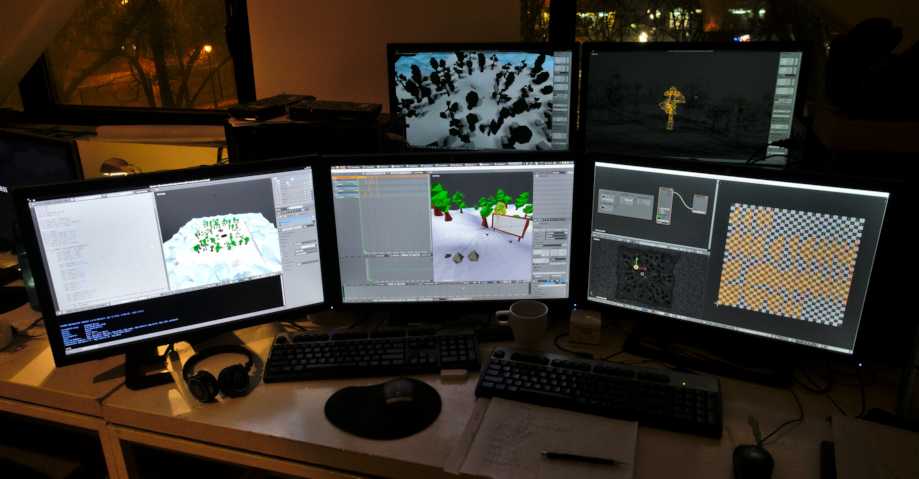
Example of Blender’s multi-monitor support.
Input Devices
Blender supports various types of input devices:
Keyboard (recommended: keyboard with numeric keypad, English layout works best)
Mouse (recommended: three button mouse with scroll wheel)
NDOF Device (also known as 3D Mouse)
Graphic Tablet
Note
If you don’t have a middle mouse button or numpad, you can emulate these in the Input Preferences.
Mouse
Keyboard
Numpad Emulation
If you do not have a numpad on the side of your keyboard, you may want to emulate one. You can then use the number row at the top of the keyboard instead, but will no longer have access to these keys’ original functions (such as switching between vertex/edge/face selection in Edit Mode).
See also
Read more about Numpad Emulation in the Preferences.
Non-English Keyboards
If you use a keyboard with a non-English layout, you may still benefit from switching to the UK or US layout while working with Blender.
Note
You can also change the keymap from the Preferences. However, this manual assumes you are using the default keymap.
Graphic Tablet
Graphics tablets can be used to provide a more traditional method of controlling the mouse cursor using a pen. This can help provide a more familiar experience for artists who are used to painting and drawing with similar tools, as well as provide additional controls such as pressure sensitivity.
Note
If you are using a graphic tablet instead of a mouse and pressure sensitivity does not work properly, try to place the mouse pointer in the Blender window and then unplug/replug your graphic tablet. This might help.
NDOF (3D Mouse)
3D mice or NDOF devices are hardware that you can use to navigate a scene in Blender. Currently only devices made by 3Dconnexion are supported. These devices allow you to explore a scene, and make Fly/Walk Navigation easier to control. The NDOF device can be configured in the Preferences. These settings can also be accessed directly from the viewport using the NDOFMenu button on the NDOF device.
See also
See Input Preference for more information on configuring peripherals.
Head-Mounted Displays (Virtual Reality)
HMDs make it possible to place users in an interactive, virtual environment. Attached to the head, they track head movements to project a seemingly surrounding world onto small screens in front of the user’s eyes. If the system works well, they experience the virtual environment as if they were really inside of it.
Supported Platforms
Virtual reality support in Blender is implemented through the multi-platform OpenXR standard. This standard is new and therefore support for it is still limited.
Platform |
Operating System |
Notes |
|---|---|---|
Windows |
||
Windows |
||
GNU/Linux |
Not recommended for general use yet. |
|
Oculus (Rift and Quest) |
Windows |
Requires Oculus v31 Software Update. Oculus Link required for Quest. |
Windows, GNU/Linux |
Requires SteamVR 1.16 or greater. |
|
Windows |
– |
|
Windows |
Requires Windows 10 May 2019 Update (1903). |
Getting Started
The following subsections describe how an HMD can be set up for usage with the supported platforms. If this is not done, Blender will report an error when trying to start a virtual reality session.
HTC Vive Cosmos
The dedicated platform for the HTC Vive Cosmos is currently targeted at developers and may lack features found in other platforms.
Follow the steps from the Vive Developer Forums.
Enable the VR Scene Inspection add-on in Blender.
HTC Vive Focus 3
The dedicated platform for the HTC Vive Focus 3 is currently targeted at developers and may lack features found in other platforms.
Follow the steps from the Vive Developer Forums.
Enable the VR Scene Inspection add-on in Blender.
Monado
Monado is a free and open source XR platform for Linux. It is not yet ready for production usage and should only be used for testing purposes.
Packages are available for the following distributions:
Ubuntu (Eoan, Focal)
For other systems, it has to be compiled from source, which in this case is not recommended for people with little experience in compiling software. Follow the Getting Started Guides from Monado to do so nevertheless.
Enable the VR Scene Inspection add-on in Blender.
Oculus
Oculus provides full support for OpenXR as of the Oculus v31 Software Update.
Download and install the Oculus Rift/Oculus Link software.
Set Oculus as the active OpenXR runtime via the General tab in the Oculus App Settings.

Enable the VR Scene Inspection add-on in Blender.
SteamVR
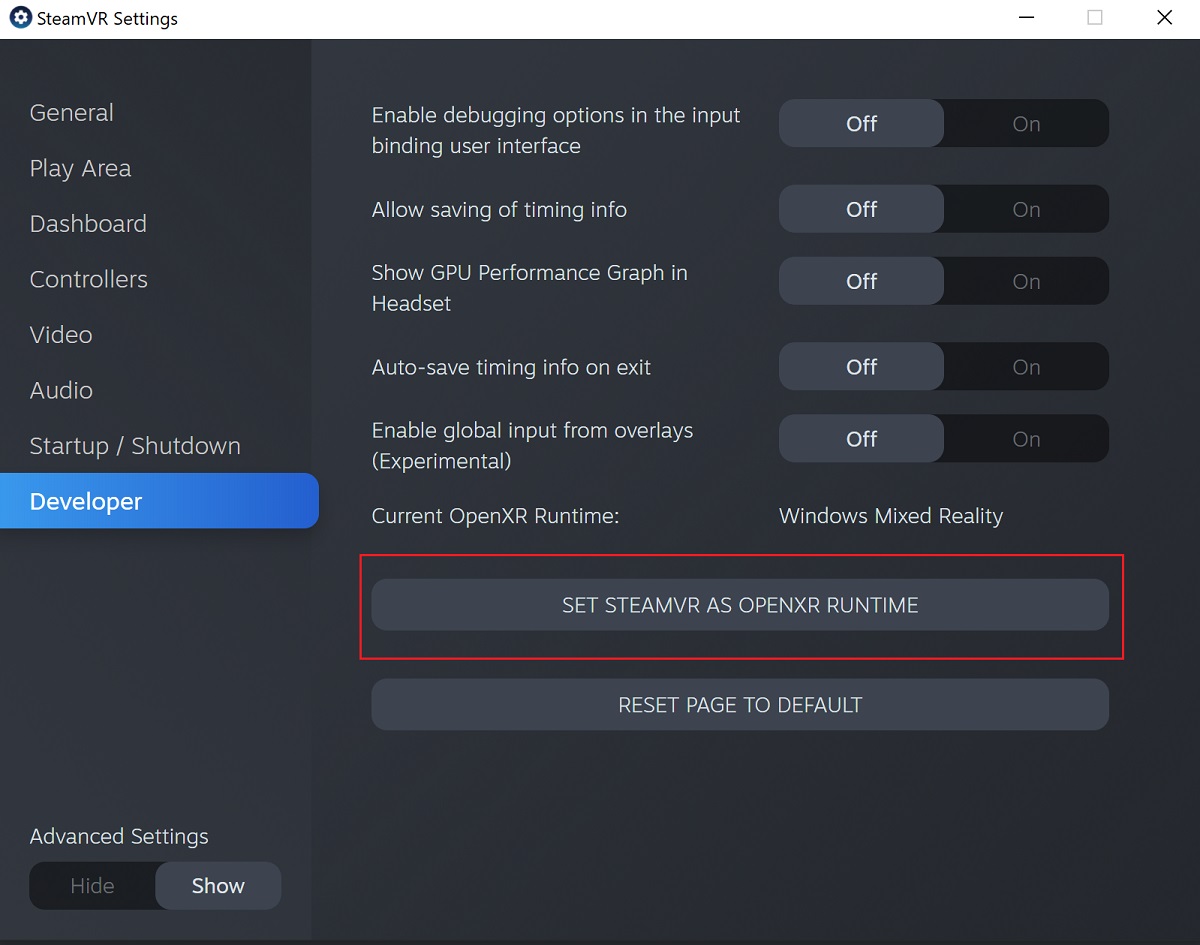
SteamVR provides full support for OpenXR as of SteamVR 1.16.
Set SteamVR as the active OpenXR runtime via the Developer tab in the SteamVR Settings.
Enable the VR Scene Inspection add-on in Blender.
Note
The SteamVR runtime can also be used for HTC Vive Cosmos, Oculus, and Windows Mixed Reality HMDs.
Varjo
Varjo includes full OpenXR support with its required Varjo Base software.
Enable the VR Scene Inspection add-on in Blender.
Windows Mixed Reality
Windows Mixed Reality provides full support for OpenXR. To check if a PC meets the requirements to run the software, Microsoft offers the Windows Mixed Reality PC Check application.
Make sure the Windows 10 May 2019 Update (1903) is installed.
If the system meets all requirements, the Mixed Reality Portal should already be installed. It is also available in the Microsoft Store.
Launch the Mixed Reality Portal. Click the menu button
...in the lower left corner. In the menu it opens, select the Set up OpenXR.Enable the VR Scene Inspection add-on in Blender.
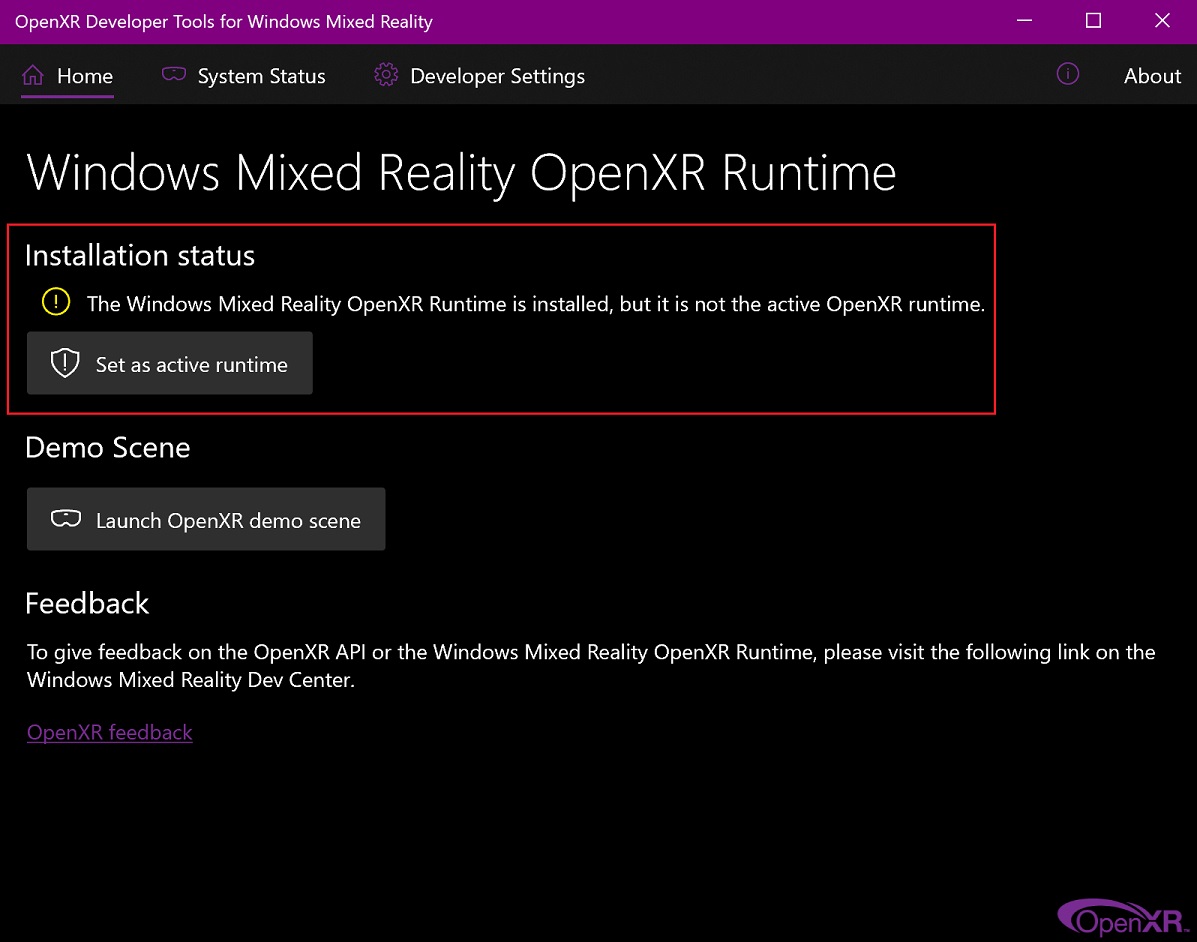
Note
To switch to Windows Mixed Reality from another OpenXR runtime (e.g. SteamVR), download the OpenXR Developer Tools from the Microsoft Store and set Windows Mixed Reality as the active runtime.