Introduction
Le Mode Sculpture est comparable au Mode Édition par son utilisation pour modifier la forme d’un modèle, mais le Mode Sculpture utilise un flux de travail très différent : au lieu de gérer des éléments individuels (sommets, arêtes et faces), une zone du modèle est modifiée à l’aide d’une brosse. En d’autres termes, au lieu de sélectionner un groupe de sommets, le Mode Sculpture manipule la géométrie dans la région d’influence de la brosse.
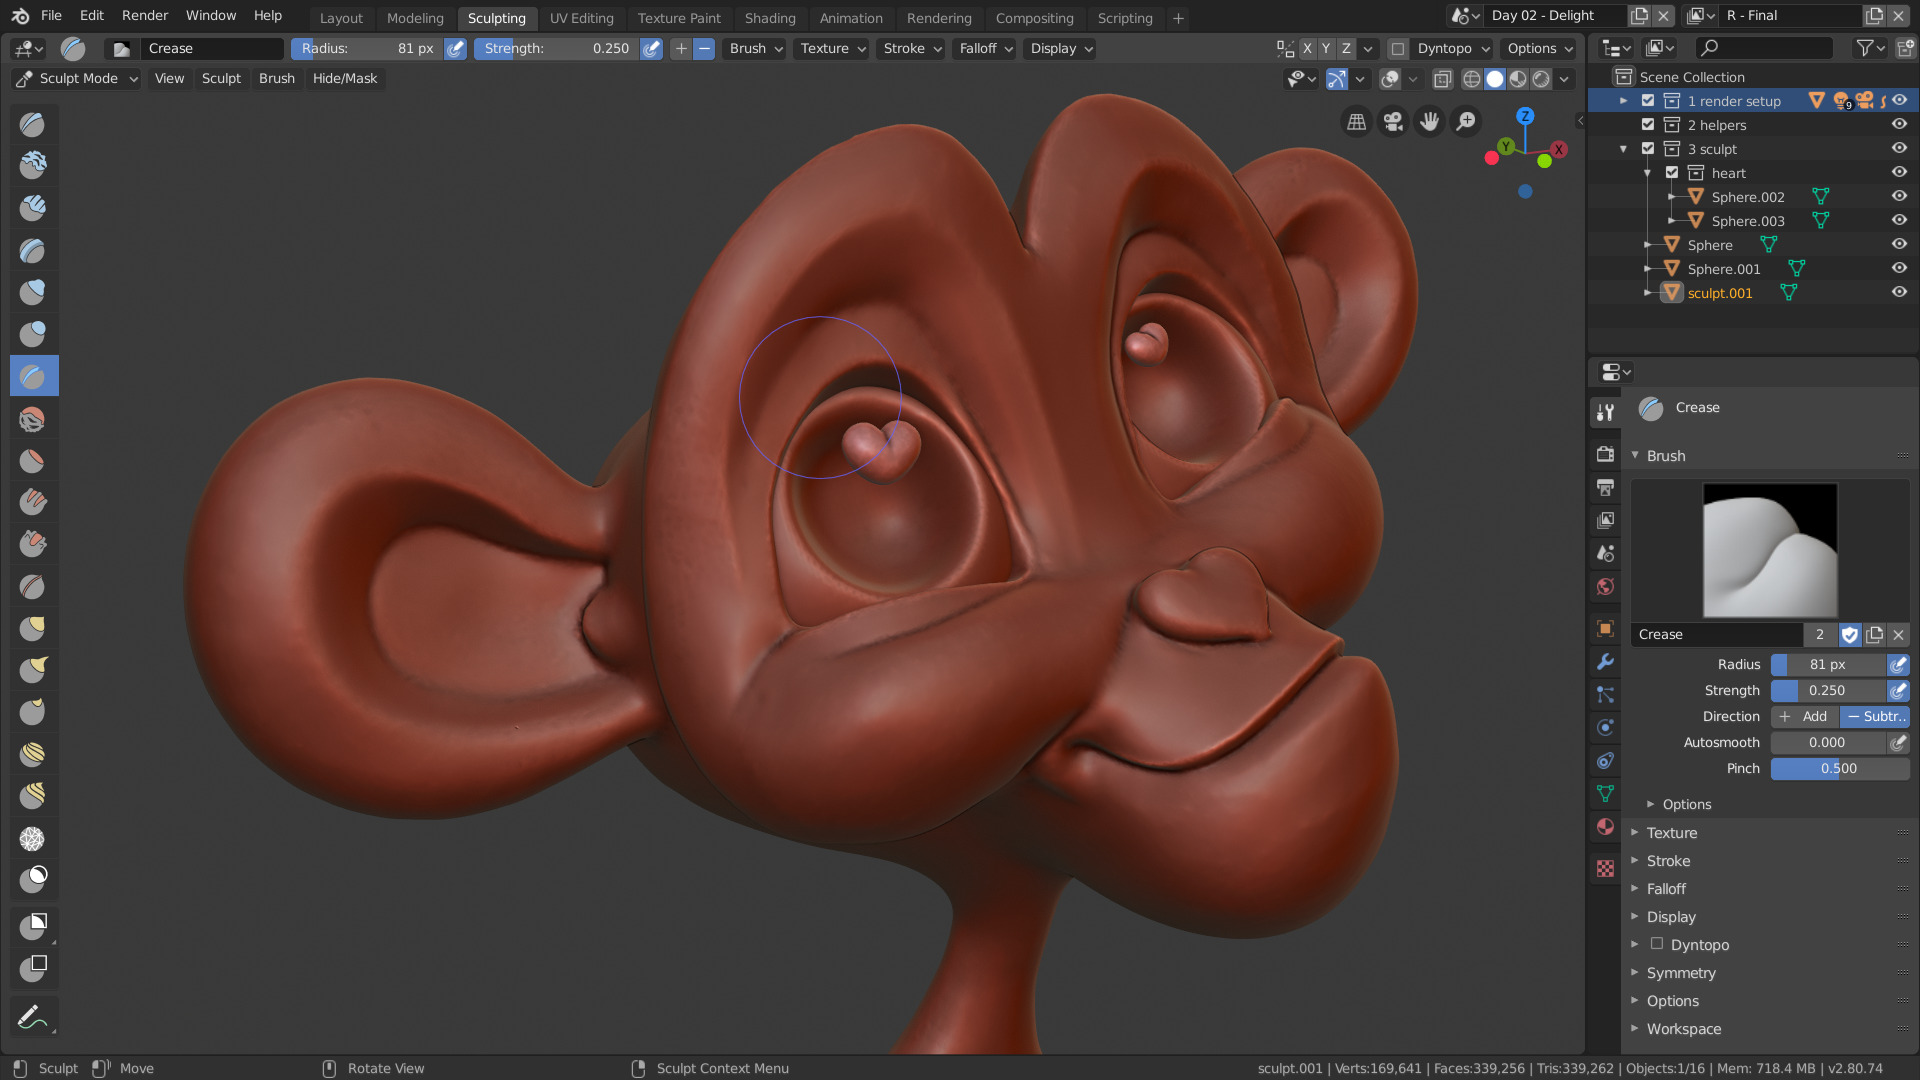
Sculpting Mode Example.
Mode Sculpture
Sculpt Mode is selected from the mode menu of the 3D View header. Once Sculpt Mode is activated, the Toolbar of the 3D View will change to Sculpt Mode specific panels. A red circle will appear and follow the location of the cursor in the 3D View.
Note
Pour avoir un comportement de brosse prévisible, appliquez l’échelle de votre maillage.
The Brush
Sculpt Mode uses a similar brush to other the other painting modes, but it is slightly more advanced. All the normal brush controls still apply, and it functions exactly the same, however, the brush for sculpting is displayed in 3D. This means that the brush will follow the contours of the mesh and the radius is displayed by orienting the brush to match the meshes normal. How closely the cursor follows the curvature of the mesh can be changed in the Brush Settings.
The brush can also change depending on the currently active tool to better display how that tool works.