Utilisation des groupes de sommets
Groupes de sommets pour les os
This is one of the main uses of weight painting. When a bone moves, vertices around the joint should move as well, but just a little, to mimic the stretching of the skin around the joint. Use a « light » weight (10 - 40%) paint on the vertices around the joint so that they move a little when the bone rotates. While there are ways to automatically assign weights to an armature (see the skinning section), you can do this manually. To do this from scratch, refer to the process below. To modify automatically assigned weights, jump into the middle of the process where noted:
Créez une armature.
Créez un maillage qui sera déformé quand l”/les os de l’armature bouge(nt).
With the mesh selected, create an Armature modifier for your mesh (located in the Properties, Modifiers tab). Enter the name of the armature.
Reprenez ici pour la modification automatique des poids assignés.
Select the armature in 3D Viewport, and bring the armature to Pose Mode with Ctrl-Tab, or the 3D Viewport header mode selector.
Sélectionnez l’os souhaité dans l’armature.
Select your mesh with LMB and change immediately to Weight Paint Mode. The mesh will be colored according to the weight (degree) that the selected bone movement affects the mesh. Initially, it will be all blue (no effect).
Peignez le poids à volonté. Le maillage autour de l’os lui-même devrait être rouge (généralement) et s’estompe via l’arc-en-ciel vers le bleu pour les sommets situés loin de l’os.
Quand vous sélectionnez un os de l’armature (qui reste en Mode Pose), il va activer le groupe de sommets correspondant et afficher les poids associés. Vous ne pouvez sélectionner qu’un seul os à la fois dans ce mode (aussi Maj-LMB clic ne fonctionne pas).
Astuce
If the mesh skins the bones, you will not be able to see the bones because the mesh is painted. If so, turn on X-Ray view ().
Si vous peignez sur le maillage, un groupe de sommets est créé pour l’os. Si vous peignez sur des sommets hors du groupe, les sommets peints sont automatiquement ajoutés au groupe de sommets.
Si vous avez un maillage symétrique et une armature symétrique vous pouvez utiliser l’option X Mirror. Alors les groupes en miroir avec les poids en miroir sont automatiquement créés.
Astuce
Selecting Deform Groups
When you are doing weight painting for deform bones (with an armature), you can select a deform group by selecting the corresponding bone. However, this vertex group selection mode is disabled when Selection Masking is active!
Groupes de sommets pour des particules
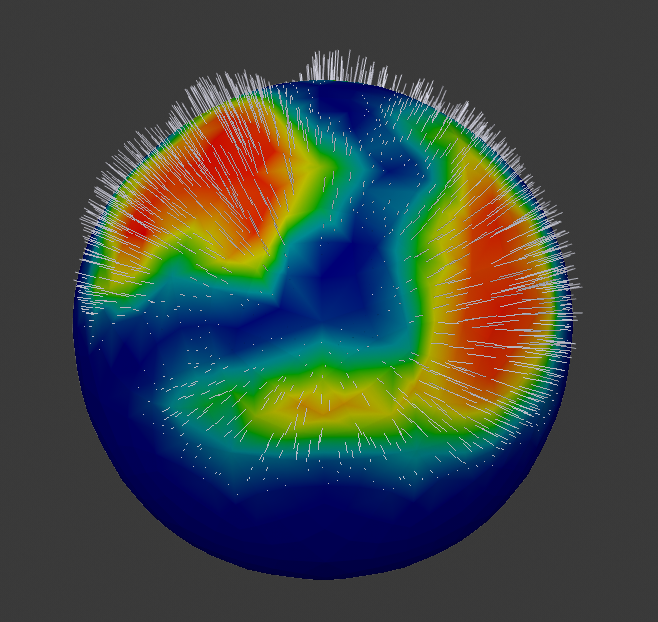
Émission de particules peintes.
In example faces or vertices with zero weight generate no particles. A weight of 0.1 will result in 10% of the amounts of particles. This option « conserves » the total indicated number of particles, adjusting the distributions so that the proper weights are achieved while using the actual number of particles called for. Use this to make portions of your mesh hairier than others by weight painting a vertex group, and then calling out the name of the vertex group in the Vertex Groups panel .