View Regions
Clipping Region
Riferimento
- Modalità:
All modes
- Menù:
- Scorciatoia:
Alt-B
Consente di definire un’area di ritaglio per limitare la visualizzazione della vista 3D a una porzione di spazio 3D. Può aiutare nel processo di lavoro con modelli e scene complessi.
Once activated, you have to draw a rectangle with the mouse. It becomes a clipping volume of four planes:
Un rettangolo parallelepipedo (di lunghezza infinita) se la tua vista è ortografica.
Una piramide a base rettangolare (di altezza infinita) se la vista è in prospettiva.
Once clipping is used, you will only see what’s inside the volume you defined. Tools such as paint, sculpt, selection, transform snapping, etc. will also ignore geometry outside the clipping bounds.
Per eliminare questo ritaglio, premere Alt-B di nuovo.
Esempio
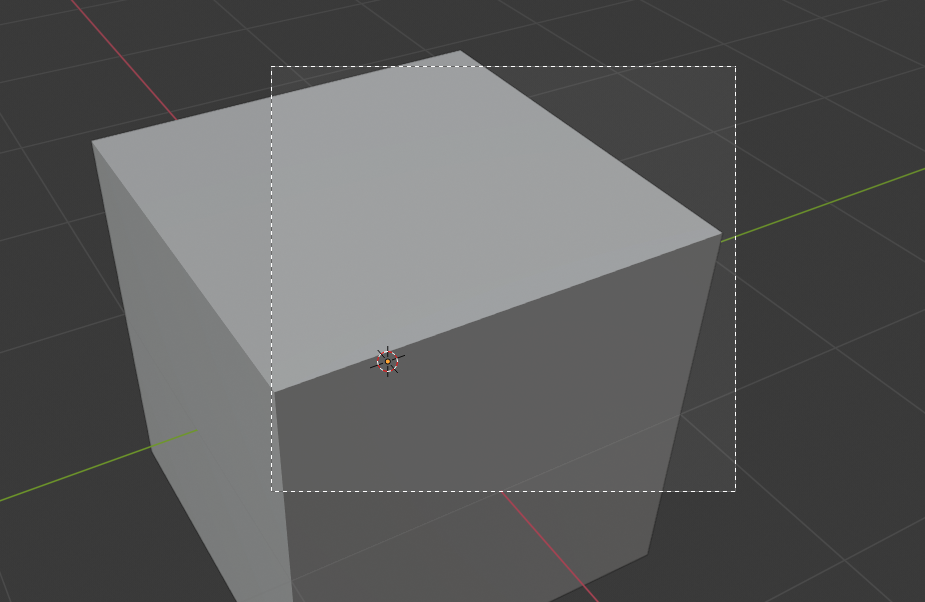
Selezione di una regione. |
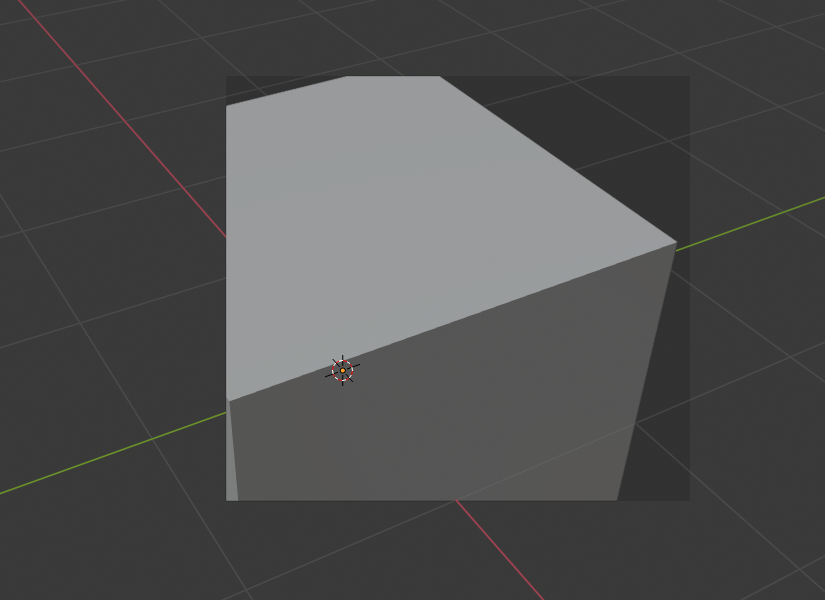
Regione selezionata. |
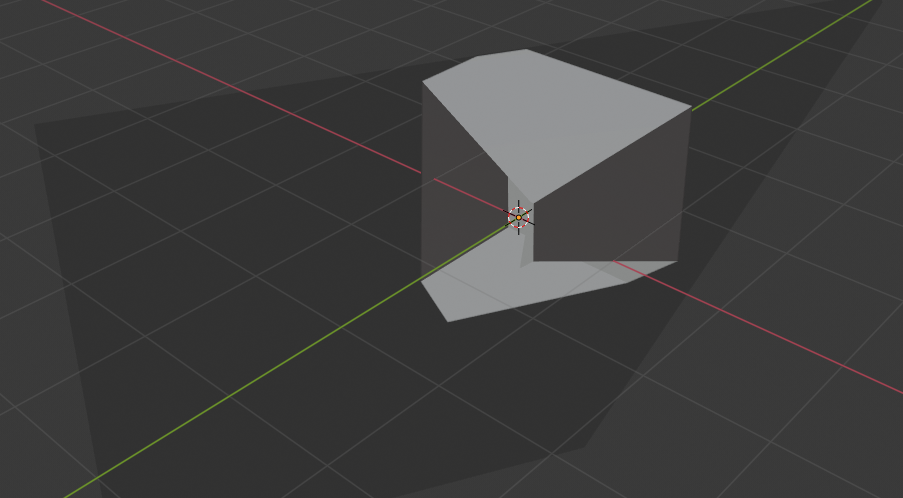
Vista ruotata. |
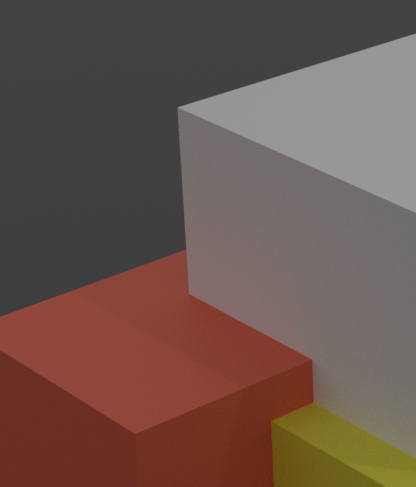
The Region/Volume clipping image shows an example of using the clipping tool with a cube. Start by activating the tool with Alt-B. This will generate a dashed cross-hair cursor. Click with the LMB and drag out a rectangular region. Now clipping is applied against that region in 3D space. Use the MMB to rotate the view and you will see that only what is inside the clipping volume is visible. All the editing tools still function as normal, but only within the clipping volume.
L’area grigio scuro è il volume di ritaglio stesso. Una volta disattivato il ritaglio con un altro Alt-B, tutto lo spazio 3D diventerà di nuovo visibile.
Regione Rendering
Riferimento
- Modalità:
All modes
- Menù:
- Scorciatoia:
Traccia: Ctrl-B Cancella: Ctrl-Alt-B
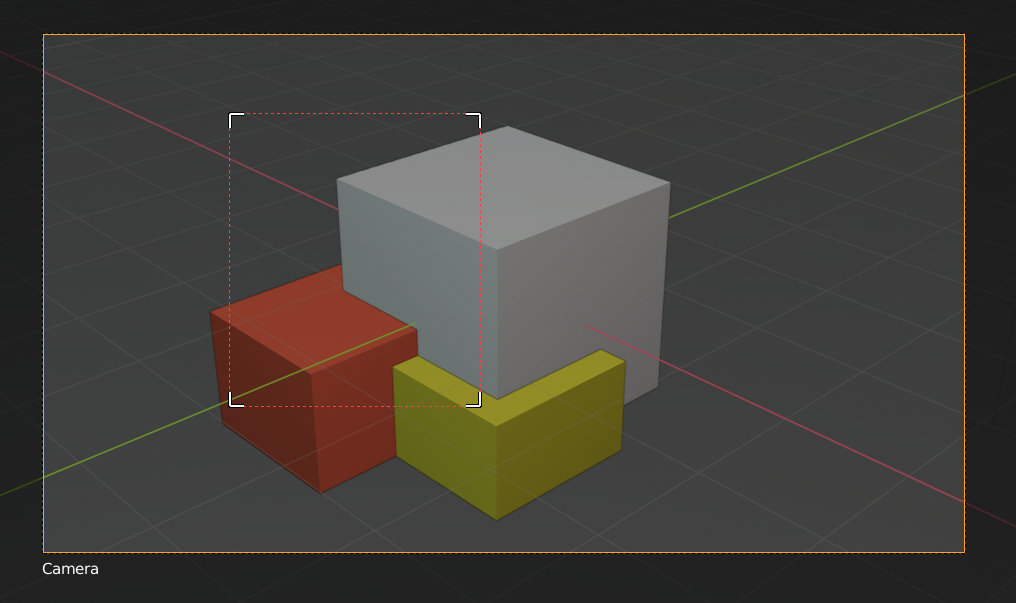
When using the Rendered shading mode, it can be quite slow to render the entire 3D Viewport. To fix this, you can define a subregion to render just a portion. This can be very useful for reducing render times for quick previews on an area of interest.
Apart from clearing the render region, you can also temporarily disable it in the Sidebar if you’re not in Camera View, or in the Output tab of the Properties editor if you are.
|
|
Suggerimento
If you set a render region while in camera view and have it enabled in the Output properties, it will be applied to the final render.
Vedi anche