Mask
Masking to control which areas of the mesh are influenced by sculpting.
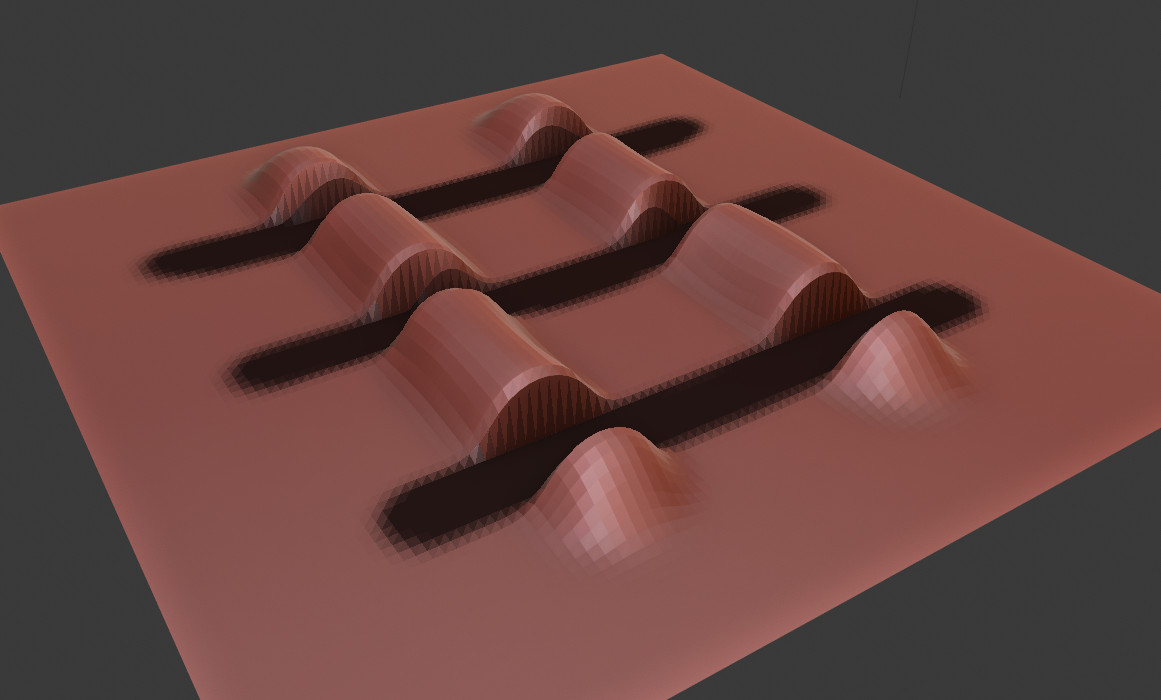
Black part is masked.
Brush
To edit the mask, select the Mask Brush from the Brush panel.
Editing
Reference
- Mode
Sculpt Mode
- Menu
Masks can be edited across the entire model. Using A opens a pie menu to choose different operations.
Clear Mask
Reference
- Mode
Sculpt Mode
- Menu
- Hotkey
Alt-M
Fills the mask with a value of 0. To completely remove the mask data, see Clear Sculpt-Mask Data.
Box Mask
Reference
- Mode
Sculpt Mode
- Menu
- Hotkey
B
Works like the Box Select tool, it creates a rectangular mask region. Hold Shift to clear the mask of the selected region.
Lasso Mask
Reference
- Mode
Sculpt Mode
- Menu
- Hotkey
Shift-Ctrl-LMB
Can be used to create a free-form mask, similar to the Lasso Select tool.
ちなみに
To clear the mask of areas with the Lasso Mask tool, first invert the mask, apply the Lasso Mask, and then invert the mask back.
Mask Filters
Reference
- Mode
Sculpt Mode
- Menu
Mask filters are operations that are applied to the whole paint mask.
- Type
- Smooth/Sharpen Mask
Changes the crispness of the mask edge.
- Grow/Shrink Mask
Changes the size of the mask.
- Increase/Decrease Contrast
Changes the contrast of the mask.
- Iterations
The number of times that the filter is going to be applied.
- Auto Iteration Count
Use an automatic number of iterations based on the number of vertices of the sculpt.
Expand Mask by Topology
Reference
- Mode
Sculpt Mode
- Menu
- Hotkey
Shift-A
Creates a mask radiating outwards from the active vertex in a uniform manner.
Expand Mask by Curvature
Reference
- Mode
Sculpt Mode
- Menu
- Hotkey
Shift-Alt-A
Creates a mask radiating outwards from the active vertex while following the curvature of the mesh.
Mask Extract
Reference
- Mode
Sculpt Mode
- Menu
Creates a duplicate mesh object based on masked geometry.
- Threshold
Minimum mask value to consider the vertex valid to extract a face from the original mesh.
- Add Boundary Loop
Creates and extra boundary loop on the edges of the geometry, making it ready for adding a Subdivision Surface modifier later.
- Smooth Iterations
Smooth iterations applied to the extracted mesh.
- Project to Sculpt
Project the extracted mesh on to the original sculpt object.
- Extract as Solid
Adds a Solidify Modifier to the newly created mesh object.
Mask Slice
Reference
- Mode
Sculpt Mode
- Menu
Removes the masked vertices from the mesh.
- Threshold
Minimum mask value to consider the vertex valid to extract a face from the original mesh.
- Fill Holes
Fills concave holes with geometry that might have resulted from the Mask Slice operation.
- Slice to New Object
Create a new object from the masked geometry.
Dirty Mask
Reference
- Mode
Sculpt Mode
- Menu
Generates a mask based on the geometry cavity and pointiness.
Display Settings
Reference
- Mode
Sculpt Mode
- Popover
The mask display can be toggled as a viewport overlay. In the overlay popover, the opacity of the mask overlay can be adjusted to make it more or less visible on the mesh.
Clear Sculpt-Mask Data
Reference
- Mode
Object/Edit Mode
- Menu
Completely frees the mask data layer from the mesh. While not a huge benefit, this can speed-up sculpting if the mask is no longer being used.