Mapear UV
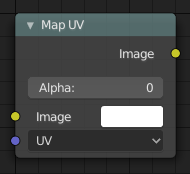
Map UV node.
Através deste nó, os objetos podem ser «re-texturizados» após terem sido renderizados.
Para aplicar uma textura para os objetos individuais enumerados, o nó Identificador de máscara poderá ser utilizado.
Entradas
- Imagem
The new 2D texture.
- UV
The input for UV render pass. See Cycles render passes.
Dica
To store the UV pass a multi-layer OpenEXR format could be used.
Propriedades
- Alfa
O ajuste de alfa é usado para esmaecer para o alfa os pixeis nas bordas das imagens.
Saídas
- Imagem
A imagem resultante é a textura da imagem de entrada distorcida para combinar com as coordenadas UV. Esta imagem pode então ser sobreposta e misturada com a imagem original para a pintar a textura sobre a original.
Dica
Ao pintar com a nova textura, é uma boa ideia ter mapas UV para os objetos originais presentes na cena, e também é recomendado manter os contornos destas coordenadas UV de maneira distribuída, quando a tomada é feita.
Exemplos
In the example below, we have overlaid a grid pattern on top of the two heads after they have been rendered. During rendering, we enabled the UV layer in the Properties editor . Using a Mix node («Overlay» in figure), we mix that new UV texture over the original face. We can use this grid texture to help in any motion tracking that we need to do.
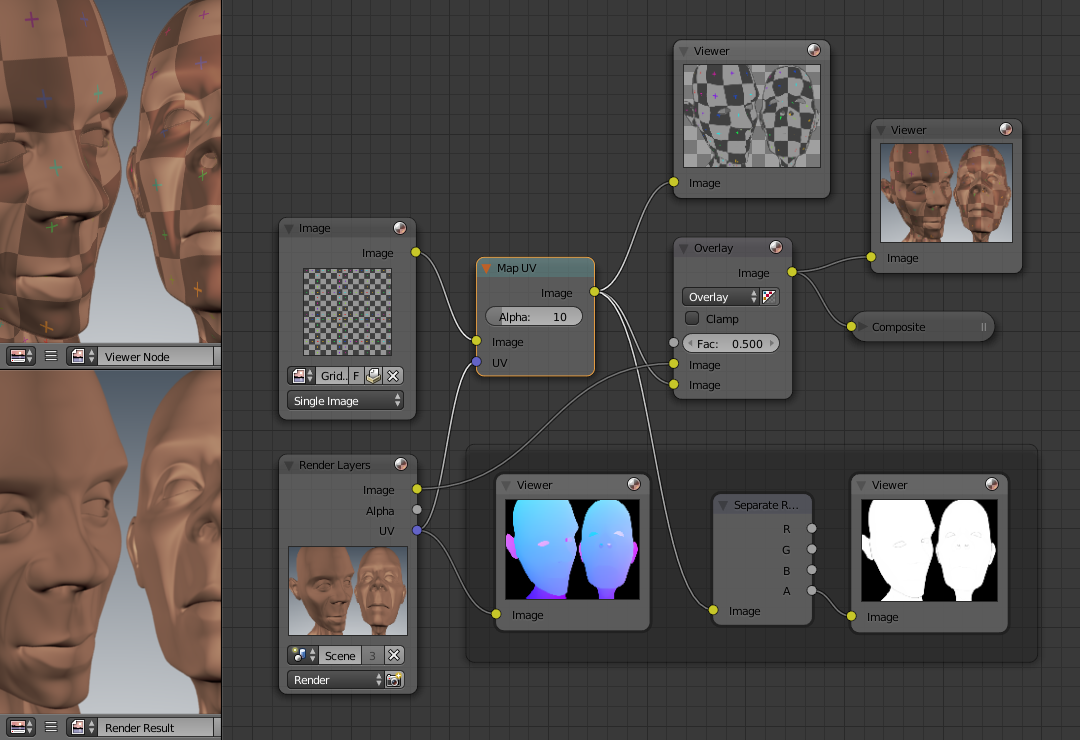
Adding a grid UV textures for motion tracking.
In the next example, we overlay a logo on top of a mesh composed of two intersecting cubes, and we ensure that we Enable the Alpha premultiply button on the Mix node. The logo is used as additional UV texture on top of the existing texture. Other examples include the possibility that there was used an unauthorized product box during the initial animation, and it is needed to substitute in a different product sponsor after rendering.
Dica
Due to limits of this node, it is not recommended to rush pre-production rendering under the guise of «fixing it later».
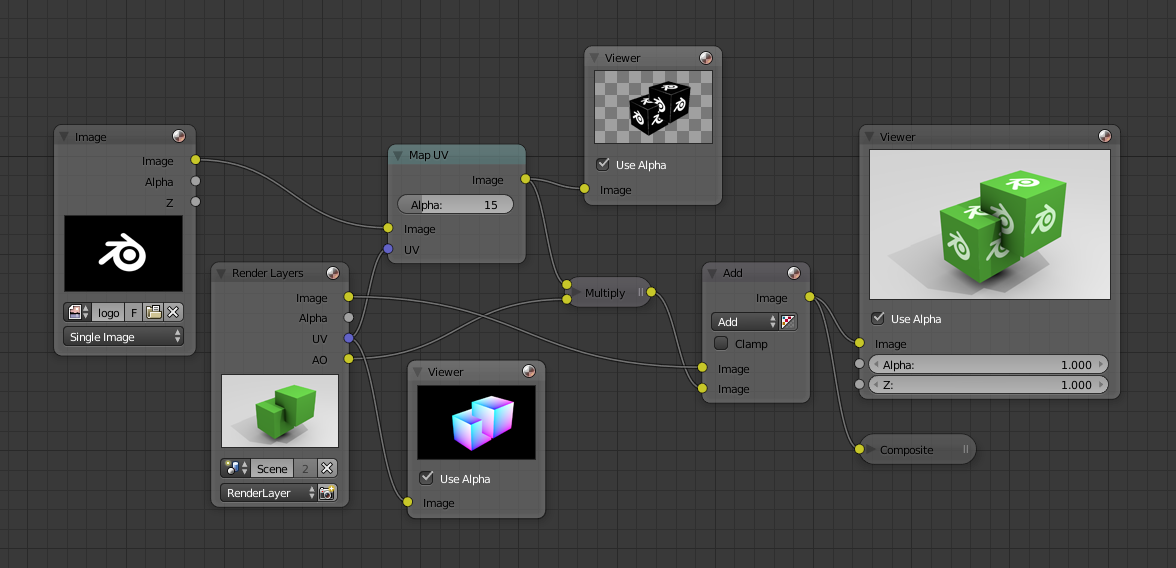
Adding UV textures in post-production.