Curve Modifier
The Curve modifier provides a simple but efficient method of deforming a mesh along a curve object.
It works on a (global) dominant axis, X, Y, or Z. This means that when you move your mesh in the dominant direction (by default, the X axis), the mesh will traverse along the curve, as if it was a train following and deforming along rails. Moving the mesh perpendicularly to this axis, the object will move closer or further away from the curve.
When you move the object beyond the curve’s ends, the object will continue to deform based on the direction vector at those ends.
Примечание
This modifier works in global space, in other words, the actual position of the geometry relative to the curve is determinant to get a correct result.
Typically, you’ll want your object’s origin to be at the center of your geometry (not offset far away from it, you can e.g. Set Origin to Geometry).
And then you’ll want to start with your object’s origin at the same location as your curve object’s origin (you may use snap tools for that…).
If the curve is 3D, the Tilt value of its control points will be used to twist the deformed object. And the Radius property controls the size of the object as well. Those options are in the Shape panel, under Path/Curve-Deform.
Параметры

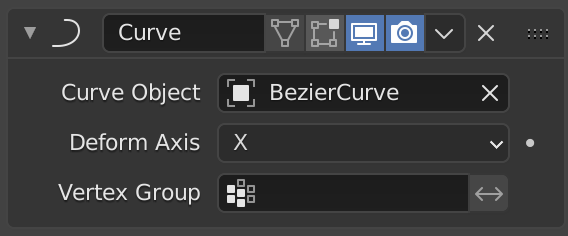
The Curve modifier.
- Curve Object
The name of the curve object that will affect the deformed object.
- Deformation Axis
This is the axis that the curve deforms along.
X/Y/Z/-X/-Y/-Z
- Vertex Group (группа вершин)
Если установлено, эффект ограничивается только вершинами в этой группе вершин.
- Invert
<-> Инвертирует влияние выбранной группы вершин, что означает, что теперь группа представляет вершины, которые не будут деформированы модификатором.
Эта настройка меняет значения веса группы на противоположные.
- Invert
Пример

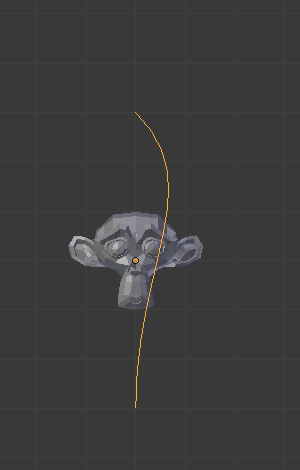
Edit curve. |

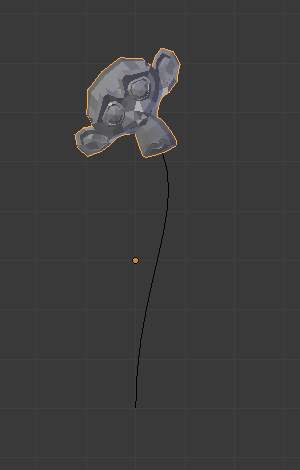
Monkey on a curve. |

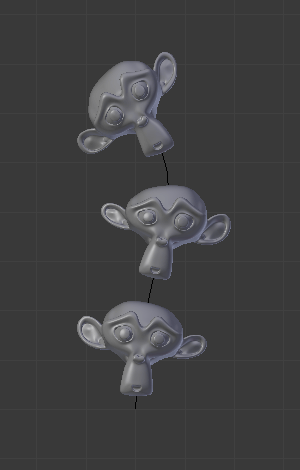
Monkey deformations. |