Вступ – Introduction
Sculpt Mode – Режим Ліплення подібний до Режиму Редагування – Edit Mode у тому, що він використовується для зміни форми моделі, однак, Режим Ліплення користається іншим ходом роботи: замість оброблення індивідуальних елементів (вершин, ребер та граней) область моделі змінюється за допомогою пензля. Іншими словами, замість вибирання групи вершин, Режим Ліплення маніпулює геометрією у регіоні впливу пензля.
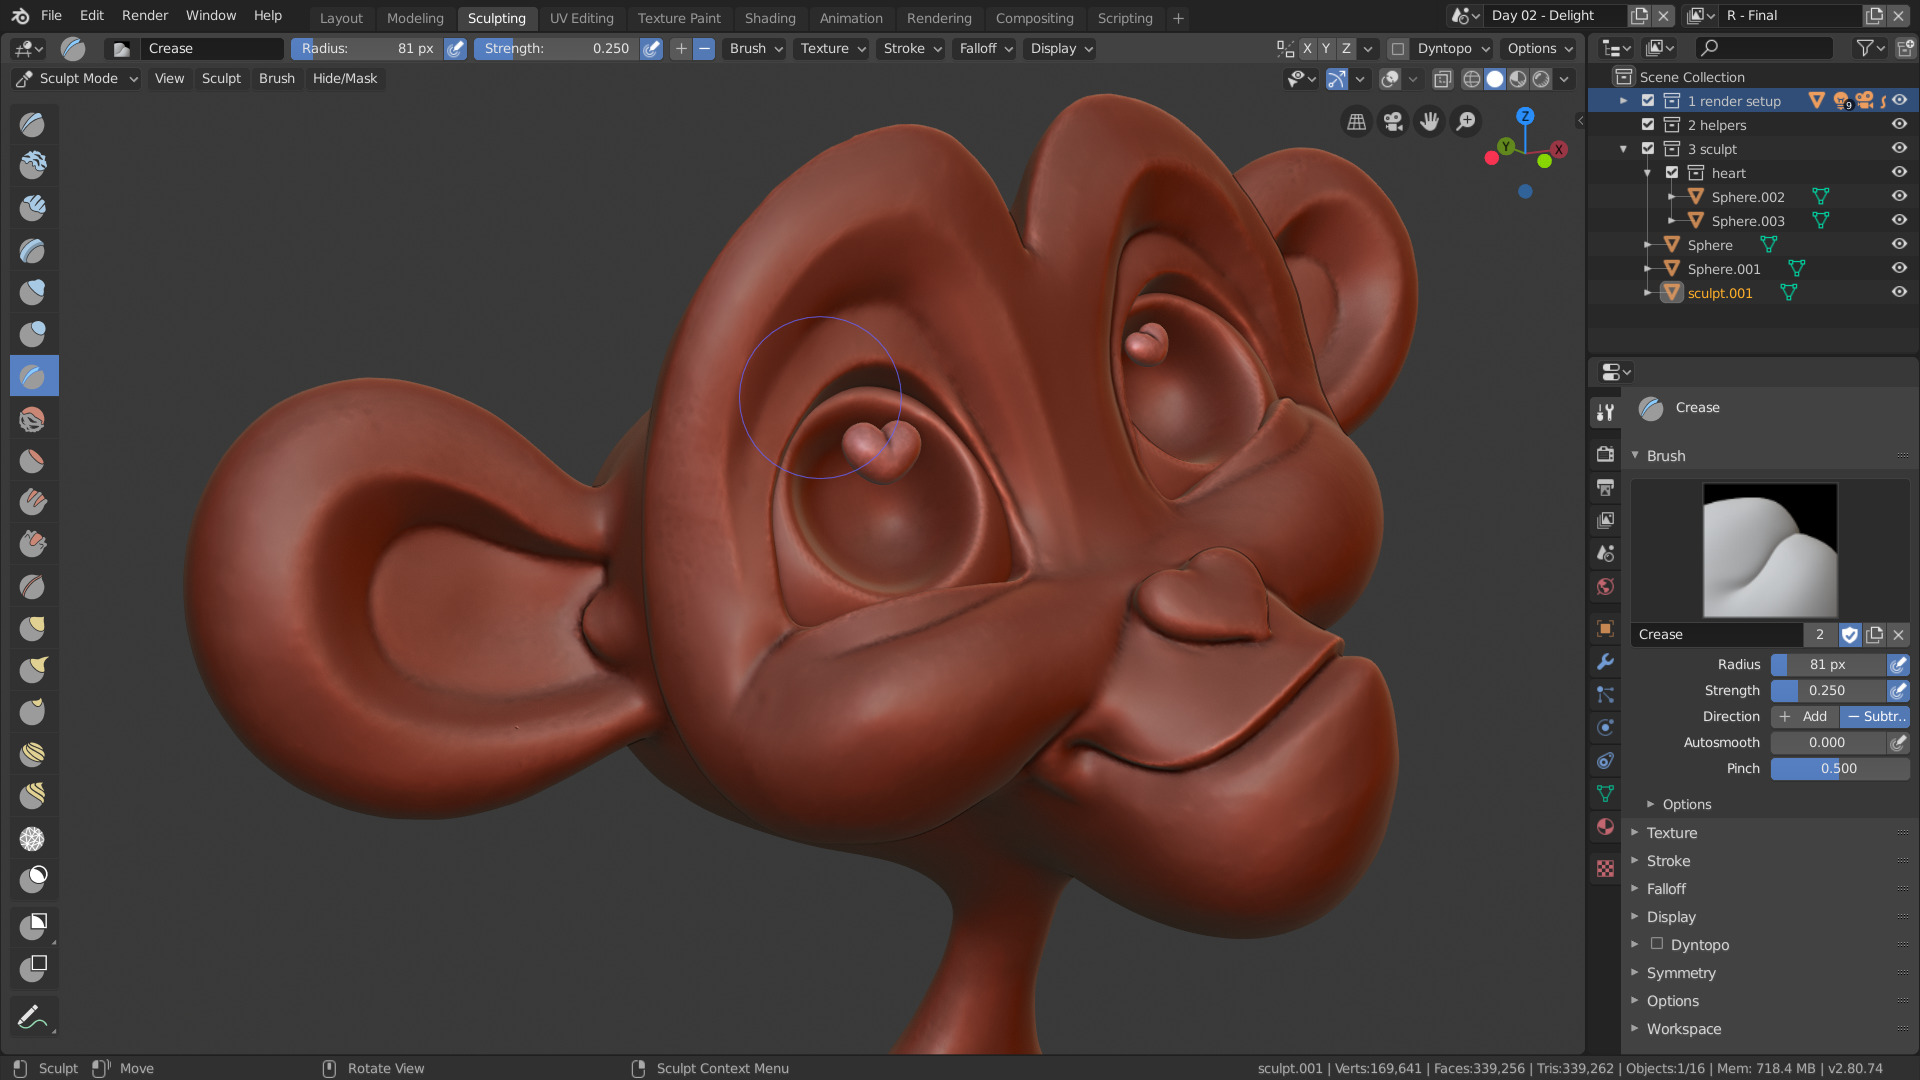
Приклад режиму ліплення Sculpting Mode.
Sculpt Mode is selected from the mode menu of the 3D Viewport header. Once Sculpt Mode is activated, the Toolbar of the 3D Viewport will change to Sculpt Mode specific panels. A red circle will appear and follow the location of the cursor in the 3D Viewport.
Примітка
Щоб мати передбачувану поведінку пензля, застосуйте масштаб (Apply > Scale) вашої сіті.
Пензель – The Brush
Sculpt Mode uses a similar brush to the other painting modes, but it is slightly more advanced. All the normal brush controls still apply, and it functions exactly the same, yet the brush for sculpting is displayed in 3D. This means that the brush will follow the contours of the mesh and the radius is displayed by orienting the brush to match the topology Normal. How closely the cursor follows the curvature of the mesh can be changed in the Brush Settings.
Пензель може також змінюватися залежно від поточно активного засобу – tool для кращого показу того, як цей засіб працює.
Usage
Limiting Brush Interactions
While sculpting, areas might be hidden behind parts of the mesh or they might be too close to other parts. To work through these, it is useful to isolate parts of a mesh to sculpt on. This can be done by either completely hiding parts of the mesh or by masking areas that can not be sculpted on.