Symmetrical Modelling
Relevant to Blender v2.34
You often need to model objects which exhibit some sort of symmetry. For radial, rotational or multiple symmetry the best approach is to carefully model one base structure and then, as a last step, duplicate the base cell via SpinDup or whichever command is most appropriate.
For objects with bilateral symmetry, those with one plane of symmetry, such as most animals (humans included) and many machines, the above method implies modelling one half of the object, and then mirroring a duplicate of the first half to get the whole object.
Since it is usually difficult to attain correct proportions by only modelling a half, it is possible to duplicate the half before it is completely modelled, and act on one half and automatically update the other.
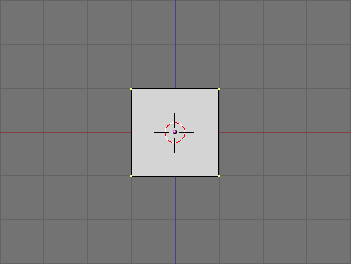
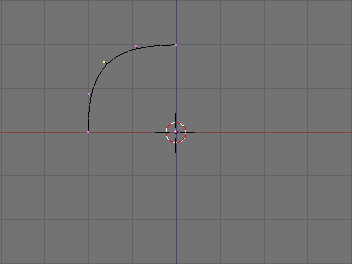
In Front View add a plane or whatever (Figure 15). Consider it as a starting point for one half of the object. Let's say the object's right half, which for us in frontal view is on the left of the screen. The plane of symmetry is the yz plane. Move the mesh, in EditMode, so that it is completely on the left of center. Delete some nodes, and add some others, to give it its general shape, as in Figure 16.
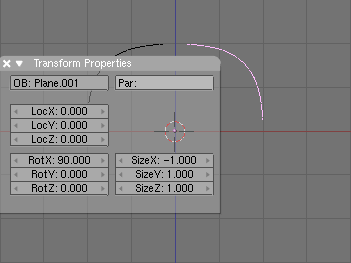
Now switch to ObjectMode and, with the half selected, make a linked duplicate with ALT-D. Press ESC to exit from Grab Mode and press NKEY. In the Numeric input panel which appears, set SizeX to -1 (Figure 17). This effectively mirrors the linked duplicate with respect to the Object's center, hence the importance of keeping the center on the plane of symmetry.
Having duplicated the Object as a linked duplicate implies that the two objects share the same mesh data, which is implicitly mirrored by the unitary negative scaling along the x axis, which is normal to the symmetry plane.
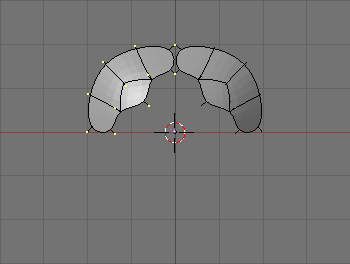
Now you can edit either of the two halves. Since they share mesh data any change, be it an extrude, delete, face loop cut etc. immediately reflects on the other side (Figure 18).
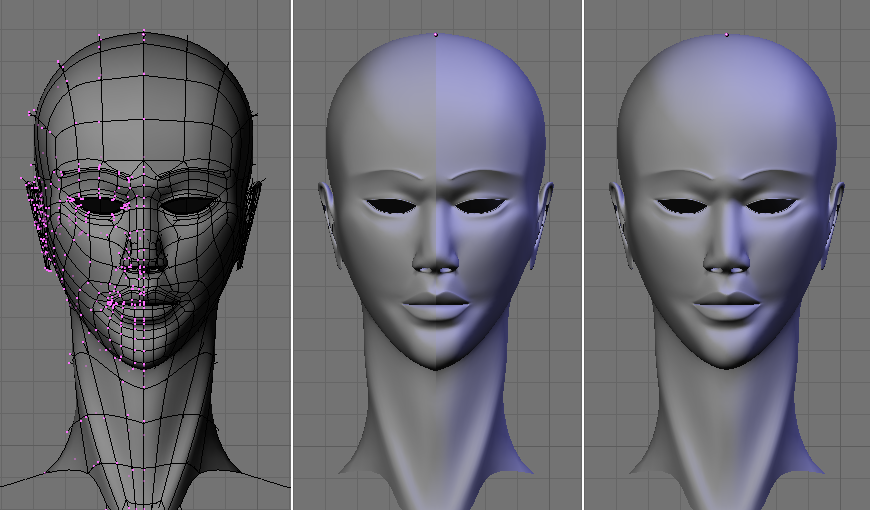
By carefully editing one half, and possibly by using a blueprint as a background to provide guidelines, very interesting results can be achieved (Figure 19, left).
As a final step, when symmetrical modelling is complete, the two halves must be selected and joined into a single Object (CTRL-J). This makes the seam (very visible in Figure 19, center) disappear. Once you have a single object (Figure 19, right), you can start modelling the subtle asymmetries which every being has.
 | In Blender 2.33 and earlier versions the OpenGL implementation causes mirrored linked duplicates to have wrong normals, so that one of the two halves is black. This is fixed in Blender 2.34, but older versions can use this technique anyway by setting the mesh to single sided while symmetrical modelling is used. |
