Special Materials
Relevant to Blender v2.31
Blender provides a set of materials which do not obey the shader paradigm and which are applied on a per-vertex rather than on a per-face basis.
Halo Materials
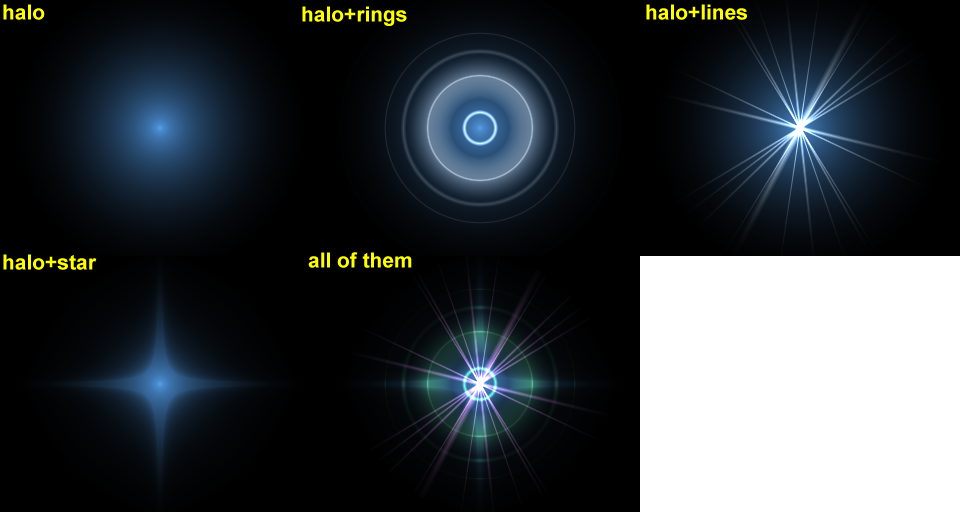
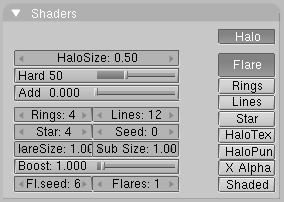
Press F5 to display the Material buttons, and then press the Halo button on the Shaders Panel. The Panels change as shown in Figure 21.
As you can see, the Mesh faces are no longer rendered; instead a 'halo' is rendered at each vertex. This is most useful for particle systems because they generate free vertices, but it can also come in very handy when creating certain special effects, when making an object glow, or when creating a viewable light source.
As you can see in the three colors which, in standard material were Diffuse, Specular and Mirror colors are now relative to three different characteristics: the color of the halo itself, the color of any possible ring and the color of any possible line you might want to add with the relevant toggle buttons in Figure 21.
Figure 22 shows the result of applying a halo material to a single vertex mesh. The halo size, alpha, and hardness can be adjusted with the pertinent sliders in Figure 21. The Add sliders determine how much the halo colors are 'added to', rather than mixed with, the colors of the objects behind and together with other halos.
To set the number of rings, lines, and star points independently, once they are enabled with the relative Toggle Button, use the Num Buttons Rings:, Lines: and Star:. Rings and lines are randomly placed and oriented, to change their pattern you can change the Seed: Num Button which sets the random numbers generator seed.
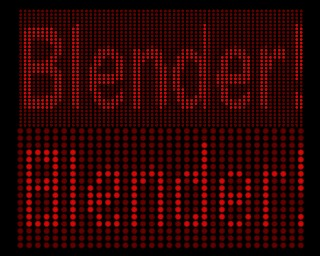
Let's use a halomaterial to create a dotmatrix display.
1. To begin, add a grid with the dimensions 32x16. Then add a camera and adjust your scene so that you have a nice view of the billboard.
2. Use a 2D image program to create some red text on a black background, using a simple and bold font. Figure 23 shows an image 512 pixels wide by 64 pixels high, with some black space at both sides.
3. Add a material for the billboard, and set it to the type Halo. Set the HaloSize to 0.06 and when you render the scene you should see a grid of white spots.
4. Add a Texture, then change to the Texture Buttons and make it an image texture. When you load your picture and render again you should see some red tinted dots in the grid.
5. Return to the Material Buttons and adjust the sizeX parameter to about 0.5 then render again; the text should now be centered on the Billboard.
6. To remove the white dots, adjust the material color to a dark red and render. You should now have only red dots, but the billboard is still too dark. To fix this enter EditMode for the board and copy all vertices using the SHIFT-D shortcut. Then adjust the brightness with the Add value in the MaterialButtons.
You can now animate the texture to move over the billboard, using the ofsX value in the Texture panel of the MaterialButtons. (You could use a higher resolution for the grid, but if you do you will have to adjust the size of the halos by shrinking them, or they will overlap. (Figure 24).
 | Halo Texturing |
|---|---|
By default, textures are applied to objects with Object coordinates and reflects on the halos by affecting their color, as a whole, on the basis of the color of the vertex originating the halo. To have the texture take effect within the halo, and hence to have it with varying colors or transparencies press the HaloTex button; this will map the whole texture to every halo. This technique proves very useful when you want to create a realistic rain effect using particle systems, or similar. |
Lens Flares
Our eyes have been trained to believe that an image is real if it shows artifacts that result from the mechanical process of photography. Motion blur, Depth of Field, and lens flares are just three examples of these artifacts. The first two are discussed in the the chapter called Rendering; the latter can be produced with special halos.
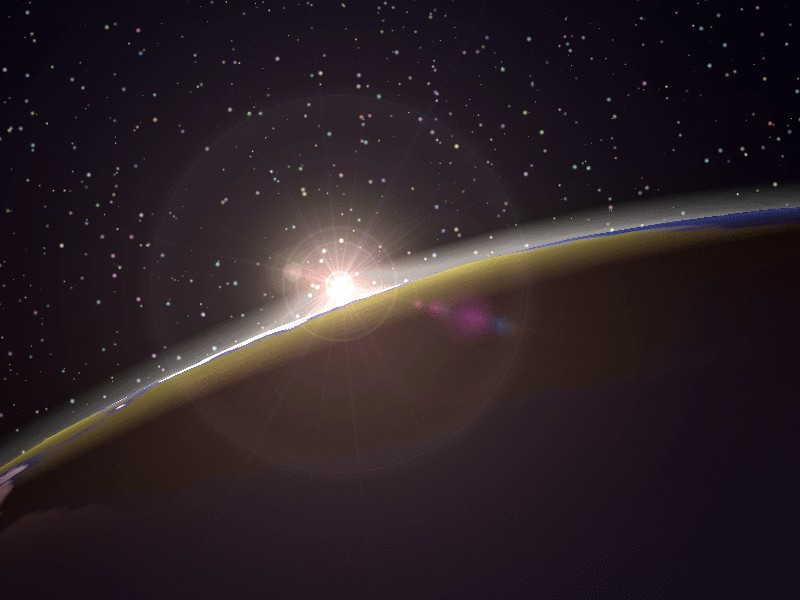
A simulated lens flare tells the viewer that the image was created with a camera, which makes the viewer think that it is authentic. We create lens flares in Blender from a mesh object using first the Halo button and then the Flare options in the Shaders Panel of the material settings. Try turning on Rings and Lines, but keep the colors for these settings fairly subtle. Play with the Flares: number and Fl.seed: settings until you arrive at something that is pleasing to the eye. You might need to play with FlareBoost: for a stronger effect (Figure 25). (This tool does not simulate the physics of photons travelling through a glass lens; it's just a eye candy.)
Blender's lens flare looks nice in motion, and disappears when another object occludes the flare mesh. (Figure 26).


