Motion Blur
Relevant to Blender v2.31
Blender's animations are by default rendered as a sequence of perfectly still images.
This is unrealistic, since fast moving objects do appear to be 'moving', that is, blurred by their own motion, both in a movie frame and in a photograph from a 'real world camera'.
To obtain such a Motion Blur effect, Blender can be made to render the current frame and some more frames, in between the real frames, and merge them all together to obtain an image where fast moving details are 'blurred'.
To access this option select the MBLUR button next to the OSA button in the Render Panel (Figure 18). This makes Blender render as many 'intermediate' frames as the oversampling number is set to (5, 8, 11 or 16) and accumulate them, one over the other, on a single frame. The number-button Bf: or Blur Factor defines the length of the shutter time as will be shown in the example below. Setting the OSA Button is unnecessary since the Motion Blur process adds some antialiasing anyway, but to have a really smooth image OSA can be activated too. This makes each accumulated image have anti-aliasing.
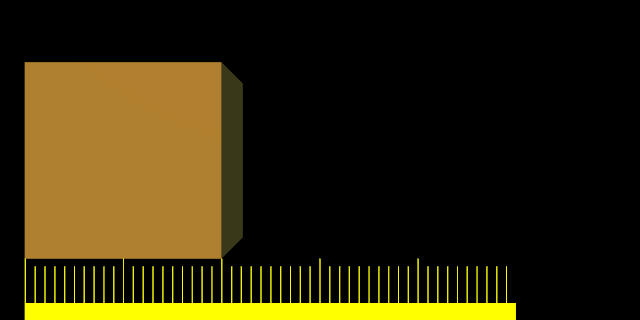
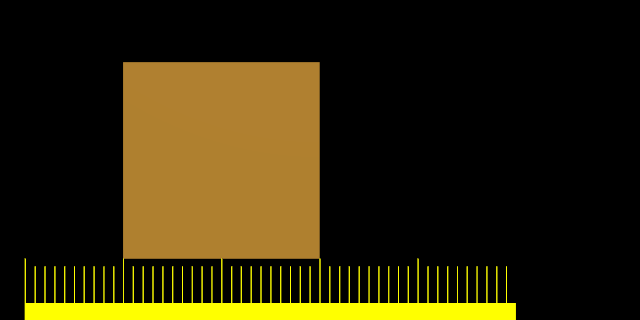
To better grasp the concept let's assume that we have a cube, uniformly moving 1 Blender unit to the right at each frame. This is indeed fast, especially since the cube itself has a side of only 2 Blender units.
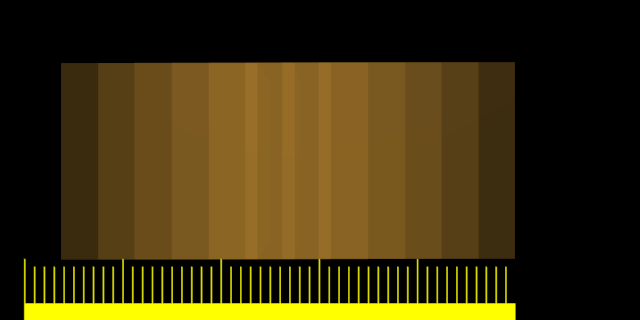
Figure 19 shows a render of frame 1 without Motion Blur, Figure 20 shows a render of frame 2. The scale beneath the cube helps in appreciating the movement of 1 Blender unit.
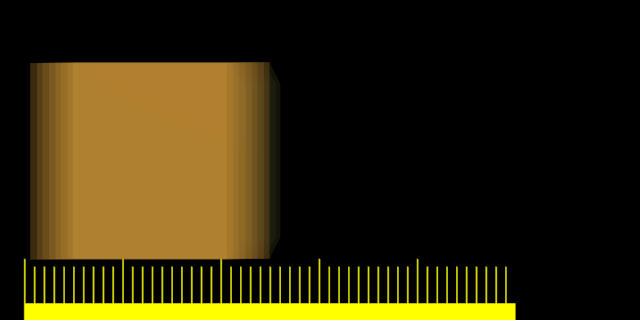
Figure 21 on the other hand shows the rendering of frame 1 when Motion Blur is set and 8 'intermediate' frames are computed. Bf is set to 0.5; this means that the 8 'intermediate' frames are computed on a 0.5 frame period starting from frame 1. This is very evident since the whole 'blurriness' of the cube occurs on half a unit before and half a unit after the main cube body.
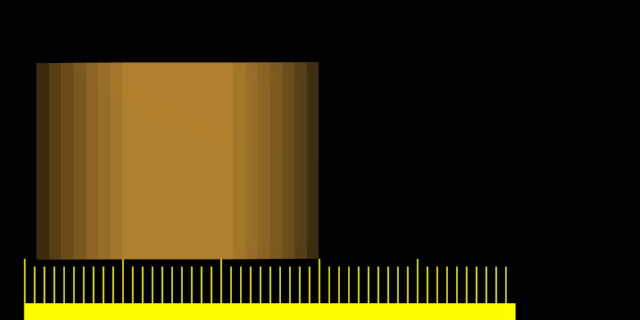
Figure 22 and Figure 23 show the effect of increasing Bf values. A value greater than 1 implies a very 'slow' camera shutter.
Better results than those shown can be obtained by setting 11 or 16 samples rather than 8, but, of course, since as many separate renders as samples are needed a Motion Blur render takes that many times more than a non-Motion Blur one.
 | Better Anti-Aliasing |
|---|---|
If Motion Blur is active, even if nothing is moving on the scene, Blender actually 'jitters' the camera a little between an 'intermediate' frame and the next. This implies that, even if OSA is off, the resulting images have nice Anti-Aliasing. An MBLUR obtained Anti-Aliasing is comparable to an OSA Anti-Aliasing of the same level, but generally slower. This is interesting since, for very complex scenes where a level 16 OSA does not give satisfactory results, better results can be obtained using both OSA and MBlur. This way you have as many samples per frame as you have 'intermediate' frames, effectively giving oversampling at levels 25,64,121,256 if 5,8,11,16 samples are chosen, respectively. |

