RGB Curves Node
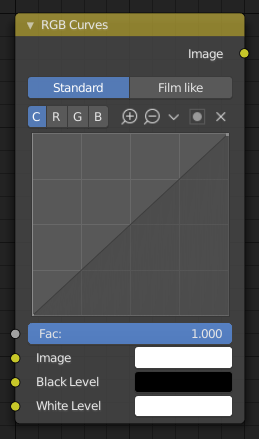
RGB Curves Node.
The RGB Curves Node allows color corrections for each color channel and levels adjustments in the compositing context.
Inputs
- Factor
- Controls the amount of influence the node exerts on the output image.
- Image
- Standard image input.
- Black Level
- Defines the input color that is (linear) mapped to black.
- White Level
- Defines the input color that is (linear) mapped to white.
Tip
To define the levels, use the eyedropper to select a color sample of a displayed image.
Properties
- Tone
Standard
Film like
- Channel
Clicking on one of the channels displays the curve for each.
C (Combined RGB), R (Red), G (Green), B (Blue), L (Luminance)
- Curve
- A Bézier curve that varies the input levels (X axis) to produce an output level (Y axis). For the curve controls see: Curve widget.
Outputs
- Image
- Standard image output.
Examples
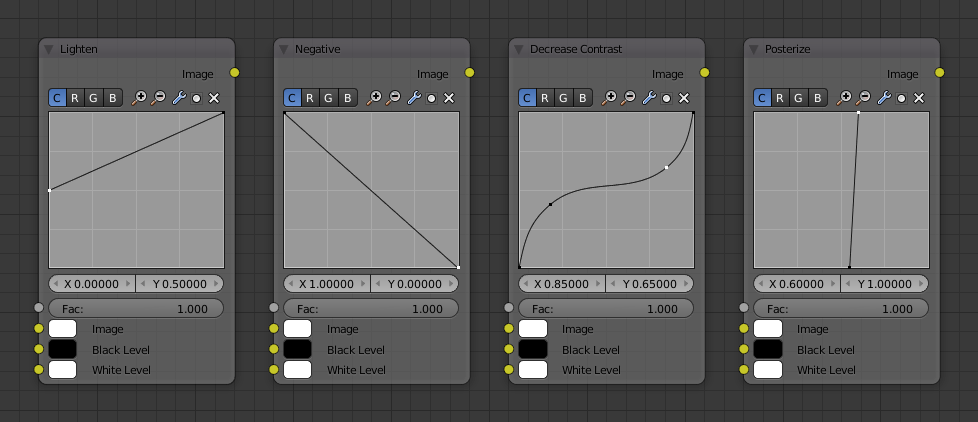
Below are some common curves you can use to achieve desired effects.
Color Correction using Curves
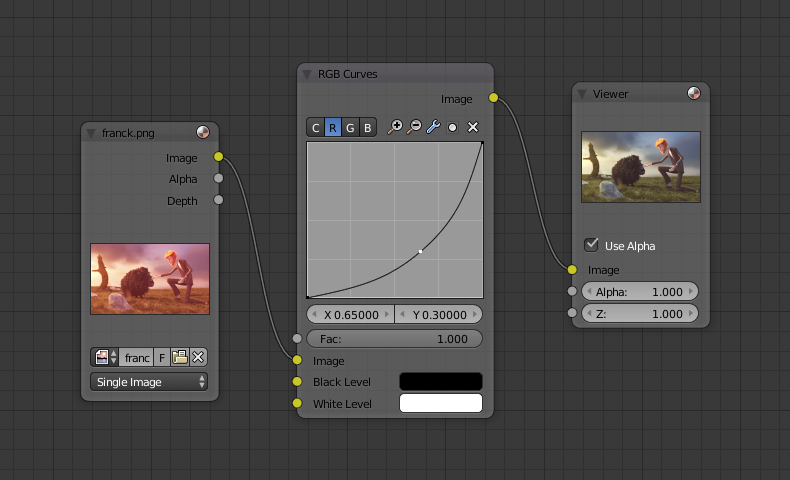
In this example, the image has too much red in it, so we run it through an RGB Curves node and reduce the Red channel.
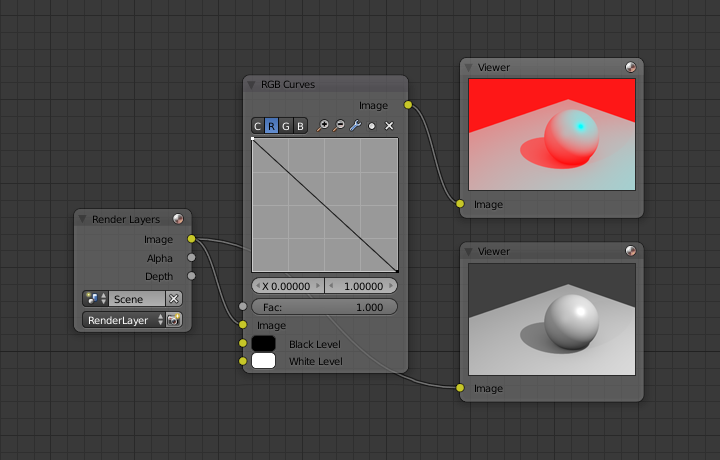
Also, read on for examples of the Darken and Contrast Enhancement curves, here.
Color Correction using Black/White Levels
Manually adjusting the RGB curves for color correction can be difficult. Another option for color correction is to use the Black and White Levels instead, which really might be their main purpose.
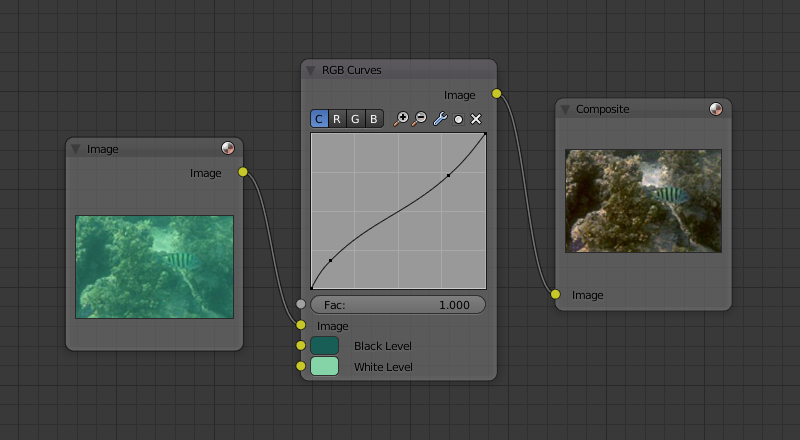
In this example, the White Level is set to the color of a bright spot of the sand in the background, and the Black Level to the color in the center of the fish’s eye. To do this efficiently it is best to bring up the Image Editor showing the original input image. You can then use the levels’ color picker to easily choose the appropriate colors from the input image, zooming into pixel level if necessary. The result can be fine-tuned with the R, G, and B curves like in the previous example.
The curve for C is used to compensate for the increased contrast that is a side effect of setting Black and White Levels.
