Movie Strips
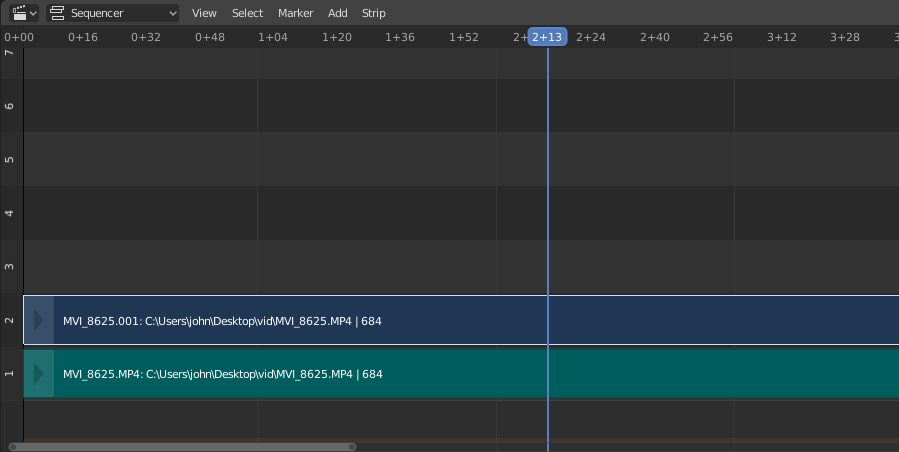
To add a movie (with or without audio) select a movie file(s) in the File Browser
e.g. in the Audio-Video Interleaved format (*.avi file).
Nota
Clips can be Huge
A three minute Quicktime .mov file can be 140MB.
Loading it, even over a high-speed LAN can take some time.
Do not assume your computer or Blender has locked up if nothing happens for awhile.
Add Movie Strip
Reference
- Menu
- Relative Path
Store the location of the image file relative to the blend-file.
- Start Frame
The Start Frame to place the left handle of the strip.
- Channel
The Channel to place the strip.
- Replace Selection
Replaces the currently selected strips with the new strip.
- Fit Method
Determines how images with an aspect ratio different than the Scene’s are scaled to fit inside the render area.
- Scale to Fit
Adjusts the strips Scale Transforms so the visual contents of the strip to fit exactly within the project’s Dimensions while maintaining the original aspect ratio.
This may mean that the transparent areas may be added along the content’s border to fit the content in the rendered area.
- Scale to Fill
Adjusts the strips Scale Transforms so the visual contents of the strip to span the project’s Dimensions while maintaining the original aspect ratio.
This may mean that portions of the original image no longer fit the content inside the rendered area.
- Stretch to Fill
Adjusts the strips Scale Transforms so the visual contents of the strip to fill the project’s Dimensions. Note, unlike the other two methods described above, Stretch to Fill does not maintaining the original aspect ratio.
This may mean that the original image becomes distorted to fit the content inside the rendered area.
- Sound
Add a Sound Strip that contains the movie’s audio track.
- Use Movie Frame Rate
Sets the Scene Frame Rate to the frame rate encoded in the movie file.
Image/Sequence Strips
Single Image
When you add a single still image (*.jpg, *.png, etc.),
Blender creates a 25 frames long strip which will show this image along the strips range.
Image Sequence
In the case of (numbered) image sequences
(e.g. *-0001.jpg, *-0002.jpg, *-0003.jpg, etc, of any image format), you have a choice:
- Range
Navigate into the directory and LMB click and drag over a range of names to highlight multiple files. You can page down and continue Shift-LMB click-dragging to add more to the selection.
- Batch
Shift-LMB click selected non-related stills for batch processing; each image will be one frame, in sort order, and can be a mix of file types (
jpg,png,exr, etc.).- All
Press A to select/deselect all files in the directory.
Truco
Dealing with Different Sizes
Dealing with different sized images and different sized outputs is tricky. If you have a mismatch between the size of the input image and the render output size, the VSE will try to auto-scale the image to fit it entirely in the output. This may result in clipping. If you do not want that, use Crop and/or Offset in the Input panel to move and select a region of the image within the output. When you use Crop or Offset, the auto-scaling will be disabled and you can manually re-scale by adding the Transform effect.
Add Image Strip
Reference
- Menu
- Relative Path
Store the location of the image file relative to the blend-file.
- Start Frame
The Start Frame to place the left handle of the strip.
- End Frame
The end frame to place the right handle of the strip.
Truco
Subtract the Start Frame from the End Frame to get the strip’s duration.
- Channel
The Channel to place the strip.
- Replace Selection
Replaces the currently selected strips with the new strip.
- Fit Method
Determines how images with an aspect ratio different than the Scene’s are scaled to fit inside the render area.
- Scale to Fit
Adjusts the strips Scale Transforms so the visual contents of the strip to fit exactly within the project’s Dimensions while maintaining the original aspect ratio.
This may mean that the transparent areas may be added along the content’s border to fit the content in the rendered area.
- Scale to Fill
Adjusts the strips Scale Transforms so the visual contents of the strip to span the project’s Dimensions while maintaining the original aspect ratio.
This may mean that portions of the original image no longer fit the content inside the rendered area.
- Stretch to Fill
Adjusts the strips Scale Transforms so the visual contents of the strip to fill the project’s Dimensions. Note, unlike the other two methods described above, Stretch to Fill does not maintaining the original aspect ratio.
This may mean that the original image becomes distorted to fit the content inside the rendered area.
- Use Placeholders
Image sequences can use placeholder files. This works by enabling Use placeholders checkbox when adding an image strip. The option detects the frame range of opened images using Blender’s frame naming scheme (
filename + frame number + .extension) and makes an image sequence with all files in between even if they are missing. This allows you to render an image sequence with a few frames missing and still the image strip will have the correct range to account for the missing frames displayed as black.When the missing frames are rendered or placed in the same folder, you can refresh the Sequencer and get the missing frames in the strip. The option is also available when using the Change Data/File operator and allows you to add more images to the range.
