導入
注釈
テクスチャーノードシステムはレガシーなシステムなので近いうちに新たなシステムに置き換えられるでしょう。そういった事情もあってこのマニュアルは最新のBlenderに対応していません。
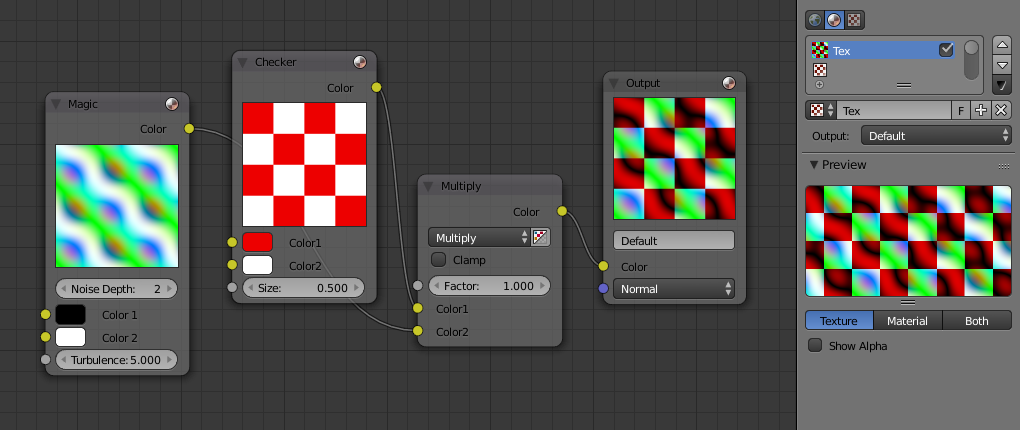
Blenderはノードベースのテクスチャー生成システムを持っています。このシステムはマテリアルノードを用いたシェーダーの編集 material nodes と同じように色・様々なパターン・他のテクスチャーの組み合わせでテクスチャーを作成することが出来ます。
このテクスチャーはブラシやcompositing、パーティクルシステムの中で使うことが出来ます。
テクスチャーノードを使う
現在のテクスチャーに対してテクスチャーノードを使用するには、テクスチャーノードエディターを開きます。
新しいテクスチャーを作成するにはテクスチャーノードエディターの New ボタンをクリックするか、テクスチャーパネルの New ボタンをクリックします。一度テクスチャーが選択されると、 it can be toggled to a function as a regular texture or a node texture by clicking the Use Nodes option in the Texture Node editor.
The default node setup will appear: a red-and-white checkerboard node connected to an Output named "Default". For texture nodes, multiple Outputs can exist in the node setup. Compare to other types of node contexts, which are limited to one active Output node. See the next section for details.
For instructions on how to add, remove and manipulate the nodes in the tree, see the nodes reference.
Using Multiple Outputs
Each texture defined with texture nodes can have several outputs, which can then be used for different things. For example, a texture that defines both a diffuse (color) map and a normal map. This can be done by:
- Create two texture slots in the texture list, and set them to the same texture data-block.
- Add two Output nodes to the node tree, and type new names into their Name text fields: e.g. "Diffuse" for one and "Normal" for the other.
- Underneath the texture list view in the Texture panel, a selector with the names of the outputs is shown. For each entry in the Texture list, select the desired output by changing the menu entry (e.g. set one to Diffuse and the other to Normal).
These named outputs could be used, when the material is defined with material nodes. In this case, Texture Channels are probably not used. Instead, insert the texture nodes into the material node tree by using . Inside the just added texture node the output to use can then be selected (e.g. Diffuse or Normal).
