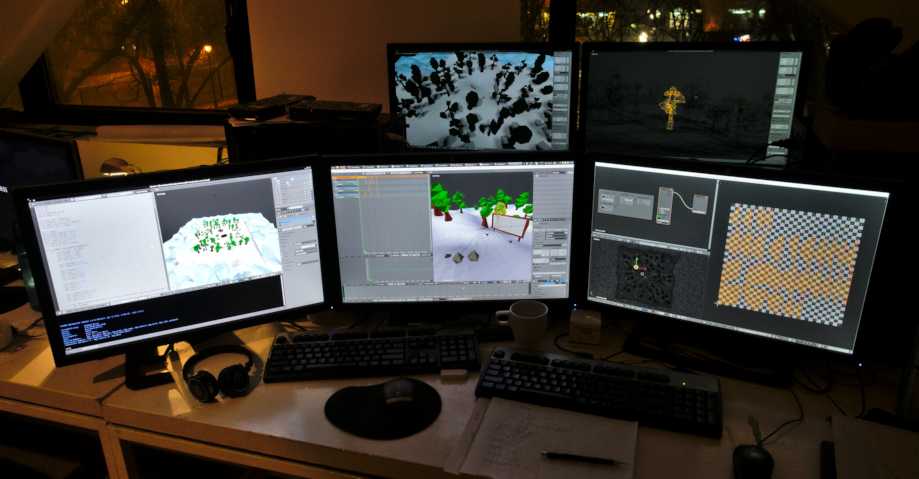
周辺機器の構成
入力デバイス
Blender は、さまざまなタイプの入力デバイスをサポートしています:
キーボード (推奨は数字キーパッド付きキーボードで、英語レイアウトのものが最適です)
マウス (推奨はスクロールホイール付きの 3 ボタンマウスです)
NDOF デバイス (3D マウス とも呼ばれます)
グラフィックタブレット
注釈
マウスや数字キーパッドなどの入力デバイスが足りない場合、Blender では Keymap を変更することで、これらのデバイスをエミュレートできます。また、有効にするための設定は Input Preferences の中にあります。
マウス
マウスボタンのエミュレーション
3 ボタンマウスでない場合は、Preferences のオプションをチェックして、エミュレートを有効にする必要があります。
次の表は、使用される組み合わせです:
3ボタンマウス |
LMB |
MMB |
RMB |
|---|---|---|---|
2ボタンマウス |
LMB |
Alt-LMB |
RMB |
キーボード
数字キーパッドのエミュレーション
キーボード側面に数字キーパッドがない場合は、それをエミュレートできます (キーボード上部にある数字キーでの操作になります。代わりに、レイヤー表示の素早い切り替え機能が失われます) 。
参考
数字キーパッドのエミュレーション の詳細については Preferences を参照してください。
英語以外のキーボード
英語以外のレイアウトのキーボードを使用する場合でも、コンピュータを英国または米国のレイアウト設定に切り替えれば、Blender に関してはそれが反映されます。
注釈
デフォルトのキーマップとホットキーを Preferences で変更することもできますが、このマニュアルでは、既定のキーマップを使用していることを前提としています。
グラフィックタブレット
グラフィックタブレットを使用することで、ペンによってマウスカーソルを制御し、より伝統的な操作を行えます。ペンのような道具によるペイントや描画に慣れたアーティストへ親しみのある体験を提供するだけでなく、圧力感度などの追加のコントロールが行えるようになります。
注釈
マウスの代わりにグラフィックタブレットを使用していて圧力感度が正しく動作しない場合には、Blender ウィンドウにマウスポインタを配置してから、グラフィックタブレットを取り外して挿し直すと良くなることがあります。
NDOF (3D マウス)
3D mice or NDOF devices are hardware that you can use to navigate a scene in Blender. Currently only devices made by 3Dconnexion are supported. These devices allow you to explore a scene, as well as making Fly/Walk Navigation easier. Settings to control how the NDOF device interacts with the 3D Viewport can be configured in the User Preference. These settings can also be accessed using the NDOF-Menu button on the NDOF device to open a popup menu to adjust the settings directly from the 3D Viewport.
参考
周辺機器の設定の詳細については、Input Preference を参照してください。
Head-Mounted Displays (Virtual Reality)
HMDs make it possible to place users in an interactive, virtual environment. Attached to the head, they track head movements to project a seemingly surrounding world onto small screens in front of the user's eyes. If the system works well, they experience the virtual environment as if they were really inside of it.
Supported Platforms
Virtual reality support in Blender is implemented through the multi-platform OpenXR standard. This standard is new and therefore support for it is still limited.
Platform |
Operating System |
Notes |
|---|---|---|
Windows |
Requires the Windows 10 May 2019 Update (1903) |
|
Windows |
||
GNU/Linux |
Not recommended for general use yet |
Getting Started
The following subsections describe how an HMD can be set up for usage with the supported platforms. If this is not done, Blender will report an error when trying to start a virtual reality session.
Windows Mixed Reality
To check if a PC meets the requirements to run Windows Mixed Reality, Microsoft offers the Windows Mixed Reality PC Check application.
Make sure the Windows 10 May 2019 Update (1903) is installed.
If the system meets all requirements, the Mixed Reality Portal should already be installed. It is also available in the Microsoft Store. On first use it will guide through some setup steps.
Launch the Mixed Reality Portal. Click the menu button
...in the lower left corner. In the menu it opens, select the Set up OpenXR. Windows Mixed Reality is now ready to be used with OpenXR.
For more information, refer to Windows' Getting Started Guide for Windows Mixed Reality and OpenXR.
Oculus Rift
Oculus only provides prototype OpenXR support. To use it, Blender has to be started in a special way, as described below.
Download and install the Oculus Rift software.
Start Blender by double clicking the
blender_oculusscript inside the installation directory. It will open a command-line window with further information.
Monado
Monado is a free and open source XR platform for Linux. It is not yet ready for production usage and should only be used for testing purposes.
There are packages available for Debian based distributions. For others it has to be compiled from source, which in this case is not recommended for people with little experience in compiling software. Follow the Getting Started Guides from Monado to do so nevertheless.
Completing the Setup
Inside Blender, the VR Scene Inspection add-on needs to be enabled to access virtual reality features.
