Denoising
Reference
- Panel
Denoising filters the resulting image using information (known as feature passes) gathered during rendering to get rid of noise, while preserving visual detail as well as possible.
注釈
The denoising panel is only available for the Cycles render engine.
To use the option, enable it in the render layers tab of the Properties editor. On rendering, it will denoise tile by tile once all the surrounding tiles are finished rendering. The default settings fit a wide range of scenes, but the user can tweak individual settings to control the trade-off between a noise-free image, image details, and calculation time.
Options

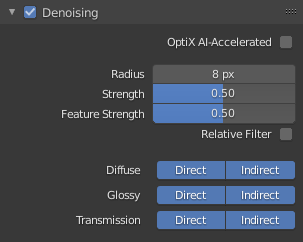
Denoising panel.
- Optix AI Denoising
Uses an artificial intelligence algorithm to remove noise from renders. It is based on the OptiX acceleration engine and therefore has the same GPU requirements as rendering with Optix.
Optix AI Denoising can be enabled when one or more compatible Optix GPUs are selected in the System Preferences.
This denoiser is less suited for animations, because it is not temporally stable, but is considerably faster than the other denoising options and therefore especially useful to denoise previews or final single-frame images with high quality.
- Input Passes
Controls which passes the OptiX AI denoiser should use as input, which can have different effects on the denoised image. Generally, the more passes the denoiser has to denoise the better the result. It is recommended to at least use Color + Albedo as just Color can blur out details, especially at lower sample counts.
- Radius
Size of the image area that is used to denoise a pixel. Higher values are smoother, but might lose detail and are slower.
Setting the radius too high is generally not advisable. It increases denoising time a lot and, while the result might be smoother, it is not more accurate since there isn't any additional info coming out of the renderer. Beyond a radius of around 15, the additional rendering time is probably better spent on increasing the amount of samples.
- Strength
Controls how different the area around a neighbor pixel can look compared to the center pixel before it's no longer used for denoising. Lower values preserve more detail, but aren't as smooth.
- Feature Strength
Controls removal of noisy and redundant image feature passes before the actual denoising. This is required in some cases like DoF or motion blur to avoid splotchy results, but might cause fine texture/geometrical detail to be lost. Lower values preserve more detail, but aren't as smooth.
- Relative Filter
When removing features that don't carry information, decide which to keep based on the total amount of information in the features. This can help to reduce artifacts, but might cause detail loss around edges.
- Passes
You can choose to selectively choose which Render Passes you want to denoise.
Notes and Issues
The denoiser will change in the future and some features are not implemented yet. If denoising fails to produce good results, more samples or clamping will often resolve the issue.
Denoising cannot be used for baking yet.
For animation denoising can be used, however it still requires high sample counts for good results. With low sample counts, low frequency (blurry) noise can be visible in animation frames, even if it not becomes immediately apparent in still images.
When using GPU rendering, the denoising (non Optix) process may use a significant amount of VRAM. If the GPU runs out of memory but renders fine without denoising, try reducing the tile size.
Examples
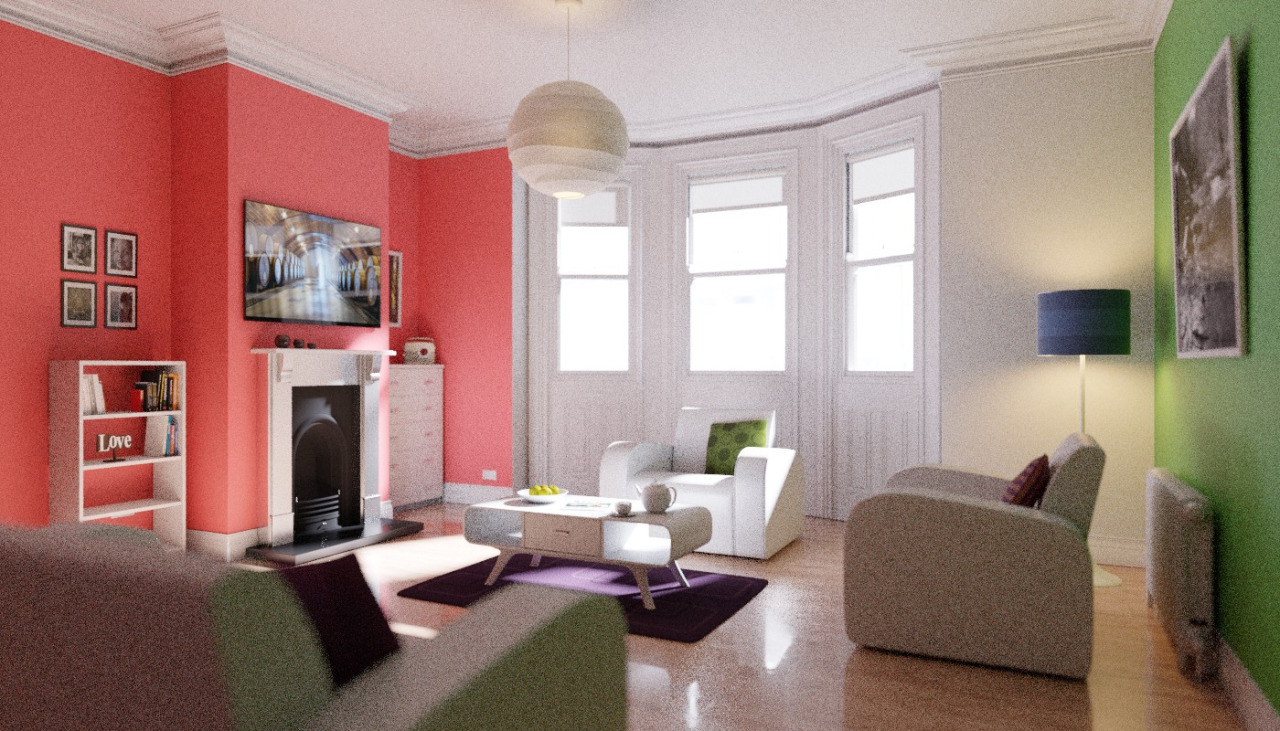
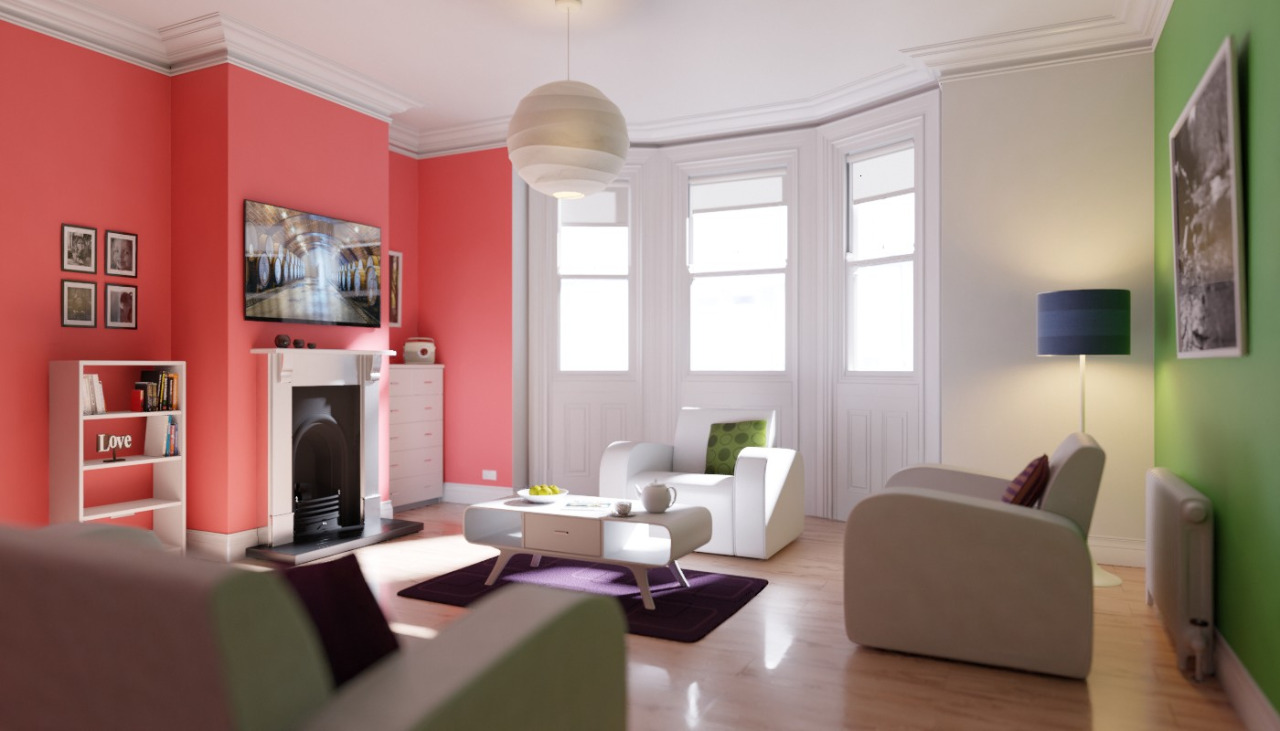
Below is an example render by The Pixelary.

