Stroke Menu
This page covers many of the tools in the Strokes menu. These are tools that work primarily on strokes, however, some also work with point selections.
Подразделить (subdivide)
Ссылка
- Режим (mode):
Режим редактирования (edit mode)
- Меню:
Stroke ‣ Subdivide
Subdivides the strokes by inserting points between the selected points.
- Количество разрезов (number of cuts)
Количество выполняемых подразделений.
- Selected Points
When enabled, limits the effect to only the selected points within the stroke.
Subdivide and Smooth
Ссылка
- Режим (mode):
Режим редактирования (edit mode)
- Меню:
Stroke ‣ Subdivide and Smooth
Subdivides and smooths the strokes by inserting points between the selected points.
- Количество разрезов (number of cuts)
Количество выполняемых подразделений.
- Selected Points
When enabled, limits the effect to only the selected points within the stroke.
- Итераций (iterations)
Number of times to repeat the procedure.
- Коэффициент (factor)
The amount of the smoothness on subdivided points.
- Smooth Endpoints
Smooths the stroke’s endpoints.
- Keep Shape
Сохраняет форму штрихов.
- Положение (position)
When enabled, the operator affect the points location.
- Радиус (radius)
When enabled, the operator affect the points thickness.
- Непрозрачность (opacity)
When enabled, the operator affect the points strength (alpha).
Упрощение (simplify)
Ссылка
- Режим (mode):
Режим редактирования (edit mode)
- Меню:
Stroke ‣ Simplify
Uses the RDP algorithm (Ramer-Douglas-Peucker algorithm) for points deletion. The algorithm tries to obtain a similar line shape with fewer points.
- Коэффициент (factor)
Controls the amount of recursively simplifications applied by the algorithm.
Trim
Ссылка
- Режим (mode):
Режим редактирования (edit mode)
- Меню:
Stroke ‣ Trim
Trims selected stroke to first loop or intersection.
Объединить
Объединить
Ссылка
- Режим (mode):
Режим редактирования (edit mode)
- Меню:
Stroke ‣ Join ‣ Join,
Join two or more strokes into a single one.
- Тип (type)
- Объединить:
Ctrl-J Join selected strokes by connecting points.
- Join and Copy:
Join selected strokes by connecting points in a new stroke.
- Leave Gaps
When enabled, do not use geometry to connect the strokes.
Join and Copy
Ссылка
- Режим (mode):
Режим редактирования (edit mode)
- Меню:
Stroke ‣ Join ‣ Join and Copy
- Горячая клавиша:
Shift-Ctrl-J
Same as Объединить but Type defaults to Join and Copy.
Move to Layer
Ссылка
- Режим (mode):
Режим редактирования (edit mode)
- Меню:
Stroke ‣ Move to Layer
- Горячая клавиша:
M
A pop-up menu to move the stroke to a different layer. You can choose the layer to move the selected strokes to from a list of layers of the current Grease Pencil object. You can also add a new layer to move the selected stroke to. When creating a new layer, there is another pop-up to type in the name of the new layer.
Assign Material
Ссылка
- Режим (mode):
Режим редактирования (edit mode)
- Меню:
Stroke ‣ Assign Material
Changes the material linked to the selected stroke. You can choose the name of the material to be used by the selected stroke from a list of materials of the current Grease Pencil object.
Set as Active Material
Ссылка
- Режим (mode):
Режим редактирования (edit mode)
- Меню:
Stroke ‣ Set as Active Material
Sets the active object material based on the selected stroke material.
Arrange
Ссылка
- Режим (mode):
Режим редактирования (edit mode)
- Меню:
Stroke ‣ Arrange
Change the drawing order of the strokes in the 2D layer.
- Bring to Front
Moves to the top the selected points/strokes.
- Bring Forward
Moves the selected points/strokes upper the next one in the drawing order.
- Send Backward
Moves the selected points/strokes below the previous one in the drawing order.
- Send to Back
Moves to the bottom the selected points/strokes.
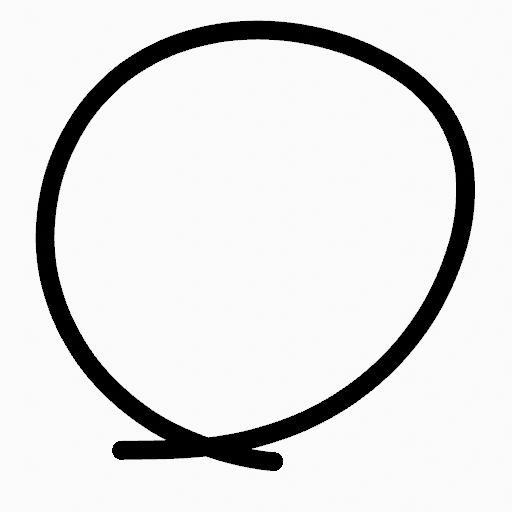
Close
Ссылка
- Режим (mode):
Режим редактирования (edit mode)
- Меню:
Stroke ‣ Close
- Горячая клавиша:
F
Close or open strokes by connecting the last and first point.
- Тип (type)
- Close All:
Close all open selected strokes.
- Open All:
Open all closed selected strokes.
- Toggle:
Close or Open selected strokes as required.
Переключить замкнутость (toggle cyclic)
Ссылка
- Режим (mode):
Режим редактирования (edit mode)
- Меню:
Stroke ‣ Toggle Cyclic
Toggles between an open stroke and closed stroke (cyclic).
- Тип (type)
- Close All:
Close all open selected strokes.
- Open All:
Open all closed selected strokes.
- Toggle:
Close or Open selected strokes as required.
Set Caps
Ссылка
- Режим (mode):
Режим редактирования (edit mode)
- Меню:
Stroke ‣ Set Caps
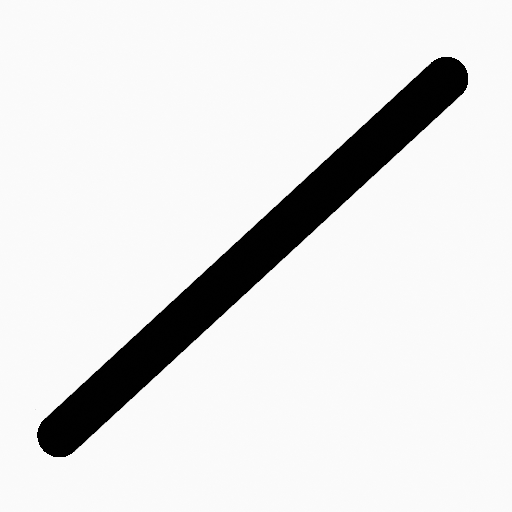
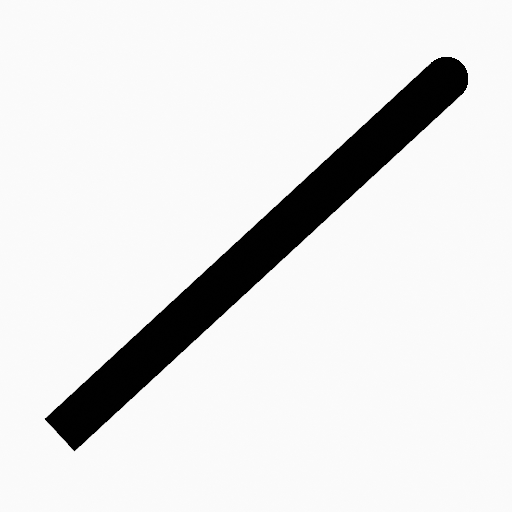
Toggle ending cap styles of the stroke.
- Скруглённый (rounded)
Sets stroke start and end points to rounded (default).
- Плоская(-ий) (flat)
Toggle stroke start and end points caps to flat or rounded.
- Toggle Start
Toggle stroke start point cap to flat or rounded.
- Toggle End
Toggle stroke end point cap to flat or rounded.
Переключить направление (switch direction)
Ссылка
- Режим (mode):
Режим редактирования (edit mode)
- Меню:
Stroke ‣ Switch Direction
Reverse the direction of the points in the selected strokes (i.e. the start point will become the end one, and vice versa).
Set Uniform Thickness
Ссылка
- Режим (mode):
Режим редактирования (edit mode)
- Меню:
Stroke ‣ Set Uniform Thickness
Makes the thickness equal for the entire stroke.
- Толщина (thickness)
Thickness value to use on all points of the stroke.
Установить равномерную непрозрачность (set uniform opacity)
Ссылка
- Режим (mode):
Режим редактирования (edit mode)
- Меню:
Stroke ‣ Set Uniform Opacity
Makes the opacity equal for the entire stroke.
- Непрозрачность (opacity)
Opacity value to use on all points of the stroke.
Scale Thickness
Ссылка
- Режим (mode):
Режим редактирования (edit mode)
- Меню:
Обводка ‣ Толщина шкалы
When enabled, scales the stroke thickness during scale transformations.
Установить тип кривой (set curve type)
Ссылка
- Режим (mode):
Режим редактирования (edit mode)
- Меню:
Stroke ‣ Set Curve Type
Устанавливает тип сплайна для сплайнов в компоненте штриха, которые находятся в выделении.
- Тип (type)
Тип, в который нужно преобразовать выделенные сплайны. Подробнее о различных типах сплайнов читайте на странице: «типы сплайнов».
- Безье (Bézier):
Преобразовать в сплайн Безье. Сплайн, преобразованный из полисплайна, получает векторные ручки, а преобразованный из сплайна NURBS или Catmull Rom, получает автоматические ручки.
Примечание
При преобразовании сплайна NURBS в сплайн Безье необходимо как минимум шесть точек. Когда количество точек не кратно трём, полное преобразование невозможно, и сплайн должен быть усечён.
- NURBS:
Преобразование в сплайн NURBS.
- Полилиния (poly):
Преобразование в полисплайн.
- Катмулл-Ром (Catmull Rom):
Преобразование в сплайн Catmull Rom.
- Ручки (handles)
Учитывать информацию о ручках при конвертации.
Установить разрешение кривой (set curve resolution)
Ссылка
- Режим (mode):
Режим редактирования (edit mode)
- Меню:
Stroke ‣ Set Curve Resolution
Sets the number of points generated along each curve segment (between two handles).
Reset UVs
Ссылка
- Режим (mode):
Режим редактирования (edit mode)
- Меню:
Stroke ‣ Set Curve Resolution
Reset UV transformation to default values.
