Motion Blur (Làm Nhòe Mờ Chuyển Động)
Tham Chiếu (Reference)
- Panel (Bảng):
Blender's animations are by default rendered as a sequence of perfectly still images. While great for stop-motion and time-lapses, this is unrealistic, since fast-moving objects do appear to be blurred in the direction of motion, both in a movie frame and in a photograph from a real-world camera.
Ghi chú
Motion blur is only available in final renders and is not shown in the 3D Viewport and thus Viewport Renders.
- Vị Trí (Position)
Controls at what point the shutter opens in relation to the current frame.
- Bắt Đầu tại Khung Hình (Start on Frame)
Shutter is starting to open at the current frame.
- Tập Trung vào Khung Hình (Center on Frame)
Xuất cảnh trong khung hình hoạt họa hiện tại.
- Kết Thúc tại Khung Hình (End on Frame)
Shutter is fully closed at the current frame.
- Cửa Trập (Shutter)
Time (in frames) taken between shutter open and close.
- Background Separation
Used by the post-process blur to avoid blurring the background over the foreground. Lower values will reduce background bleeding onto foreground elements.
- Nhòe Tối Đa (Max Blur)
Maximum blur distance a pixel can spread over. A value of 0 will disable the post-process blur and only use the accumulation blur.
Ghi chú
High maximum blur values may also reduce the quality.
Eevee uses a fast post-process vector blur using a vector motion pass. This blurs the image between three time steps using pixel velocity. This technique is fast and produces clean gradients, but issues can occur at object borders or if the motion is locally too complex; for example, if there are many vector variations in a small area.
This technique uses random sampling and the noise amount is proportional to the sample count found in .
Ghi chú
Memory usage (VRAM) will be three times higher for objects using deformation motion blur if using post-process blur.
Ghi chú
Alpha blended surface or volumetric effects will not have the correct velocity and will not be correctly blurred by this technique. Use the accumulation blur for that.
- Số Phân/Bước (Steps)
This controls the number of steps used by the accumulation blur and thus its accuracy. More steps means longer render time.
Ghi chú
When using multiple time steps, the render sample count is rounded up to the next multiple of steps to ensure even distribution of samples across steps.
Eevee splits the render into multiple time steps and accumulates the result which is known as Accumulation Motion Blur. This technique is precise but requires many steps for clean gradients. This is used in combination with the post-process blur to handle the inter-step gaps. Each step corresponds to a full scene re-evaluation and can add a lot of overhead to the render time. By adding more steps you can also reduce the Max Blur options because the post-process blur has to cover a smaller distance.
Ví Dụ (Example)

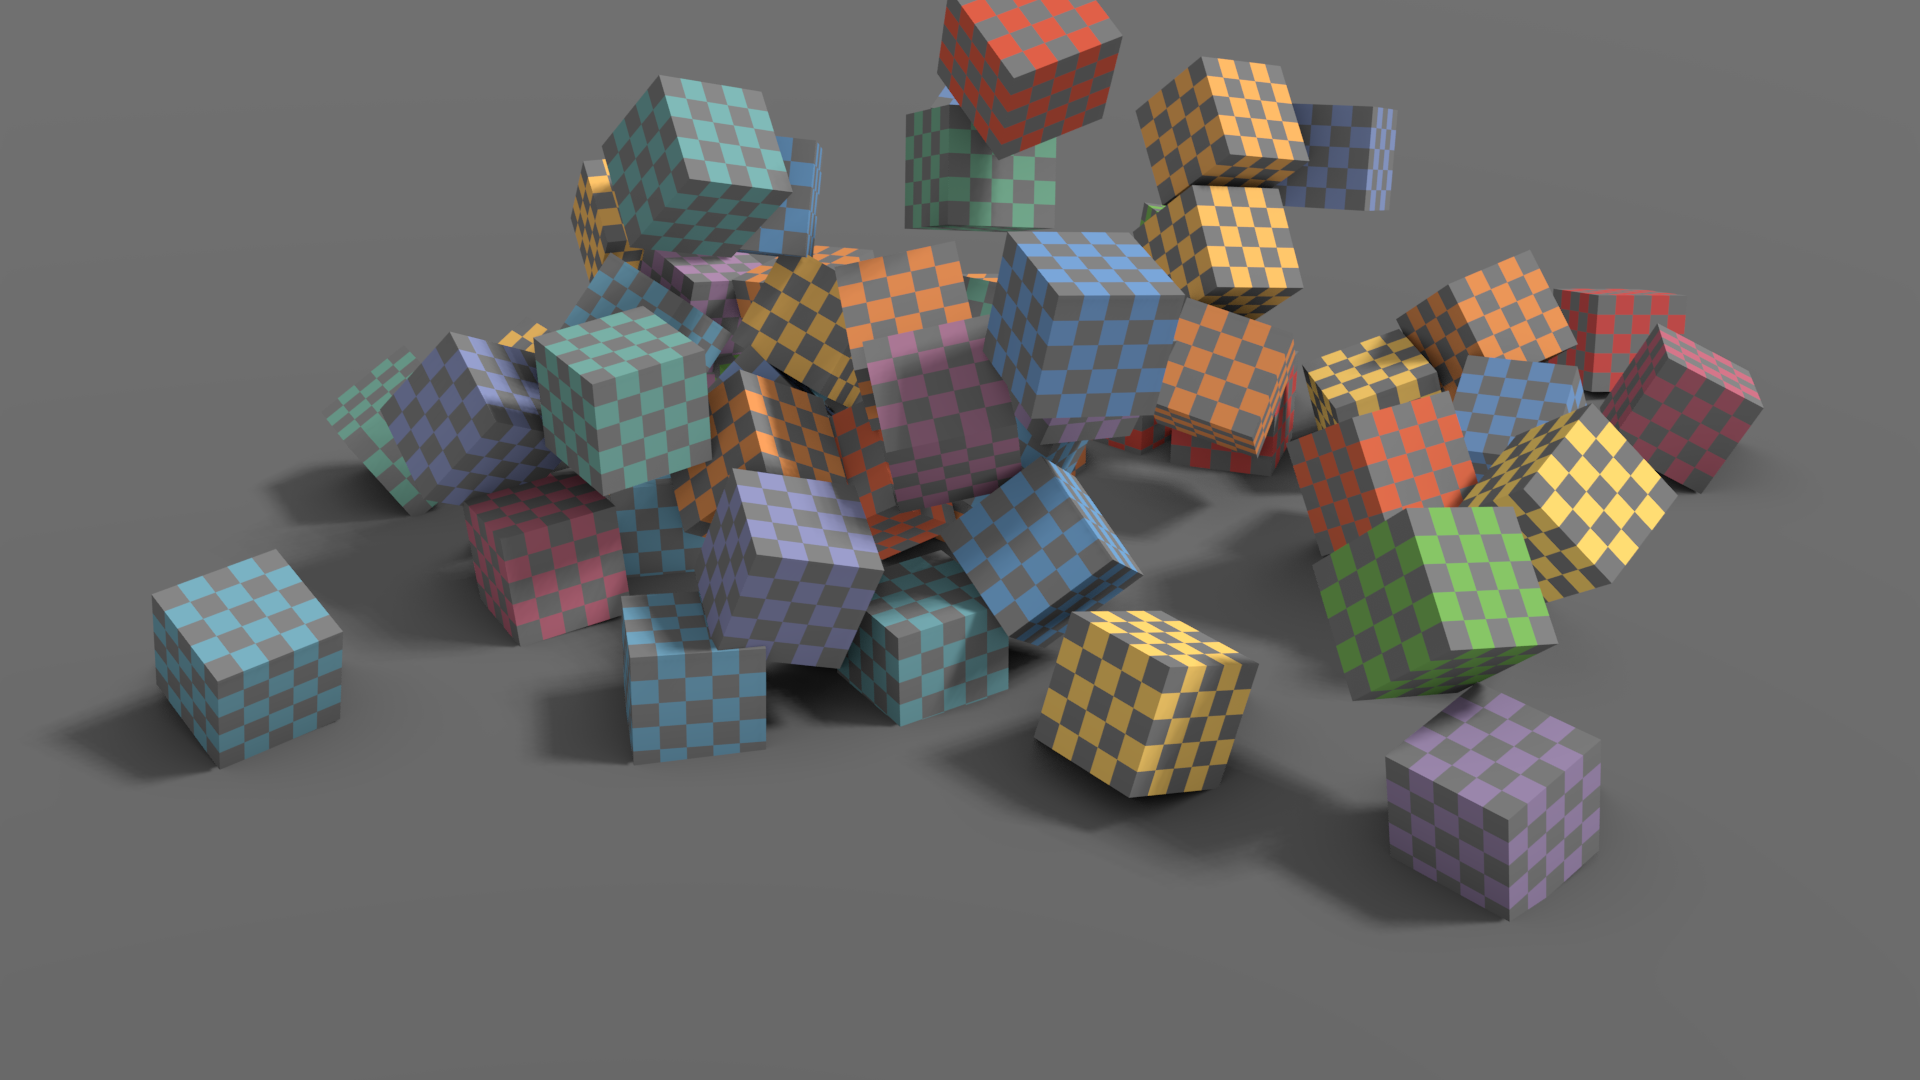
Không làm nhòe mờ chuyển động. |

Only post-process blur. |

4 time steps without post-process blur. |

4 time steps with post-process blur. |

32 time steps without post-process blur. |

32 time steps with post-process blur. |