Introduction
Attributes
Weight
This sets the “goal weight” of selected control points, which is used when a curve has Soft Body physics, forcing the curve to “stick” to their original positions, based on the weight.
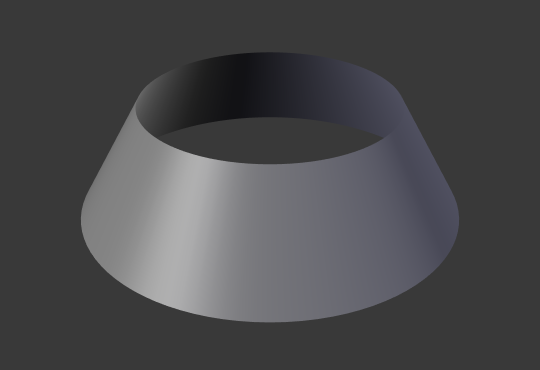
Radius
The Radius allows you to directly control the width of the extrusion along the “spinal” curve. The Radius of the points is set using the Shrink/Fatten Radius transform tool Alt-S, the , or the .
One control point radius set to zero.
Tip
Remember, these curves can be converted into meshes with Alt-C in Object Mode.
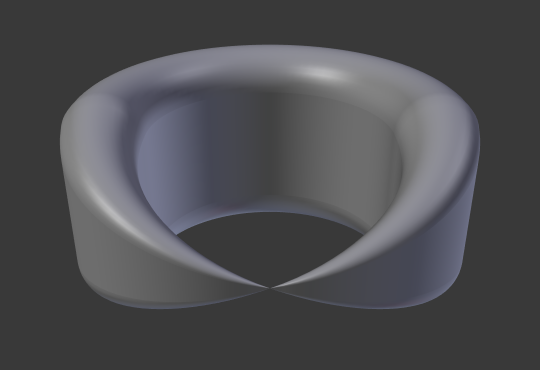
Tilt
This setting controls how the normals (visualization: arrows) twist around each control point – so it is only relevant with 3D curves! You set it using the Tilt transform tool in the Tool Shelf, the , .
You can also reset it to its default value (i.e. perpendicular to the original curve plane) with Alt-T, . With NURBS, the tilt is always smoothly interpolated. However, with Bézier, you can choose the interpolation algorithm between Linear, Ease, B-Spline, and Cardinal, in the .
30 degree Mean Tilt of all control points.