はじめに
Masks can be created in the Image and Movie Clip editors, by changing the mode to Mask in the header. This will add various tools and properties to the editor panels, while hiding others that are not needed for interacting with masks.
Masks have many purposes. They can be used in a motion tracking workflow to mask out, or influence a particular object in the footage. They can be used for manual rotoscoping to pull a particular object out of the footage, or as a rough matte for green-screen keying. Masks are independent from a particular image of movie clip, and so they can just as well be used for creating motion graphics or other effects in the Compositor.

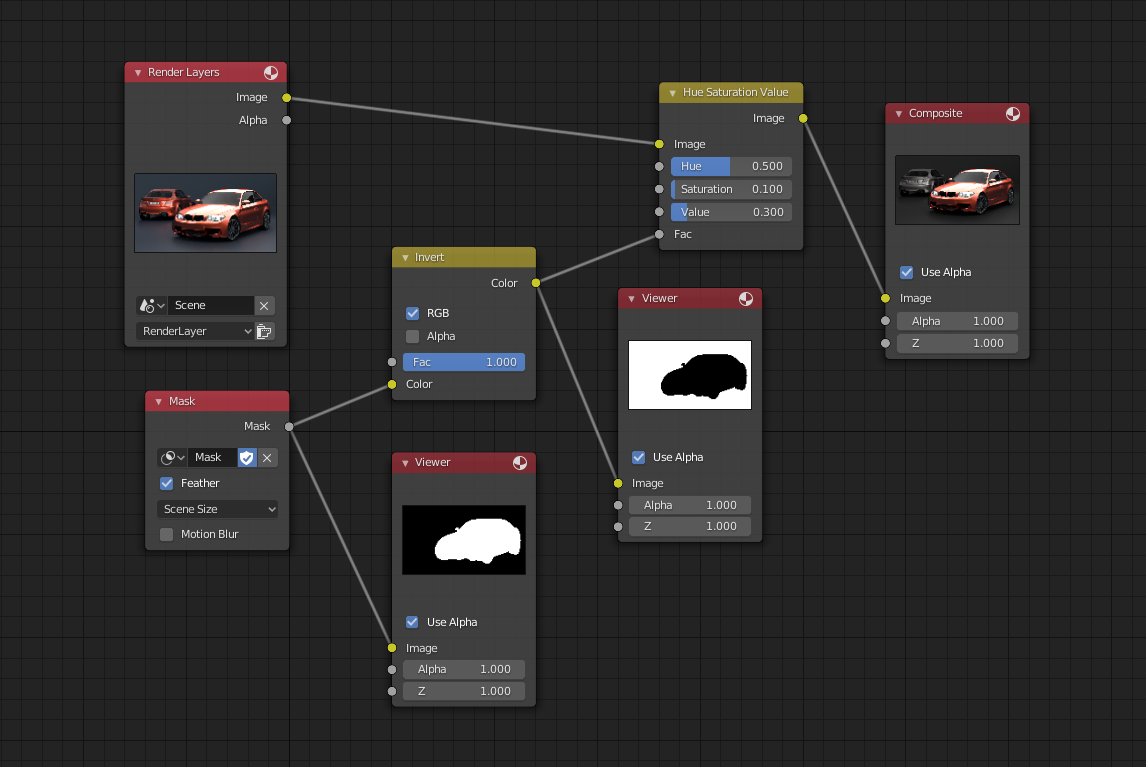
Using the Mask node to isolate an object in compositing.
While the Movie Clip Editor and Image Editor are used to edit masks, the Compositor and Sequencer are just using already created mask.
Masks can be animated over the time so that they follow some object from the footage, e.g. a running actor. This can be achieved with shape keys or parenting the mask to tracking markers.
Mask Data-block
Mask data-block containing multiple mask layers and splines. They are the most high-level entities used for masking purposes. Masks can be reused in different places, and hold global parameters for all the entities they consist of.
ヘッダー

The Movie Clip Editor header in Mask mode.
コントロール
- Mask(マスク)
Once set to Mask mode, a mask data-block can be added with a data-block menu. Any image, movie clip, render or compositing result can be used as a backdrop to display masks over.
New
+Alt-N- Mask Display(マスク表示)
このポップオーバーは、マスク表示のオプションを制御します。
- Smooth(スムーズ)
Display the edge anti-aliased.
- Edge Display Type(辺の表示タイプ)
辺のスタイル。
- Overlay(オーバーレイ)
追加したマスクを、画像エディターとクリップエディターの両方にオーバーレイします。
- Mode(モード)
- Alpha Channel(アルファチャンネル)
ラスタライズされたマスクをグレースケール画像として表示します。
- Combined(統合)
Which multiplies the image/clip with the mask.