Введение
Sculpt Mode is similar to Edit Mode in that it is used to alter the shape of a model, but Sculpt Mode uses a very different workflow: instead of dealing with individual elements (vertices, edges, and faces), an area of the model is altered using a brush. In other words, instead of selecting a group of vertices, Sculpt Mode manipulates geometry in the brush region of influence.
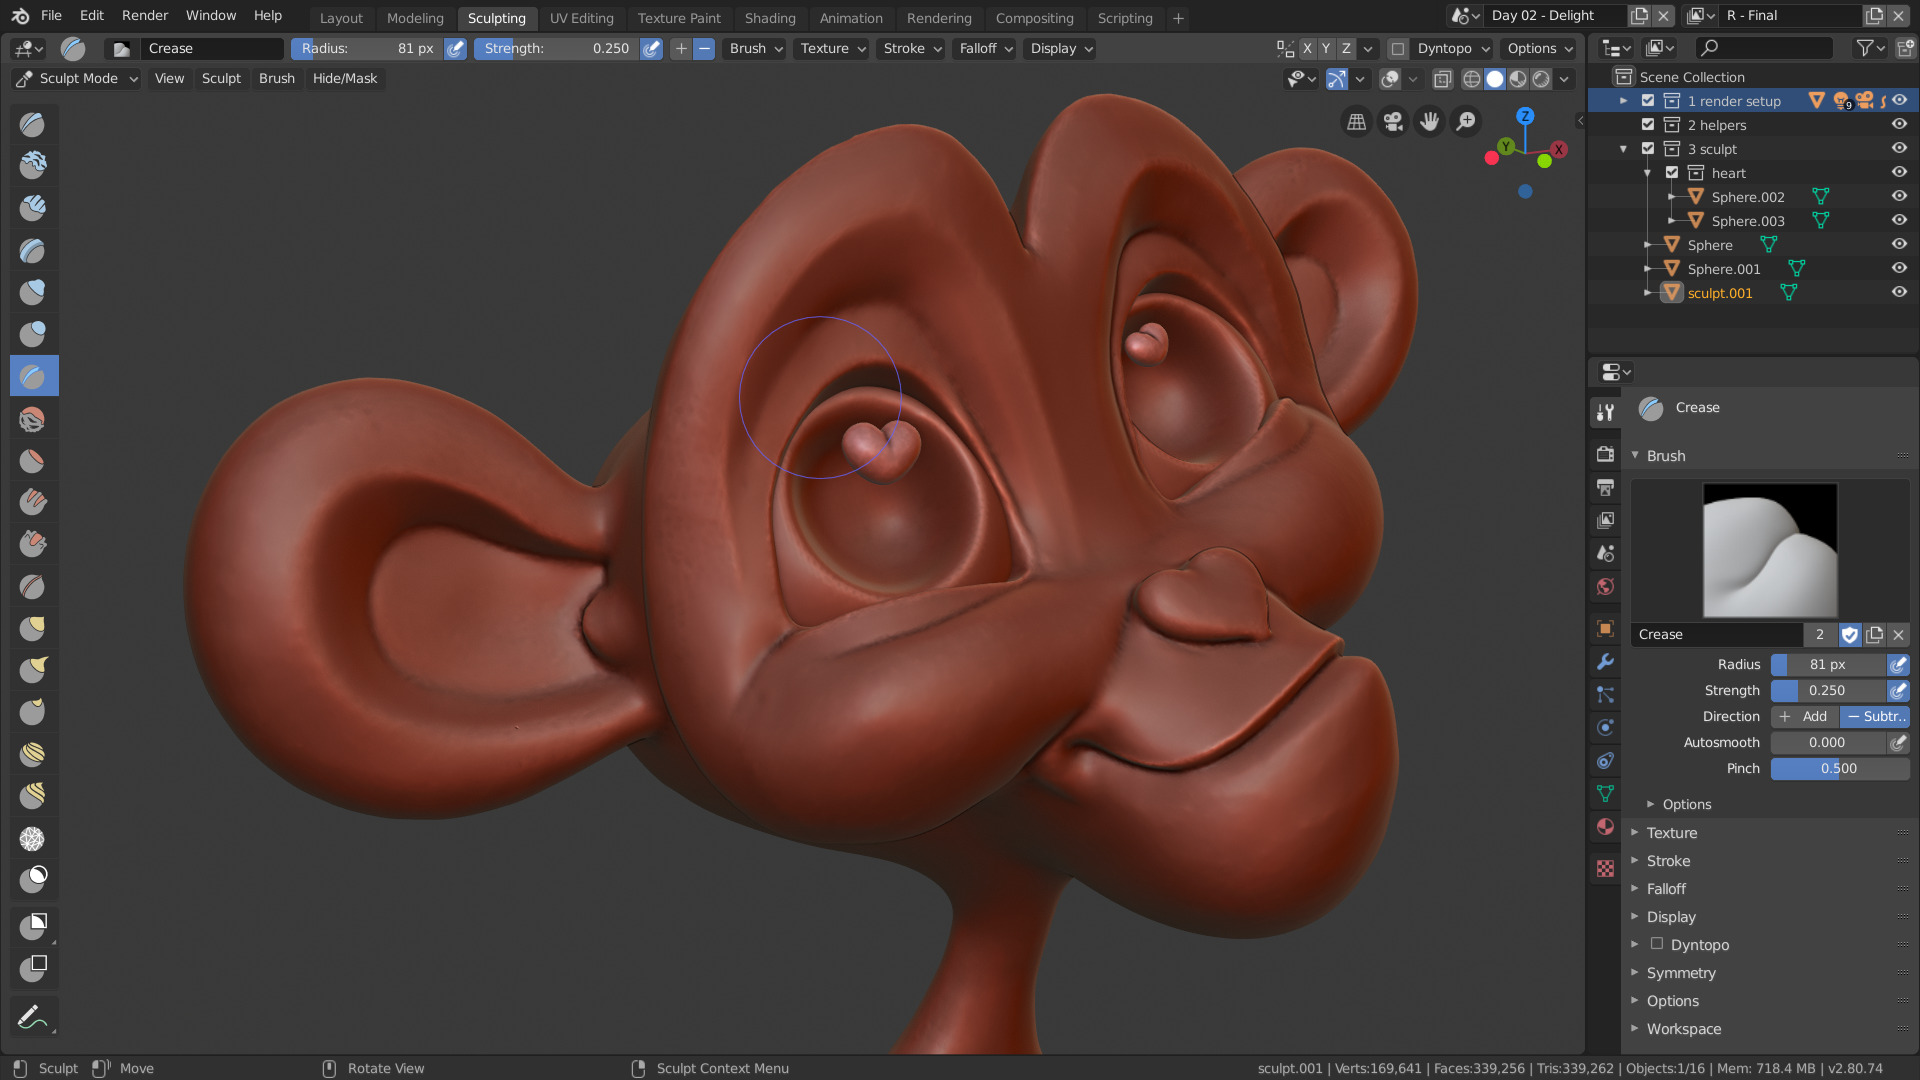
Sculpting Mode Example.
Sculpt Mode is selected from the mode menu of the 3D Viewport header. Once Sculpt Mode is activated, the Toolbar of the 3D Viewport will change to Sculpt Mode specific panels. A red circle will appear and follow the location of the cursor in the 3D Viewport.
Примечание
To have a predictable brush behavior, apply the scale of your mesh.
The Brush
Sculpt Mode uses a similar brush to the other painting modes, but it is slightly more advanced. All the normal brush controls still apply, and it functions exactly the same, yet the brush for sculpting is displayed in 3D. This means that the brush will follow the contours of the mesh and the radius is displayed by orienting the brush to match the topology Normal. How closely the cursor follows the curvature of the mesh can be changed in the Brush Settings.
The brush can also change depending on the currently active tool to better display how that tool works.
Использование
Limiting Brush Interactions
While sculpting, areas might be hidden behind parts of the mesh or they might be too close to other parts. To work through these, it is useful to isolate parts of a mesh to sculpt on. This can be done by either completely hiding parts of the mesh or by masking areas that can not be sculpted on.