Групи Вузлів – Node Groups
Приклад групового вузла.
Grouping nodes can simplify a node tree by allowing instancing and hiding parts of the tree.
Conceptually, grouping nodes allows you to specify a set of nodes that you can treat as though it were «just one node». Node groups are similar to functions in programming, they can be reused in many places in a node tree and can be customized by changing the «parameters» of the node group.
Як приклад: Якщо ви створили матеріал, який ви б хотіли використати з іншими уводами, наприклад, для кольору розсіяння: червоний пластик, зелений пластик. Ви можете створити різні матеріали та зробити їх однокористувацькими за допомогою команди «Зробити Однокористувацьким» – Make Single User для кожного відтінку кольору з копією частини дерева, що описує матеріал пластику. Якщо ви схочете редагувати, то вам необхідно буде повторити всі ці правки на усіх цих матеріалах. Кращим методом повторного використання є створення вузлових груп із виставленням тільки уводів, що будуть змінюватися (наприклад, колір розсіяння).
При групуванні також підтримуються вкладені один в один групи вузлів. Тобто, група вузлів може бути вставлена або створена всередині іншої групи вузлів.
Примітка
Рекурсивні групи вузлів заборонені для усіх поточних систем вузлів із метою запобігання безкінечної рекурсії, «замикання на собі». Група вузлів ніколи не може вміщувати сама себе (або іншу групу, що вміщує її).
Інтерфейс – Interface
When a node group is created, new Group Input and Group Output nodes are generated to represent the data flow into and out of the group. Furthermore connections to input sockets coming from unselected nodes will become attached to new sockets on the Group Input node. Similarly, outgoing connections to input sockets of unselected nodes will become attached to the new Group Output node.
If you want to pass an additional parameter into the group, an socket must be added to the Group Input node. Therefore drag a connection from the hollow socket on the right side of the Group Input node to the desired input socket on the node requiring an input. The process is similar for the Group Output regarding data you want to be made available outside the group.
Панель – Panel
Орієнтир – Reference
- Режим – Mode
Усі Режими – All Modes
- Панель – Panel
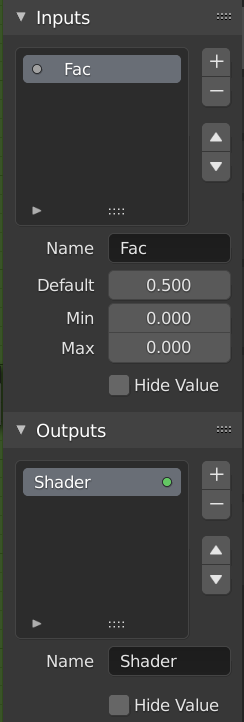
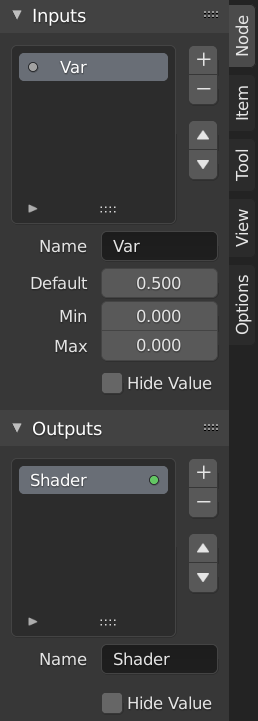
Панель інтерфейсу для редагування груп.
Тут можуть бути додані, перевпорядковані або вилучені роз’єми, для них можуть бути визначені описові імена та інші дані.
If you have multiple inputs or outputs, they can be re-ordered by selecting the socket in the list. and then moving them up or down with the arrow buttons on the right side of the panel. The plus button will add an unconnected socket of the same type as the selected socket or a value socket if there is no selection. The minus button will remove the selected socket. The triangle at the bottom of the list has filtering functions to help finding nodes if the group has a large number of sockets.
- Name
The name of the socket to display in the node’s interface.
- Default
The value to use when nothing is connected to the node socket. Note, this will not affect the current node but will affect instances of the node.
- Min, Max
The minimum and maximum value for the UI button shown in the node interface. Note, this is not a minimum or maximum for the data that can pass through the node. If a socket passes a higher value than the maximum it will still pass into the node unchanged.
- Hide Value
Hide the socket value even when the socket is not connected.
Редагування Групи – Edit Group
Орієнтир – Reference
- Режим – Mode
Усі Режими – All Modes
- Меню – Menu
«Вузол > Редагувати Групу» –
- Заголовок – Header
«Перейти у Предківське Дерево Вузлів» –
- Скорочення – Hotkey
Tab, Ctrl-Tab
З вибраною групою вузлів Tab розгортає цю групу у кадр, в якому показуються окремі вузли. Ви можете переміщати їх, гратися з індивідуальними їх керувальниками, пере-зв’язувати внутрішньо з’єднання між ними тощо, так само, як це ви можете робити у звичайній частині огляду редактора вузлів. Хоча, ви не будете у змозі зв’язувати їх із вузлами поза цією групою; для цього ви повинні використовувати зовнішні роз’єми на боках групи вузлів. Скорочення Tab може використовуватися, як для входу, так і для виходу з режиму редагування групи, а скорочення Ctrl-Tab – тільки для виходу з нього.
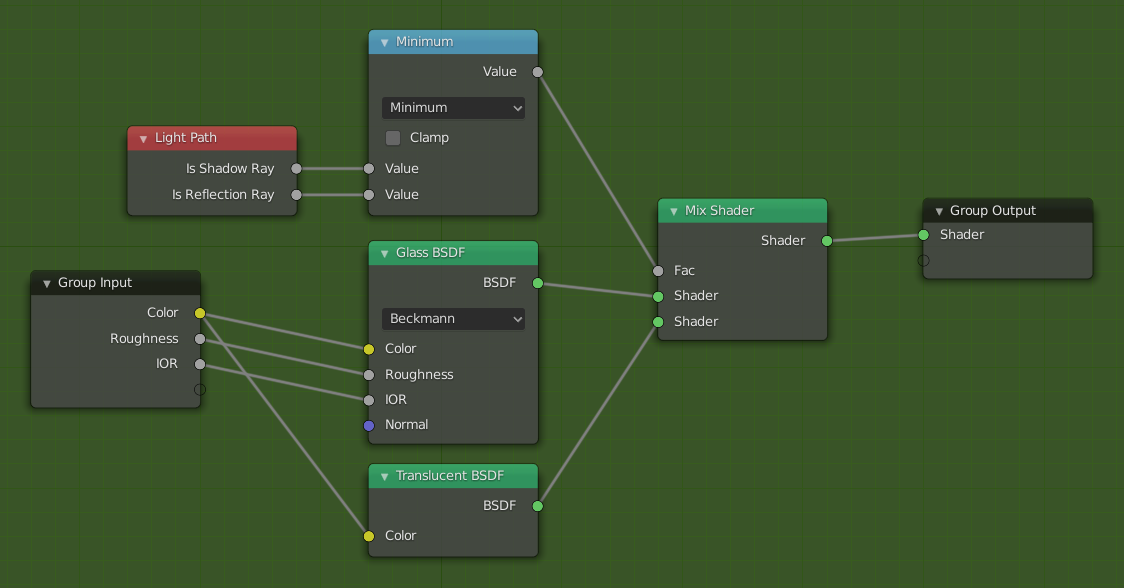
Приклад розгорнутої групи вузлів.
Зробити Групу – Make Group
Орієнтир – Reference
- Режим – Mode
Усі Режими – All Modes
- Меню – Menu
«Вузол > Зробити Групу» –
- Скорочення – Hotkey
Ctrl-G
To create a node group, select the nodes you want to include, then press Ctrl-G, . A node group will have a green title bar. All selected nodes will now be contained within the node group. Default naming for the node group is «NodeGroup», «NodeGroup.001» etc. There is a name field in the node group you can click into to change the name of the group. Change the name of the node group to something meaningful. When appending node groups from one blend-file to another, Blender does not make a distinction between material node groups or composite node groups. So it is recommended to use some naming convention that will allow you to distinguish between the two types.
Порада
Що не включати у групи вузлів:
Remember that the essential idea is that a group should be an reusable, self-contained software component. Material node groups should not include:
- Вузли типу «Увід» – Input nodes
Якщо ви включите джерельний вузол у вашу групу, то у результаті цей джерельний вузол буде присутнім двічі: один всередині групи, а інший поза групою у новому дереві вузлів матеріалу.
- Вузли типу «Вивід» – Output node
Якщо ви включите вивідний вузол у групу, то будуть відсутні вивідні роз’єми для виводу даних із групи!
Розгрупування – Ungroup
Орієнтир – Reference
- Режим – Mode
Усі Режими – All Modes
- Меню – Menu
- Скорочення – Hotkey
Ctrl-Alt-G
The Ctrl-Alt-G tool removes the group and places the individual nodes into your editor workspace. No internal connections are lost, and now you can link internal nodes to other nodes in your workspace.
- Відокремлення – Separate P
Відокремлює вибрані вузли від групи вузлів.
- Копіювання – Copy
Копіює у предківське дерево вузлів, зберігаючи групу незачепленою.
- Переміщення – Move
Переміщує у предківське дерево вузлів, вилучаючи з групи.
Вставити у Групу – Group Insert
Орієнтир – Reference
- Режим – Mode
Усі Режими – All Modes
- Меню – Menu
Selecting a set of nodes, ending with the destination group node, and pressing will move those nodes into that group. The moved nodes are collected into a group of their own to preserve their connection context, having their own group input and output nodes. The group’s existing input and output nodes are updated with new sockets, if any, from the new nodes. The node group must be edited to contain a single Group Input and a single Group Output node.
Прилучення Груп Вузлів – Appending Node Groups
Орієнтир – Reference
- Редактор – Editor
Верхня смуга – Topbar
- Режим – Mode
Усі Режими – All Modes
- Меню – Menu
«Файл > Пов’язання/Прилучення» – menuselection:File –> Link/Append
Після прилучення дерева вузлів – NodeTree іззовні у ваш blend-файл ви можете його використовувати його у Редакторі Вузлів – Node Editor, натиснувши Shift-A або «Додання > Група» – , потім вибрати потрібну з прилучених груп. «Керувальна панель» цієї Групи являє собою окремі керувальники для згрупованих у ній вузлів. Ви можете змінювати їх, працюючи з таким Груповим вузлом так само, як і з іншими вузлами.