Canvas
Reference
| Panel: | |
|---|---|
| Type: | Canvas |
The Canvas type makes object receive paint from Dynamic Paint brushes.
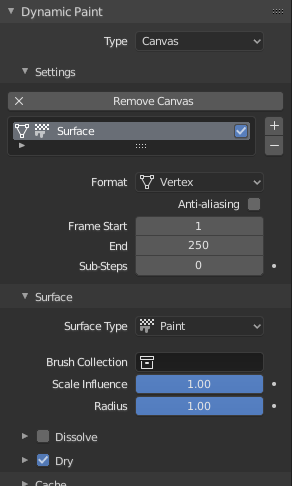
Canvas main panel.
- Paint Surface
A list of Dynamic Paint surfaces. These surfaces are basically layers of paint, that work independently from each other. You can define individual settings for them and bake them separately.
- Is Active
- The checkbox toggles whether surface is active at all. If not selected no calculations are done.
Below you can set surface type and adjust quality and timing settings.
- Format
Each surface has a certain format and type. Format determines how data is stored and outputted.
- Vertex
- Dynamic Paint operates directly on mesh vertex data. Results are stored by point cache and can be displayed in viewports. However, using vertex level also requires a highly subdivided mesh to work.
- Image Sequences
- Dynamic Paint generates UV wrapped image files of defined resolution as output.
- Quality
- Resolution
- You can adjust the output image dimensions for the Image Sequences surface type. For example using 256 will lead to 256×256 image output. Doubling the resolution will likely quadruple the baking time and vice versa.
- Anti-aliasing
- Anti-aliasing to smooth paint edges using a 5× multisampling method.
- Frames
- Start, End
- Defines surface processing start and end frame.
- Sub-steps
- Sub-steps are extra samples between frames. They are usually required when there is a very fast brush.
Surface
Reference
| Type: | Canvas |
|---|---|
| Panel: |
From Surface panel you can adjust surface type and related settings.
Surface Type
Each surface has a "type" that defines what surface is used for.
Paint
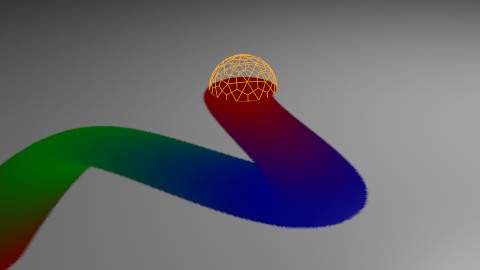
Paint is the basic surface type that outputs color and wetness values. In case of vertex surfaces, results are outputted as vertex colors.
A wetmap is a black-and-white output that visualizes paint wetness. White being maximum wetness, black being completely dry. It is usually used as mask for rendering. Some "paint effects" affect wet paint only.
- Dry
Completely disable drying is useful for indefinitely spreading paint.
- Color Dry
- It can be used to define wetness level when paint colors start to shift to surface "background". Lower values can be useful to prevent spreading paint from becoming transparent as it dries, while higher values give better results in general.
Displace
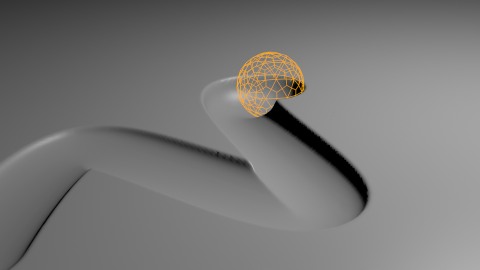
This type of surface outputs intersection depth from brush objects.
- Incremental
- A new displace is added cumulatively on top of an existing displace.
- Max Displace
- The maximum level of intersection depth, larger values will be clamped to this value.
- Displace Factor
- The multiplier for the intersection depth. You can use it to adjust final displace strength or use negative values to paint bumps.
Tip
If the displace output seems too rough it usually helps to add a Smooth Modifier after Dynamic Paint in the modifier stack.
Waves
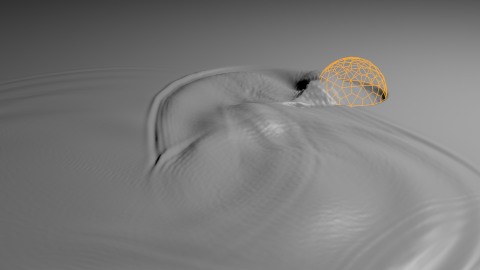
This surface type produces simulated wave motion. Like displace, wave surface also uses brush intersection depth to define brush strength.
You can use following settings to adjust the motion:
- Open Borders
- Allows waves to pass through mesh "edges" instead of reflecting from them.
- Timescale
- Directly adjusts simulation speed without affecting simulation outcome. Lower values make simulation go slower and otherwise.
- Speed
- Affects how fast waves travel on the surface. This setting is also corresponds to the size of the simulation. Half the speed equals surface double as large.
- Damping
- Reduces the wave strength over time. Basically adjusts how fast wave disappears.
- Spring
- Adjusts the force that pulls water back to "zero level".
- Smoothness
- (Todo)
Tip
In some cases the wave motion gets very unstable around brush. It usually helps to reduce wave speed, brush "wave factor" or even the resolution of mesh/surface.
Weight
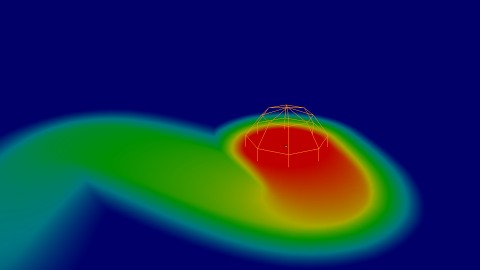
This is a special surface type only available for vertex format. It outputs vertex weight groups that can be used by other Blender modifiers and tools.
Tip
It is usually preferred to use "proximity" based brushes for weight surfaces to allow smooth falloff between weight values.
Common Options
For each surface type there are special settings to adjust. Most types have the settings Dissolve and Brush:
- Dissolve
- Used to make the surface smoothly return to its original state during a defined Time period.
- Brush Collection
- Used to define a specific collection to pick brush objects from.
- Influence Scale, Radius Scale
- For tweaking brush settings individually for each surface.
Output
Reference
| Type: | Canvas |
|---|---|
| Panel: |
From Output panel you can adjust how surface outputs its results.
Vertex
For Vertex format surfaces, you can select a mesh data layer (color/weight depending on surface type) to generate results to. You can use the "+"/"-" icons to add/remove a data layers of given name. If layer with given name is not found, it is shown as red.
Image Sequence
For Image Sequence surfaces, you can define used UV maps and output file saving directory, filenames and image format.
Initial Color
Reference
| Type: | Canvas |
|---|---|
| Panel: |
Allows you to define the initial color of the canvas. (Todo 2.62)
- None
- Color
- UV Texture
- Vertex Color
Effects
Reference
| Type: | Canvas |
|---|---|
| Panel: |
This is a special feature for "Paint" type surface. It generates animated movement on canvas surface.
- Effects
- Spread
- Paint slowly spreads to surrounding points eventually filling all connected areas.
- Drip
- Paint moves in specific direction specified by Blender force fields, gravity and velocity with user-defined influences.
- Shrink
- Painted area slowly shrinks until disappears completely.
For spread and drip effects, only "wet paint" is affected, so as the paint dries, movement becomes slower until it stops.
Cache
Reference
| Type: | Canvas |
|---|---|
| Panel: |
This panel is currently only visible for Vertex format surfaces. You can use it to adjust and bake point cache.
