降噪
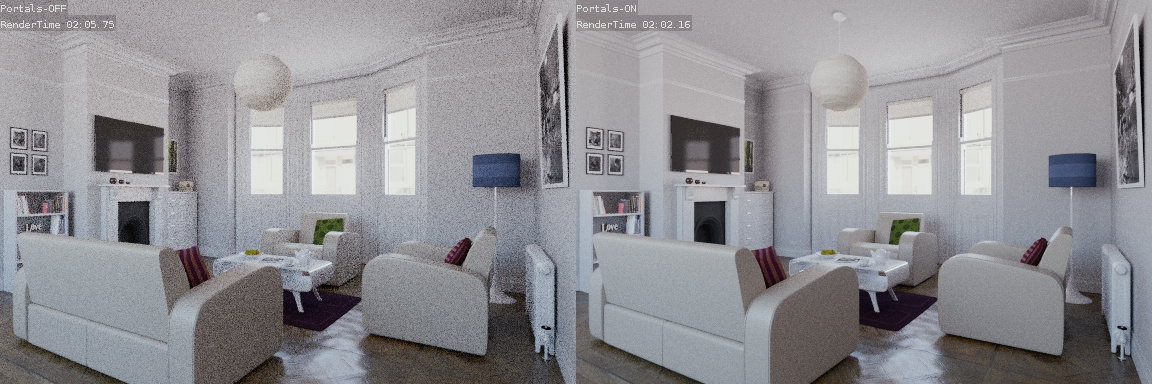
在执行最终渲染时,尽可能降低噪点非常重要。在这里,我们将讨论一些技巧,虽然打破了物理定律,但是在合理时间内渲染动画时尤为重要的。单击以放大示例图像,查看噪声差异。
路径追踪
Cycles 在下一个事件估计时使用路径跟踪,这不擅长渲染所有类型的光效果(如焦散效果),但与其他渲染算法相比,它的优势是能够渲染更详细、更大的场景。这是因为我们不需要在内存中存储光子贴图,并且与双向路径跟踪相比,我们可以保持光线相对一致,以使用按需图像缓存。
我们做与现实相反的事情,将相机的光线跟踪到场景中和灯光上,而不是从光源到场景中,然后进入摄像机。这样做的好处是,我们不会浪费不会出现在相机中的光线,但也意味着很难找到一些可能贡献很大的光路。光线将根据表面 BRDF 或已知光源的方向发送。
噪点的来源
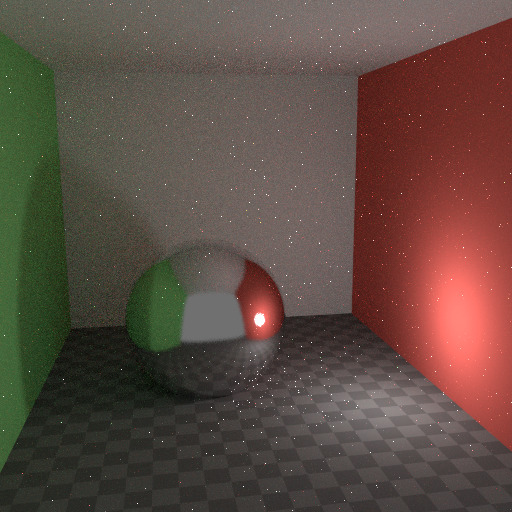
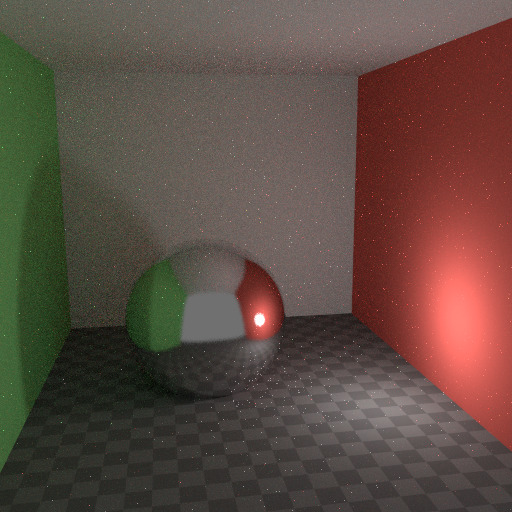
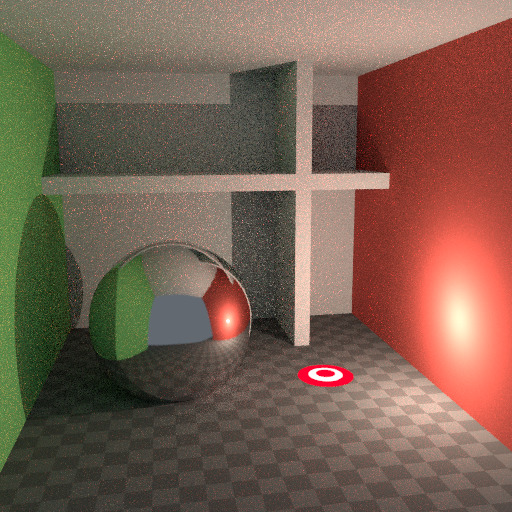
要了解噪点可能来自何处,请以下面的场景为例。当我们将光线追踪到红点上由白色圆圈标记的位置时,下面的第二个图像给人一种漫反射色光 看到 的印象。
要查找从曲面反射的光,我们需要从所有这些像素中查找平均颜色。注意球体上的光泽高光,以及光线投射在附近墙壁上的亮点。这些亮点比图像的其他部分亮 得多,并将显著影响此像素的照明。
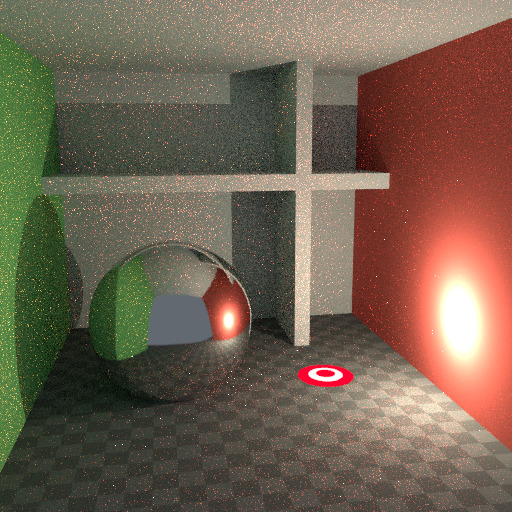
这个场景。¶ |
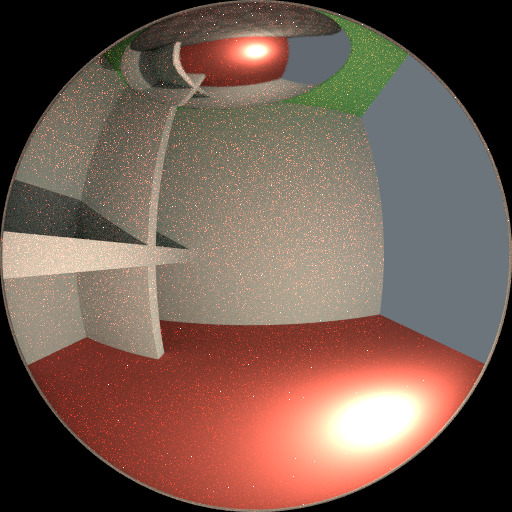
阴影点的亮照度。¶ |
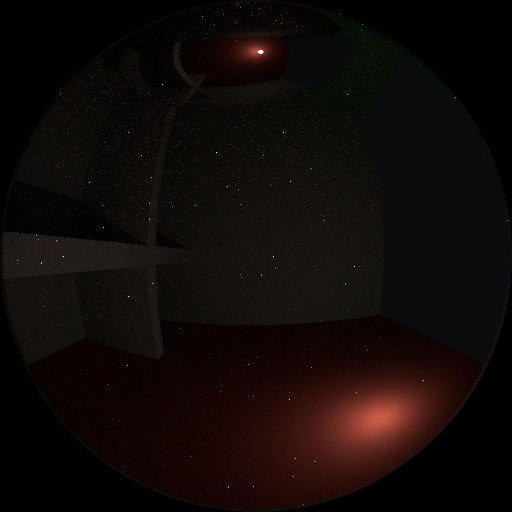
检测到的高光。¶ |
The light is a known light source, so its location is already known, but the glossy highlight(s) that it causes are a different matter. The best we can do with path tracing is to distribute light rays randomly over the hemisphere, hoping to find all the important bright spots. If for some pixels we miss some bright spot, but we do find it for another, that results in noise. The more samples we take, the higher the probability that we cover all the important sources of light.
With some tricks we can reduce this noise. If we blur the bright spots, they become bigger and less intense, making them easier to find and less noisy. This will not give the same exact result, but often it's close enough when viewed through a diffuse or soft glossy reflection. Below is an example of using Glossy Filter and Light Falloff.
使用光泽过滤&灯光衰减。¶ |
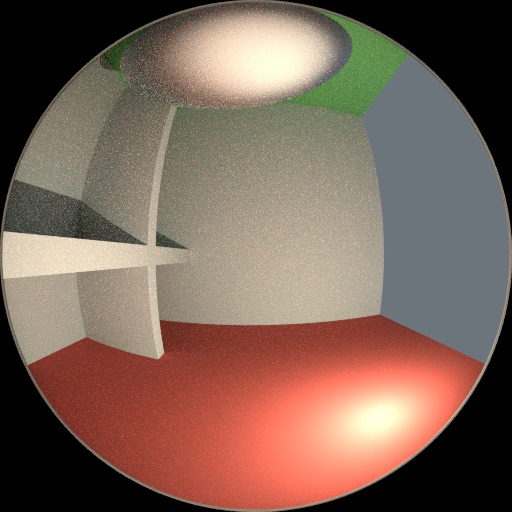
阴影点的亮照度。¶ |
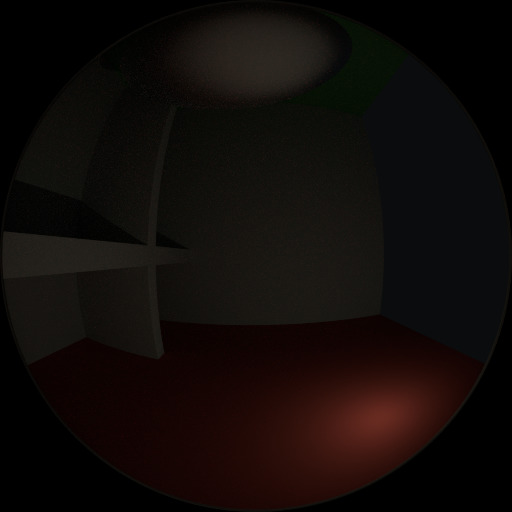
检测到的高光。¶ |
最多反弹次数
在现实中,由于光速非常高,光会反弹大量。实际上,更多的反弹会引起更多的噪点,并且最好在 光线追踪` 部分中使用 更少 反弹,用于不同的色泽器类型,使用 有限全局照明 预设。漫反射表面通常可以减少反弹,而光泽表面需要更多,而传输制光器(如玻璃)通常最需要。
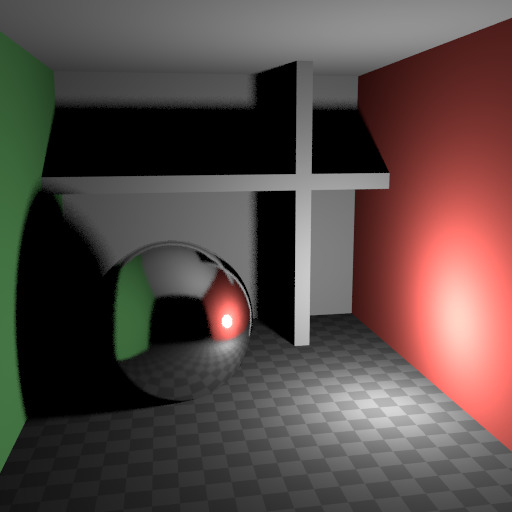
没有反弹。¶ |
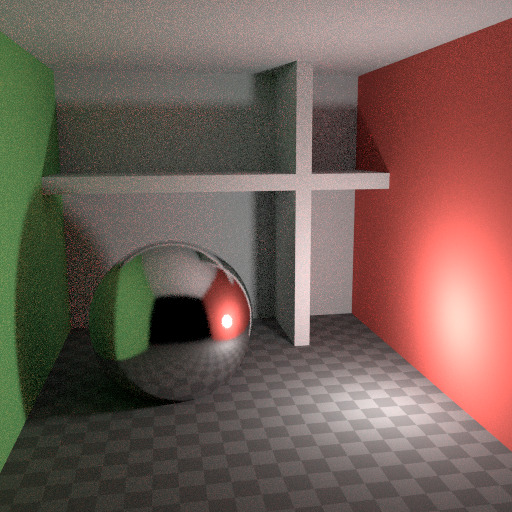
最多两次反弹。¶ |
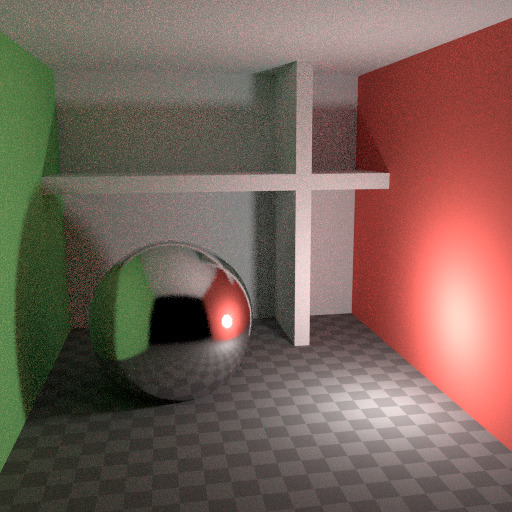
最多四次反弹。¶ |
同样重要的是,使用 没有 值1.0的组件或接近该值的颜色着色器;尝试将最大值保持在0.8或更小,并使灯光更亮。实际上,表面很少能完全反射所有的光,但当然也有例外;通常玻璃会让大部分光通过,这就是为什么我们需要更多的反射。颜色分量的高值往往会引起噪点,因为光强度不会随着它从每个表面反弹而降低。
焦散和滤除光泽
Caustics are a well-known source of noise, causing Fireflies. They happen because the renderer has difficulty finding specular highlights viewed through a soft glossy or diffuse reflection. There is a No Caustics option to disable glossy behind a diffuse reflection entirely. Many renderers will typically disable caustics by default.
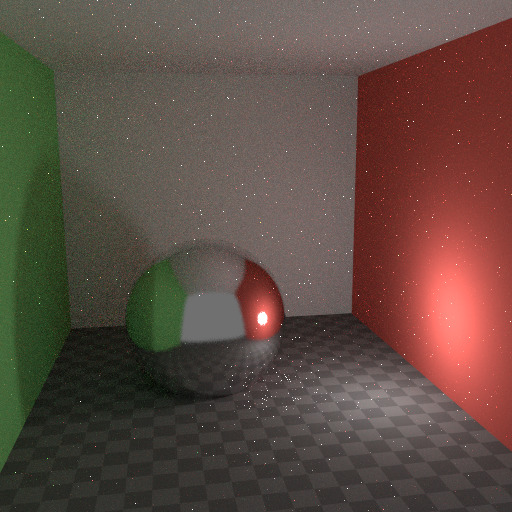
默认设置。¶ |
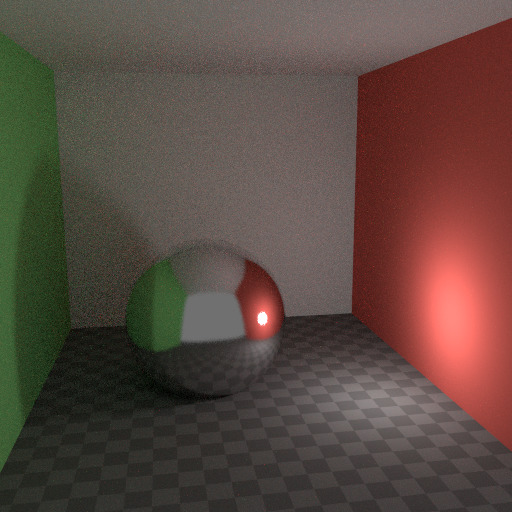
焦散禁用。¶ |
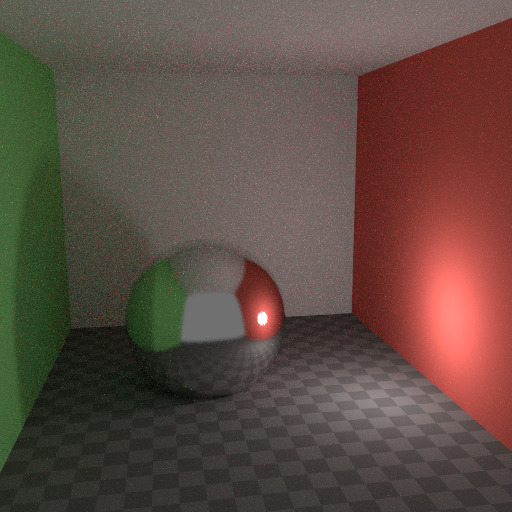
过滤光泽大于零。¶ |
However, using No Caustics will result in missing light, and it still does not cover the case where a sharp glossy reflection is viewed through a soft glossy reflection. There is a Filter Glossy option to reduce the noise from such cases at the cost of accuracy. This will blur the sharp glossy reflection to make it easier to find, by increasing the shader Roughness.
上图显示了默认设置,没有焦散,滤除器光泽设置为1.0。
光线衰减
In reality light in a vacuum will always fall off at a rate of 1/(distance^2). However, as distance goes to zero, this value goes to infinity and we can get very bright spots in the image. These are mostly a problem for indirect lighting, where the probability of hitting such a small but extremely bright spot is low and so happens only rarely. This is a typical recipe for Fireflies.
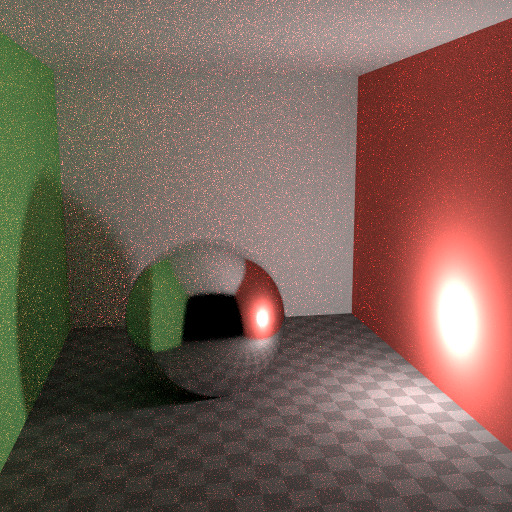
硬衰减。¶ |
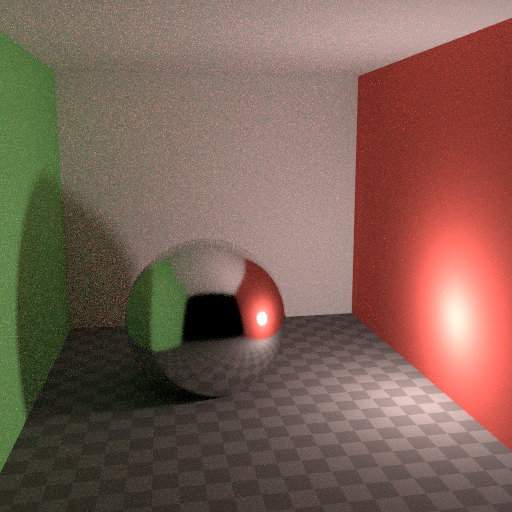
软衰减。¶ |
为了减少此问题, 光线衰减 节点具有 平滑因子 ,可用于降低光线对附近曲面可能影响的最大强度。上面的图像显示默认衰落和平滑值 1.0。
多重重要性采样
可将具有自发光着色器的配置为使用多重重要性采样 (材质设置) 。这意味着,他们将得到射线直接发送到他们,而不是结束在那里根据光线随机反弹周围。对于非常明亮的网状光源,这可以显著降低噪声。然而,当发射不是特别明亮时,这将从其他较亮的光源中抽取样品,而以这种方式找到它们很重要。
这里的最佳设置很难猜测;它可能是一个试验和错误的问题,但通常很明显,一个有点发光的物体可能只在本地提供光,而用作光的网光需要启用此选项。下面是一个示例,其中发射球体对照明的贡献很小,并且图像通过禁用多重重要性来渲染其噪点略小。
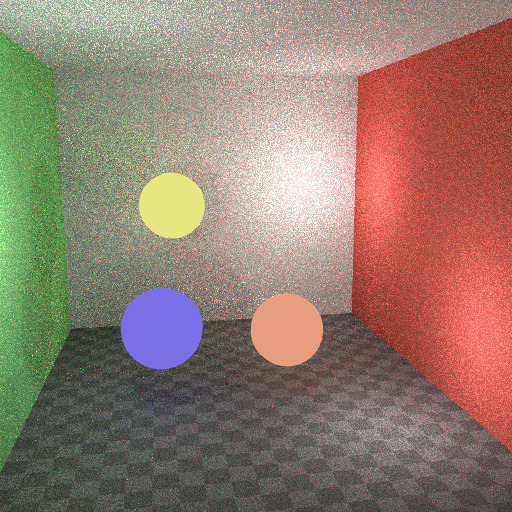
多重重要性关闭。¶ |
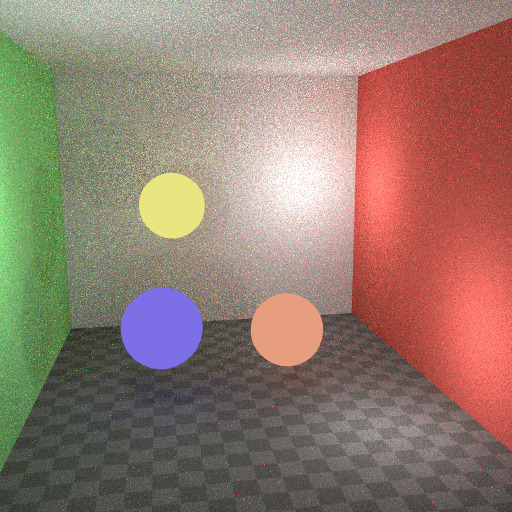
多重重要性开启。¶ |
世界背景还有一个 多重重要性 ( 设置 ) 选项。这对于具有小亮点的环境地图非常有用,并不单纯是平滑处理。然后在预处理中,此选项将确定亮点,并直接向它们发送光线。同样,如果不需要此选项,则启用此选项可能会从更重要的光源中获取样本。
玻璃和透明阴影
With caustics disabled, glass will miss shadows, and with filter glossy they might be too soft. We can make a glass shader that will use a Glass BSDF when viewed directly, and a Transparent BSDF when viewed indirectly. The Transparent BSDF can be used for transparent shadows to find light sources straight through surfaces, and will give properly-colored shadows, but without the caustics. The Light Path node is used to determine when to use which of the two shaders.
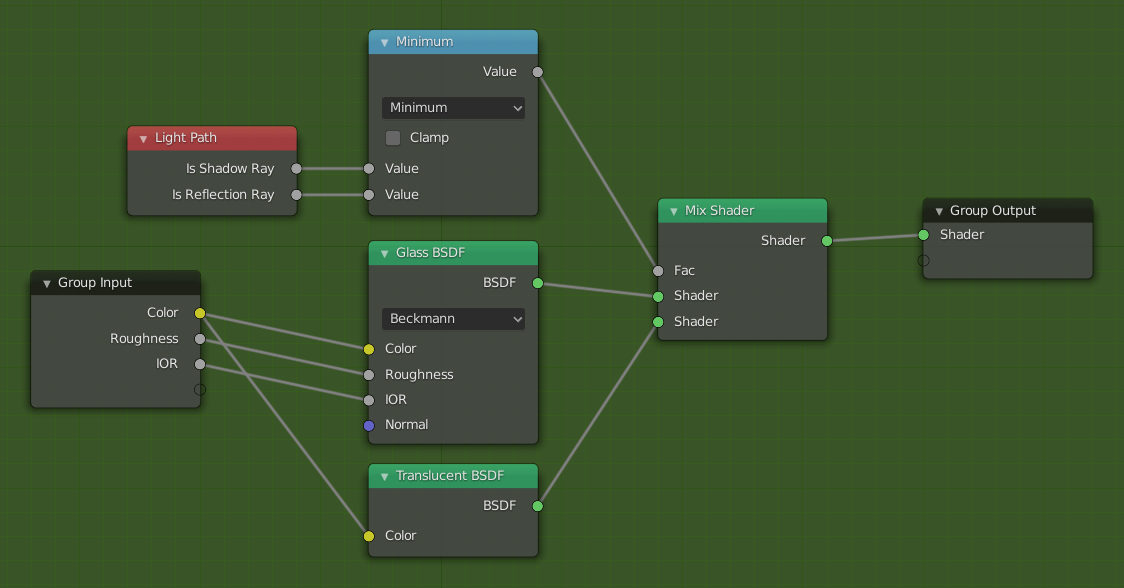
优化的玻璃着色器。
Above we can see the node setup used for the glass transparency trick; on the left the render has too much shadow due to missing caustics, and on the right the render with the trick.
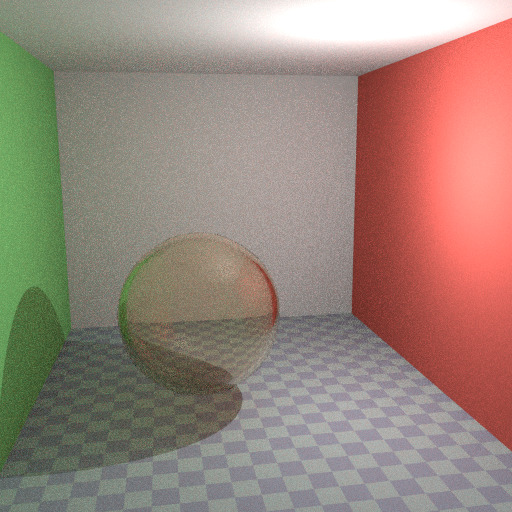
默认的玻璃 BSDF。¶ |
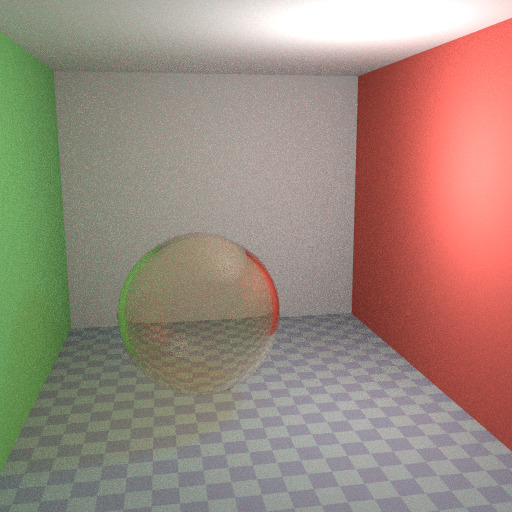
优化的玻璃着色器。¶ |
降噪
Even with all the settings described above there will always end up being some render noise no matter how many samples you use. To fix this there is a post-processing technique to cleanup the final bit of noise. To use this enable Denoising in the Render Layers tab of the Properties.
下面是 "像素 <https://blog.thepixelary.com/post/160451378592/denoising-in-cycles-tested>`__渲染的示例。
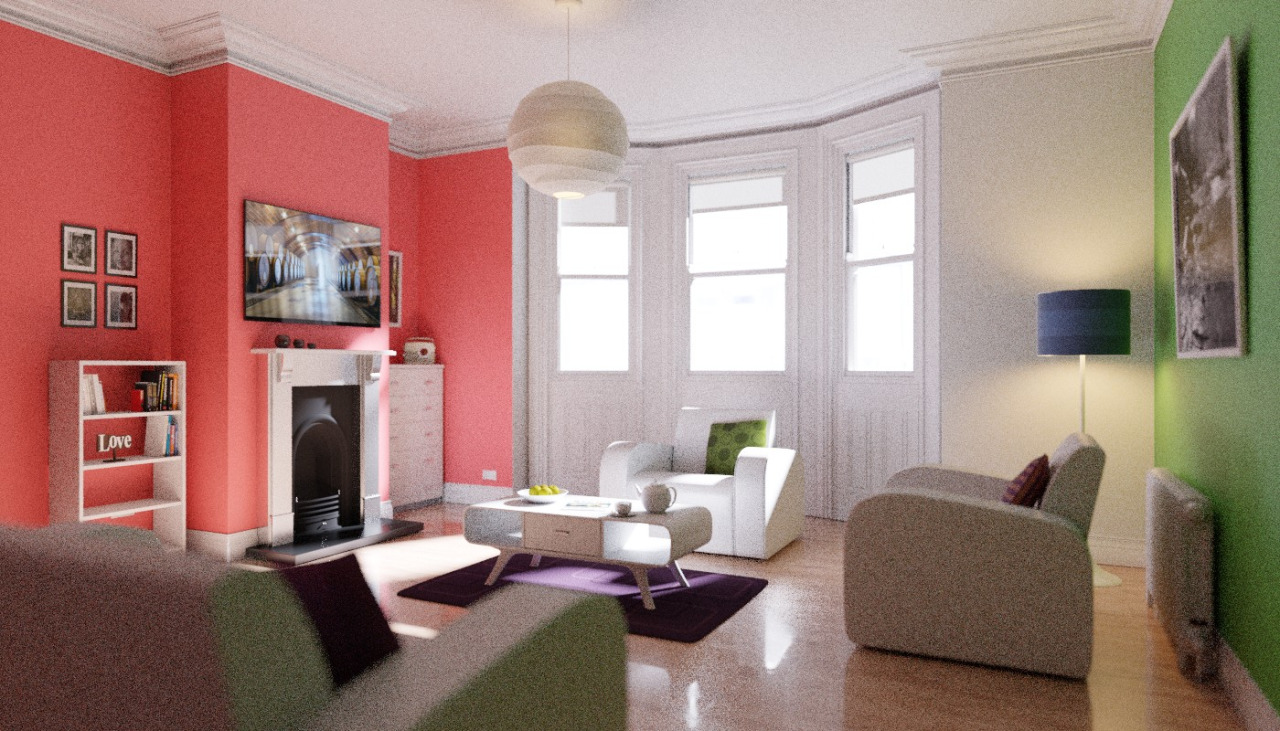
示例在降噪之前渲染。¶ |
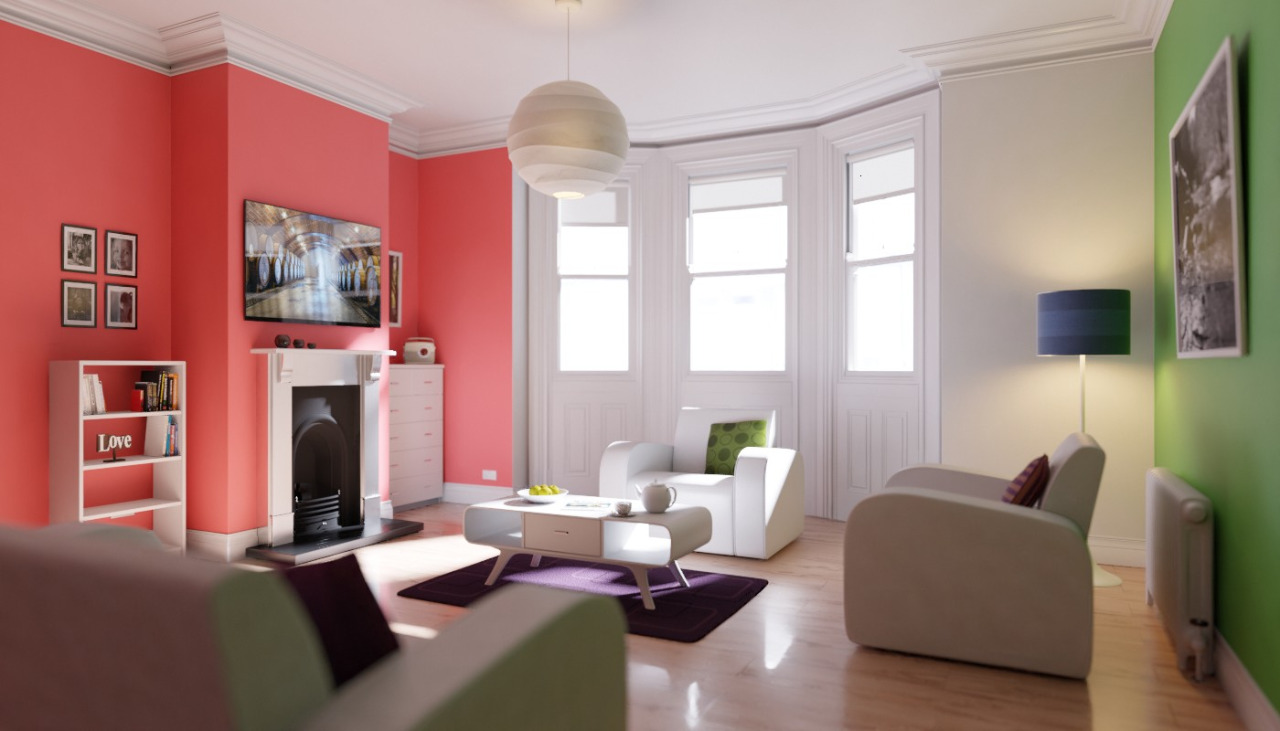
降噪后的渲染示例。¶ |

