抓起
参考
- 模式:
雕刻模式
- 工具:
抓起
- 快捷键:
G
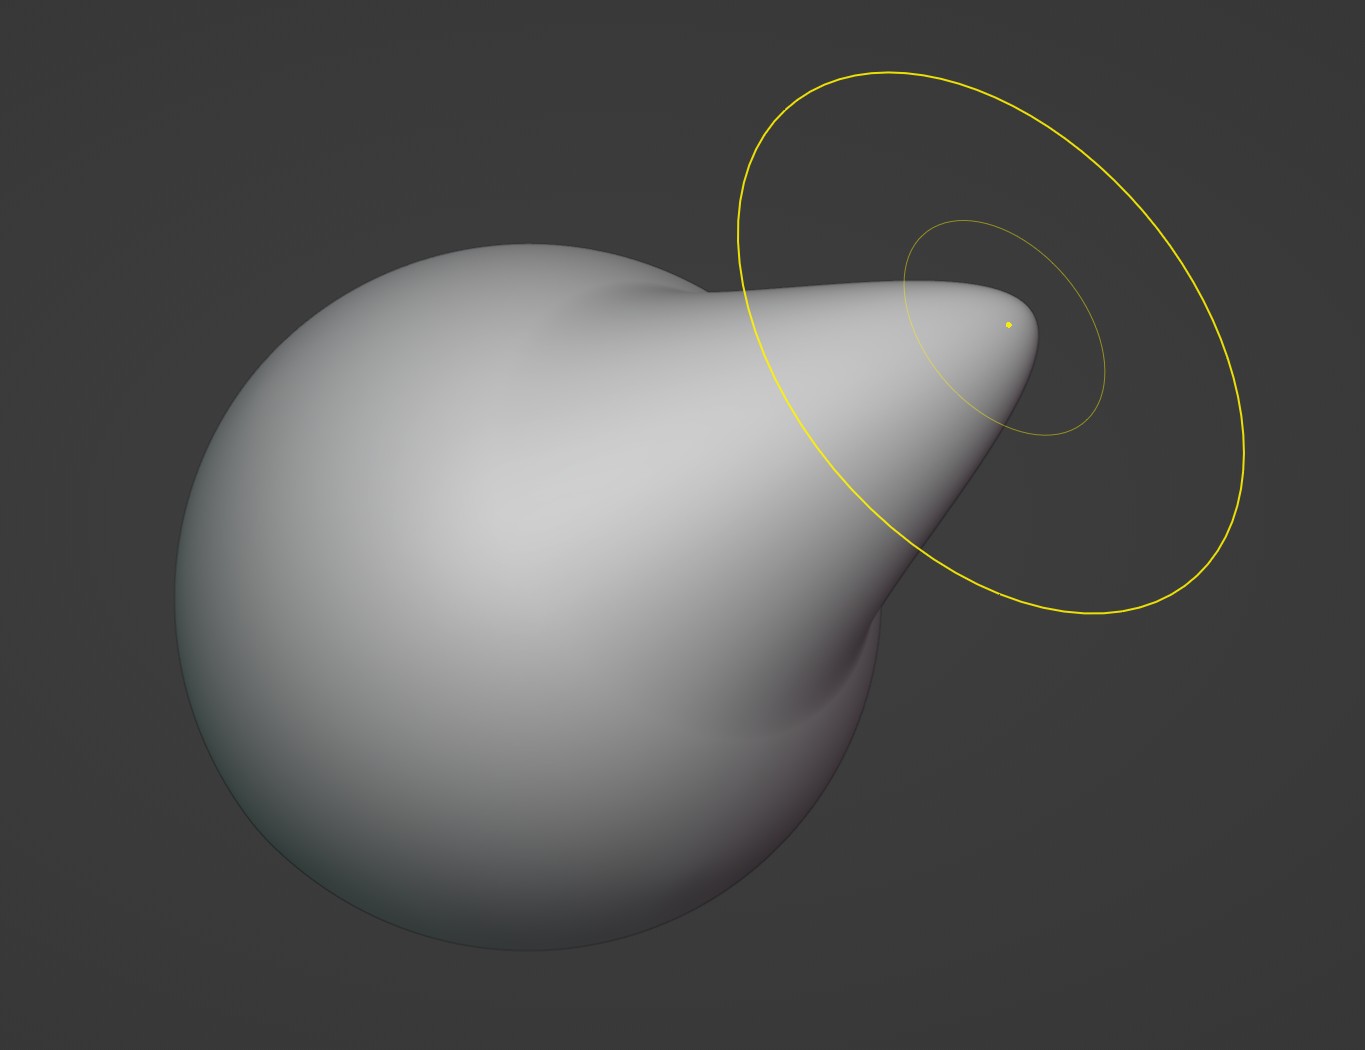
Drag geometry across the screen, following the cursor. Grab only moves the vertices that are under the brush radius at the start of the stroke. This is an essential sculpting brush to be used frequently to build shapes and adjust proportions.

Note
The effect is similar to moving geometry in Edit Mode with Proportional Editing enabled, except that Grab can make use of other Sculpt Mode options and brush settings.
笔刷设置
通用
- 半径
Pressure Sensitivity is not supported for this brush type. More info at Radius.
- 强度
Pressure Sensitivity is not supported for this brush type. More info at Strength.
- Normal Radius
For this brush, this setting is a purely visual change. It does not alter the brush behavior. More info at Normal Radius.
- Auto-Smooth
This setting is not supported. More info at Auto-Smooth.
Unique
- 抓取活动顶点
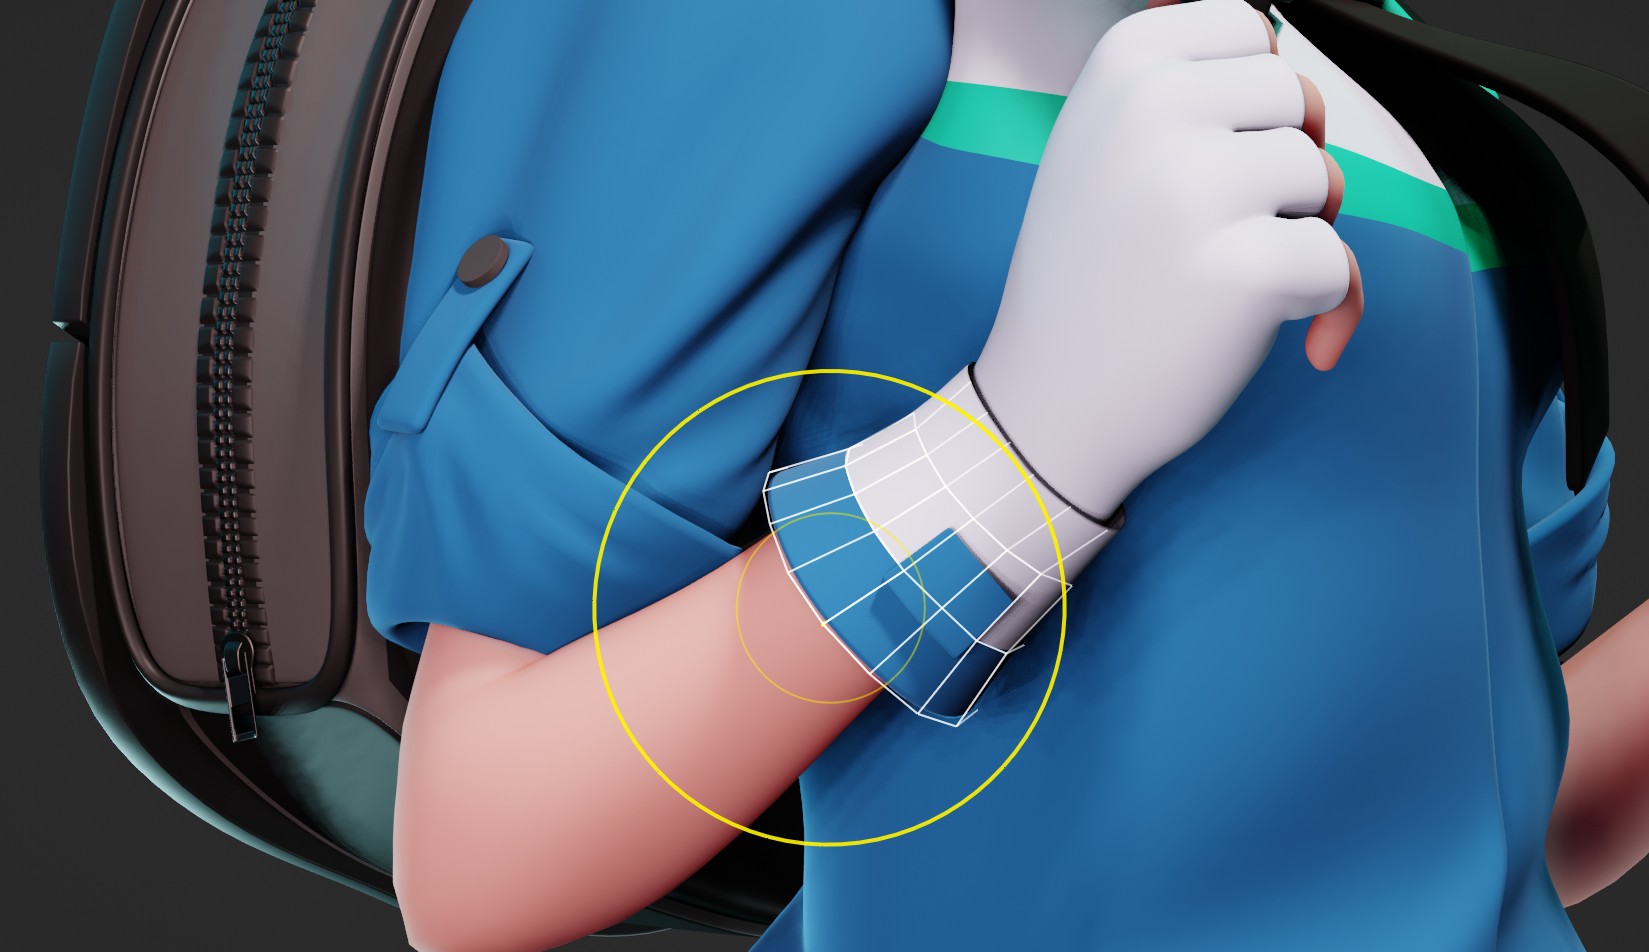
Applies the maximum strength of the brush to the highlighted active vertex, making it easier to manipulate low-poly models or meshes with modifiers.
Enabling this option also enables a white wireframe overlay within the brush radius. This helps to visualize the real base geometry that is being manipulated while sculpting with Modifiers.

- 抓取剪影
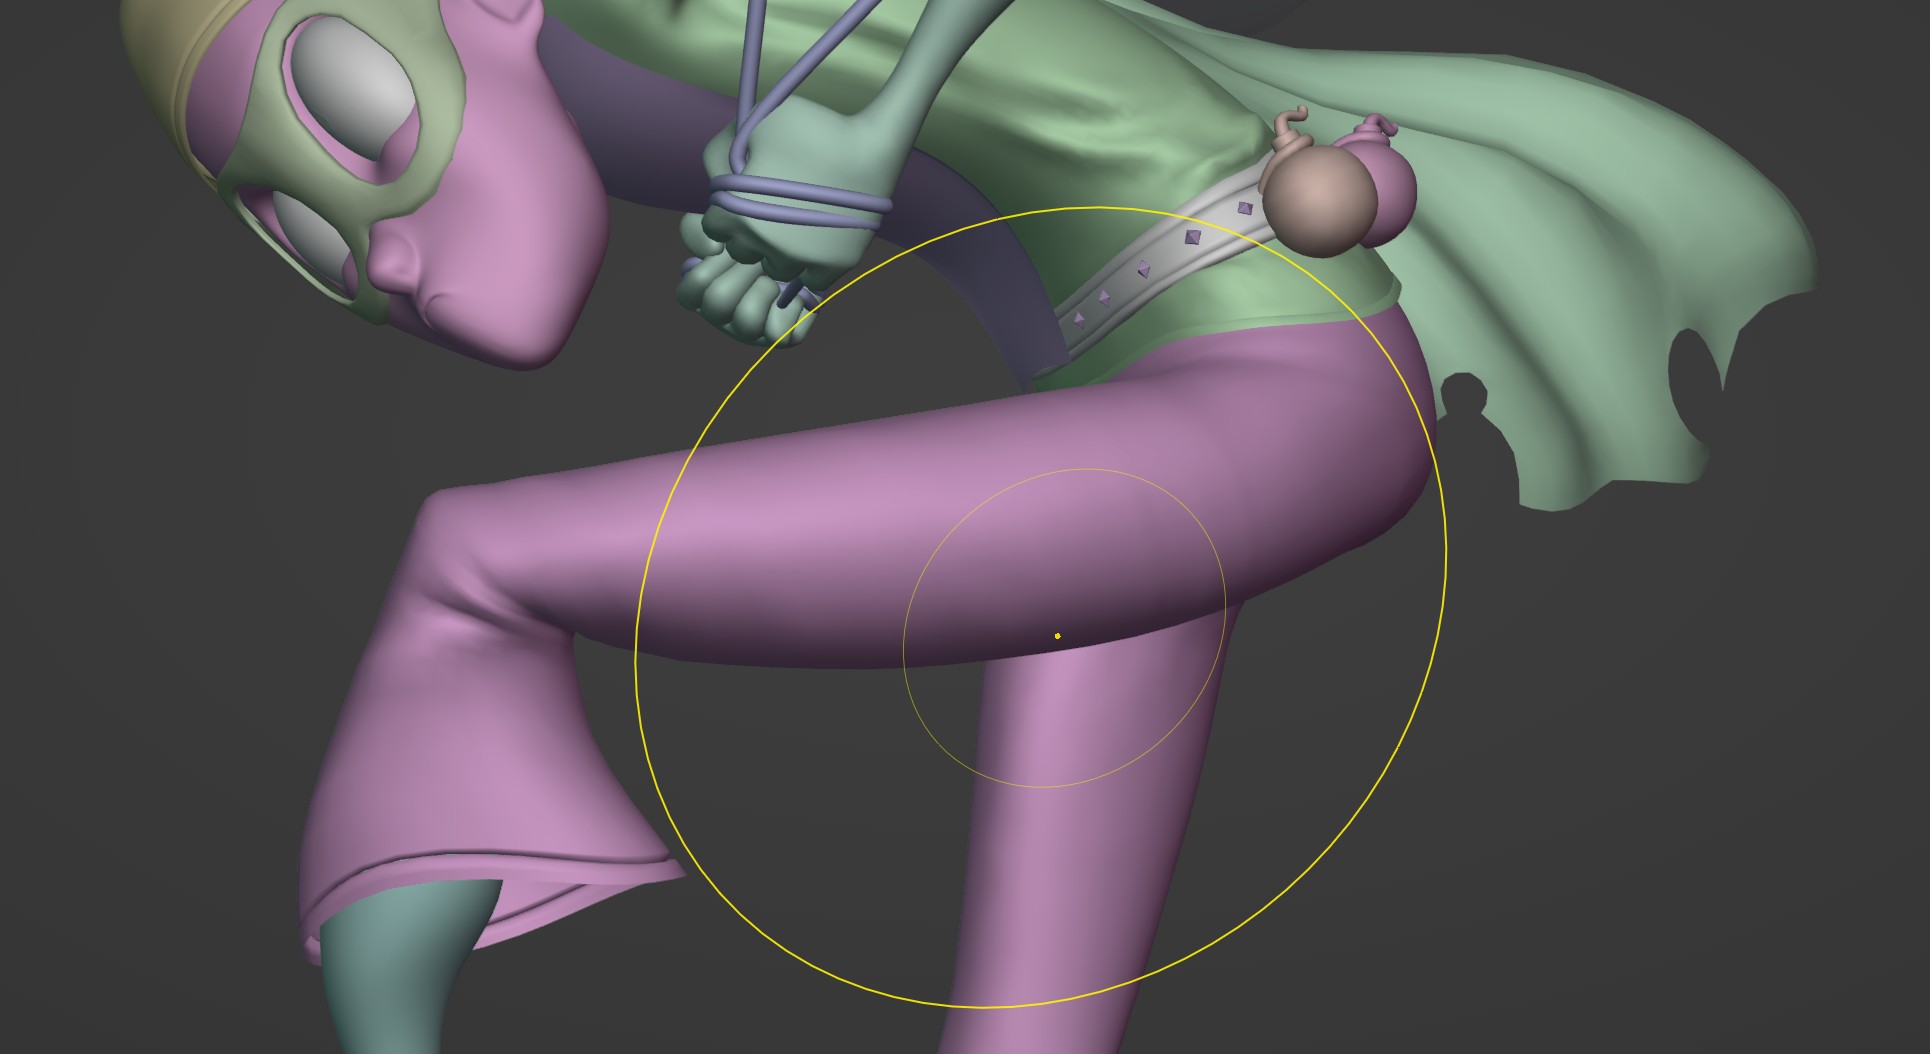
Preserves the object's silhouette shape by only grabbing vertices on one side of the mesh curvature. The shape of the silhouette is determined by the orientation of the 3D Viewport and the start of the stroke.

Note how in the image only the bottom side of the leg is pulled down, despite the size of the brush.
Tip
This setting is also useful for grabbing a single side of a crease and pushing it further inwards, creating a more pinched crease.
Additional Workflows
- 2D Grab Brush
If the Falloff Shape is set to Projected, the brush can grab infinitely deep into the viewport. This is especially useful for much broader changes to a sculpt.

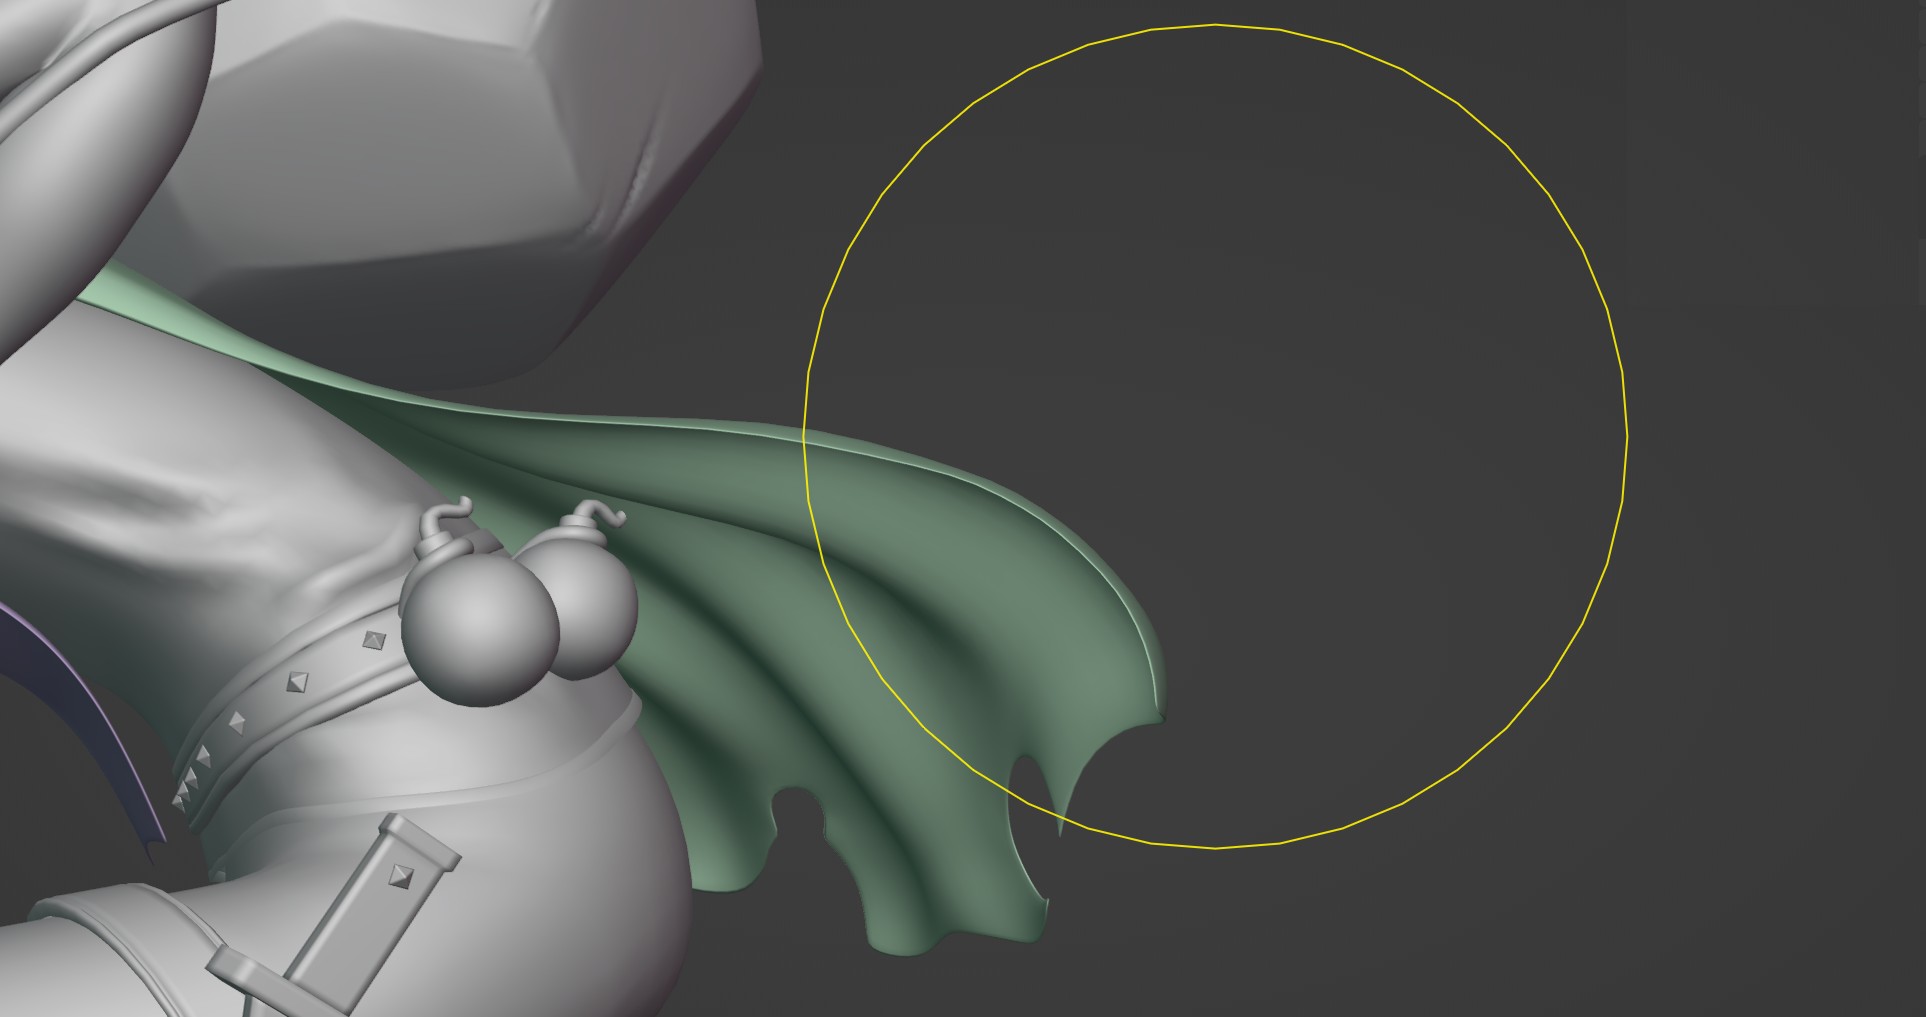
The stroke can also be started outside of the mesh (like in empty 3D space) and grab the vertices within the brush radius. This can be useful for sculpting flat and tube-like meshes.