Mask
Masking to control which areas of the mesh are influenced by sculpting.
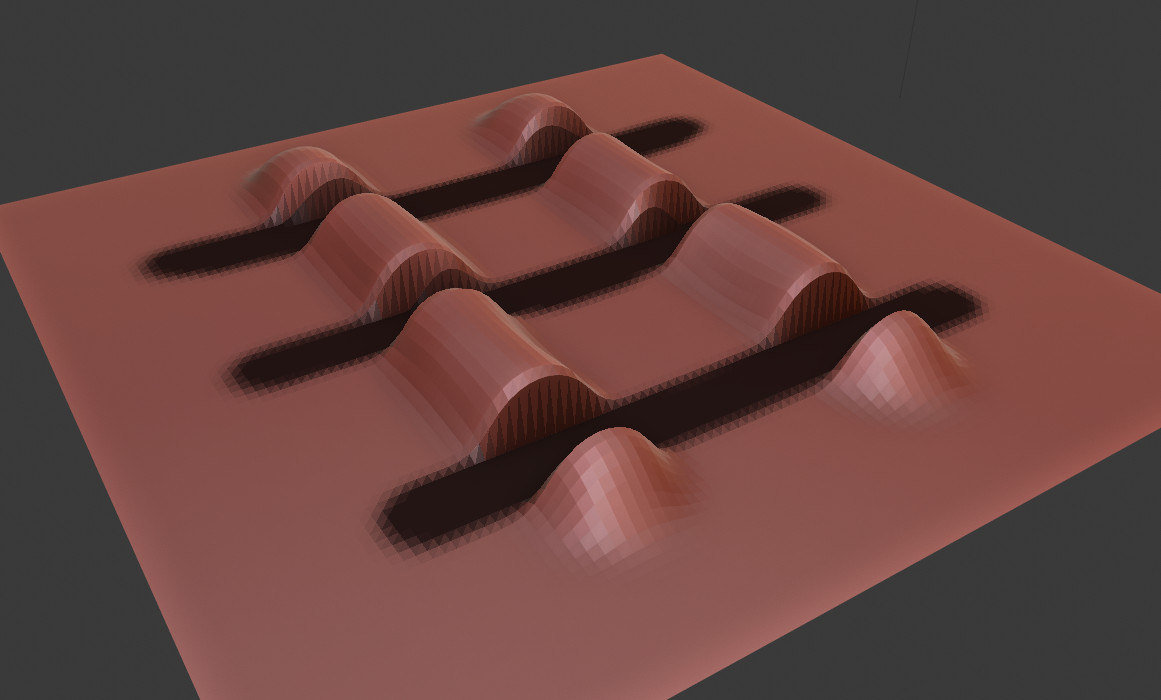
Black part is masked.
Brush
To edit the mask, select the Mask Brush from the Brush panel.
Édition
Référence
- Mode
Sculpt Mode
- Menu
Masks can be edited across the entire model. Using A opens a pie menu to choose different operations.
Invert Mask
Référence
- Mode
Sculpt Mode
- Menu
- Raccourci
Ctrl-I
Inverts an existing mask.
Fill Mask
Référence
- Mode
Sculpt Mode
- Menu
Fills the whole mask with a value of 1.
Clear Mask
Référence
- Mode
Sculpt Mode
- Menu
- Raccourci
Alt-M
Fills the mask with a value of 0. To completely remove the mask data, see Clear Sculpt-Mask Data.
Box Mask
Référence
- Mode
Sculpt Mode
- Menu
- Raccourci
B
Works like the Box Select tool, it creates a rectangular mask region. Hold Shift to clear the mask of the selected region.
Lasso Mask
Référence
- Mode
Sculpt Mode
- Menu
- Raccourci
Maj-Ctrl-LMB
Can be used to create a free-form mask, similar to the Lasso Select tool.
Astuce
To clear the mask of areas with the Lasso Mask tool, first invert the mask, apply the Lasso Mask, and then invert the mask back.
Mask Filters
Référence
- Mode
Sculpt Mode
- Menu
Mask filters are operations that are applied to the whole paint mask.
- Type
- Smooth/Sharpen Mask
Changes the crispness of the mask edge.
- Grow/Shrink Mask
Changes the size of the mask.
- Increase/Decrease Contrast
Augmenter/diminuer le contraste du masque.
- Iterations
The number of times that the filter is going to be applied.
- Auto Iteration Count
Use an automatic number of iterations based on the number of vertices of the sculpt.
Expand Mask by Topology
Référence
- Mode
Sculpt Mode
- Menu
- Raccourci
Maj-A
Creates a mask radiating outwards from the active vertex in a uniform manner.
Note
This operator is meant to be used interactively through the shortcut.
Hotkeys
- Invert
F Flips between expanding a positive mask (value of one) or a negative mask (value of zero). In the case of face sets, this option flips between including areas inside the masked area or areas outside the masked area.
- Toggle Preserve State
E Accumulates the new mask on top of the previous one instead of replacing it. For Face Sets, this creates Face Sets boundaries instead of replacing the existing Face Set.
- Toggle Gradient
G Enables linear gradient, creates a linear gradient of values from the origin to the current active vertex.
- Geodesic Recursive Step
R Generate a new Geodesic falloff from the boundary of the enabled vertices of the current falloff.
- Topology Recursive Step
Alt-R Generate a new topology flood fill falloff from the boundary of the enabled vertices of the current falloff.
- Move Origin
Spacebar Moves the initial vertex used for calculating the falloff.
- Geodesic Falloff
1 Utilise une atténuation basée sur les distances Geodesic entre la limite de l’arête et le sommet actif.
- Topology Falloff
2 Utilise une atténuation basée sur un remplissage par inondation utilisant des arêtes.
- Diagonals Falloff
3 Utilise une atténuation basée sur un remplissage par inondation à l’aide de diagonales et d’arêtes de polygones.
- Spherical Falloff
4 Uses a falloff based on the Euclidean distances from the edge boundary to the active vertex.
- Snap Expanded to Face Sets
Ctrl Isole la région développée jusqu’à la limite du jeu de faces sous le curseur.
- Loop Count Increase
W Augmenter le nombre de boucles ou d’itérations exécutées par l’opérateur ; l’utilisation de quatre boucles divisera le masque en quatre parties.
- Loop Count Decrease
Q Decrease the number of loops or iterations the operator is run; using four loops will split the mask into four parts.
- Toggle Brush Gradient
B Similar to linear gradient but uses the current brush Falloff to define the shape of the falloff.
- Texture Distortion Increase
Y Augmente la distance d’atténuation lors de l’utilisation d’une texture pour déformer la forme du masque.
- Texture Distortion Decrease
T Decreases the falloff distance when using a texture to distort the mask shape.
Utilisation
Textures
Textures can be used to affect the « strength » of the mask. This feature can be combined with loops and recursion to create really unique looking masks. To enable textures, you first need to create/select a texture to use, this is done by in the Properties editor’s Texture Properties. Next select the texture in the Texture Brush Settings, while there make sure to enable 3D Mapping. Now, you can use Y and T to increase or decrease the affect the texture has on the edge of the mask.
Expand Mask by Normals
Référence
- Mode
Sculpt Mode
- Menu
- Raccourci
Maj-Alt-A
Creates a mask radiating outwards from the active vertex while following the curvature of the mesh. This operator uses the same internal operator as Expand Mask by Topology meaning all the shortcuts and functionality works the same as that tool.
Note
This operator is meant to be used interactively through the shortcut.
Mask Extract
Référence
- Mode
Sculpt Mode
- Menu
Creates a duplicate mesh object based on masked geometry.
- Threshold (Seuil)
Valeur de masque minimale pour considérer le sommet comme valide pour extraire une face du maillage d’origine.
- Add Boundary Loop
Creates and extra boundary loop on the edges of the geometry, making it ready for adding a Subdivision Surface modifier later.
- Smooth Iterations
Itérations lisses appliquées au maillage extrait.
- Project to Sculpt
Projeter le maillage extrait sur l’objet de sculpture d’origine.
- Extract as Solid
Ajouter un Modificateur Solidify à l’objet maillé nouvellement créé.
Mask Slice
Référence
- Mode
Sculpt Mode
- Menu
Supprime les sommets masqués du maillage.
- Threshold (Seuil)
Valeur de masque minimale pour considérer le sommet comme valide pour extraire une face du maillage d’origine.
- Fill Holes
Remplit les trous concaves avec la géométrie qui aurait pu résulter de l’opération Mask Slice.
- Slice to New Object
Créer un nouvel objet à partir de la géométrie masquée.
Dirty Mask
Référence
- Mode
Sculpt Mode
- Menu
Generates a mask based on the geometry cavity and pointiness.
Random Mask
Référence
- Mode
Sculpt Mode
- Menu
Génère un masque avec des valeurs aléatoires pour l’ensemble de l’objet en fonction des différentes données de maillage.
- Per Vertex
Attribue une valeur de masque aléatoire à chaque sommet.
- Per Face Set
Attribue une valeur de masque aléatoire à chaque Jeu de faces.
- Per Loose Mask
Attribue une valeur de masque aléatoire à chaque partie disjointe du maillage.
Paramètres d’affichage
Référence
- Mode
Sculpt Mode
- Popover
L’affichage du masque peut être basculé sous forme de viewport overlay. Dans le calque popover, l’opacité de la superposition de masque peut être ajustée pour la rendre plus ou moins visible sur le maillage.
Clear Sculpt-Mask Data
Référence
- Mode
Object/Edit Mode
- Menu
Libère complètement le calque de données de masque du maillage. Bien que ce ne soit pas un avantage énorme, cela peut accélérer la sculpture si le masque n’est plus utilisé.