Stroke Menu
This page covers many of the tools in the Strokes menu. These are tools that work primarily on strokes, however, some also work with point selections.
Subdivide(細分化)
参照
- Mode(モード):
Edit Mode(編集モード)
- Menu(メニュー):
Stroke ‣ Subdivide
Subdivides the strokes by inserting points between the selected points.
- Number of Cuts(分割数)
実行する細分化の数。
- Selected Points
When enabled, limits the effect to only the selected points within the stroke.
Subdivide and Smooth
参照
- Mode(モード):
Edit Mode(編集モード)
- Menu(メニュー):
Stroke ‣ Subdivide and Smooth
Subdivides and smooths the strokes by inserting points between the selected points.
- Number of Cuts(分割数)
実行する細分化の数。
- Selected Points
When enabled, limits the effect to only the selected points within the stroke.
- Iterations(反復)
Number of times to repeat the procedure.
- Factor(係数)
The amount of the smoothness on subdivided points.
- Smooth Endpoints
Smooths the stroke's endpoints.
- Keep Shape(形を保持)
Preserves the strokes shape.
- Position(位置)
When enabled, the operator affect the points location.
- Radius(半径)
When enabled, the operator affect the points thickness.
- Opacity(不透明度)
When enabled, the operator affect the points strength (alpha).
Simplify
参照
- Mode(モード):
Edit Mode(編集モード)
- Menu(メニュー):
Stroke ‣ Simplify
Uses the RDP algorithm (Ramer-Douglas-Peucker algorithm) for points deletion. The algorithm tries to obtain a similar line shape with fewer points.
- Factor(係数)
Controls the amount of recursively simplifications applied by the algorithm.
Trim
参照
- Mode(モード):
Edit Mode(編集モード)
- Menu(メニュー):
Stroke ‣ Trim
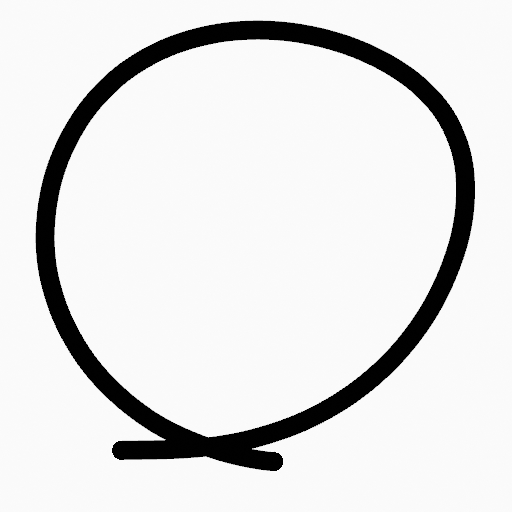
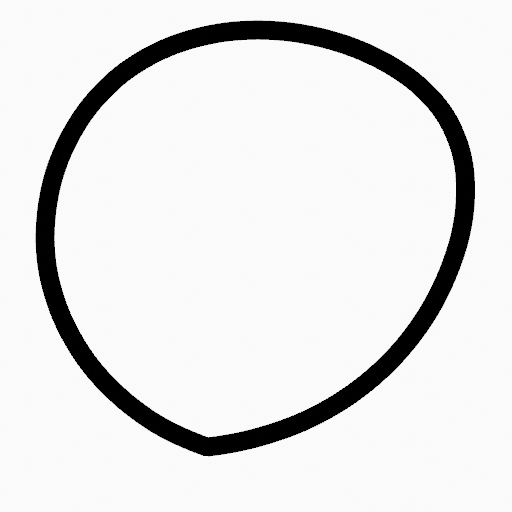
Trims selected stroke to first loop or intersection.
Join(統合)
Join(統合)
参照
- Mode(モード):
Edit Mode(編集モード)
- Menu(メニュー):
Stroke ‣ Join ‣ Join,
- ショートカットキー:
Ctrl-J
Join two or more strokes into a single one.
- Type(タイプ)
- Join(統合):
Join selected strokes by connecting points.
- Join and Copy:
Join selected strokes by connecting points in a new stroke.
- Leave Gaps
When enabled, do not use geometry to connect the strokes.
Join and Copy
参照
- Mode(モード):
Edit Mode(編集モード)
- Menu(メニュー):
Stroke ‣ Join ‣ Join and Copy
- ショートカットキー:
Shift-Ctrl-J
Same as Join(統合) but Type defaults to Join and Copy.
Move to Layer
参照
- Mode(モード):
Edit Mode(編集モード)
- Menu(メニュー):
Stroke ‣ Move to Layer
- ショートカットキー:
M
A pop-up menu to move the stroke to a different layer. You can choose the layer to move the selected strokes to from a list of layers of the current Grease Pencil object. You can also add a new layer to move the selected stroke to. When creating a new layer, there is another pop-up to type in the name of the new layer.
Assign Material
参照
- Mode(モード):
Edit Mode(編集モード)
- Menu(メニュー):
Stroke ‣ Assign Material
Changes the material linked to the selected stroke. You can choose the name of the material to be used by the selected stroke from a list of materials of the current Grease Pencil object.
Set as Active Material
参照
- Mode(モード):
Edit Mode(編集モード)
- Menu(メニュー):
Stroke ‣ Set as Active Material
Sets the active object material based on the selected stroke material.
Arrange
参照
- Mode(モード):
Edit Mode(編集モード)
- Menu(メニュー):
Stroke ‣ Arrange
Change the drawing order of the strokes in the 2D layer.
- Bring to Front
Moves to the top the selected points/strokes.
- Bring Forward
Moves the selected points/strokes upper the next one in the drawing order.
- Send Backward
Moves the selected points/strokes below the previous one in the drawing order.
- Send to Back
Moves to the bottom the selected points/strokes.
Close
参照
- Mode(モード):
Edit Mode(編集モード)
- Menu(メニュー):
Stroke ‣ Close
- ショートカットキー:
F
Close or open strokes by connecting the last and first point.
- Type(タイプ)
- Close All:
Close all open selected strokes.
- Open All:
Open all closed selected strokes.
- Toggle:
Close or Open selected strokes as required.
Toggle Cyclic(ループ切替え)
参照
- Mode(モード):
Edit Mode(編集モード)
- Menu(メニュー):
Stroke ‣ Toggle Cyclic
Toggles between an open stroke and closed stroke (cyclic).
- Type(タイプ)
- Close All:
Close all open selected strokes.
- Open All:
Open all closed selected strokes.
- Toggle:
Close or Open selected strokes as required.
Set Caps
参照
- Mode(モード):
Edit Mode(編集モード)
- Menu(メニュー):
Stroke ‣ Set Caps
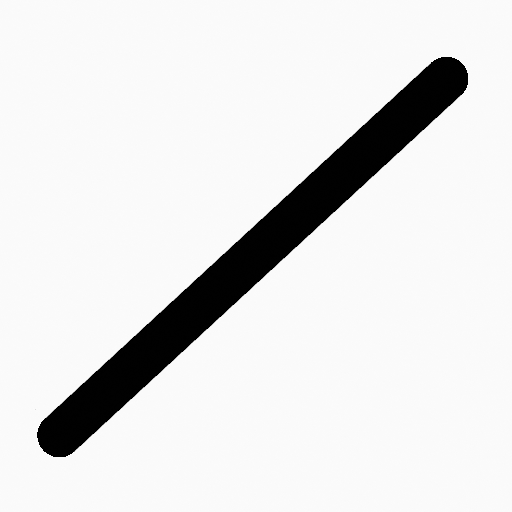
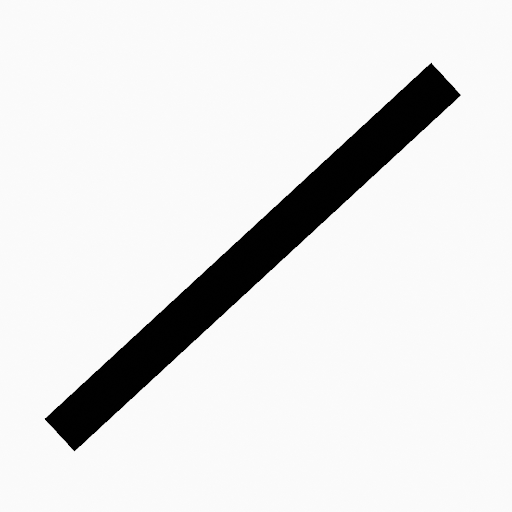
Toggle ending cap styles of the stroke.
- Rounded
Sets stroke start and end points to rounded (default).
- Flat(フラット)
Toggle stroke start and end points caps to flat or rounded.
- Toggle Start
Toggle stroke start point cap to flat or rounded.
- Toggle End
Toggle stroke end point cap to flat or rounded.
Switch Direction(向きを反転)
参照
- Mode(モード):
Edit Mode(編集モード)
- Menu(メニュー):
Stroke ‣ Switch Direction
Reverse the direction of the points in the selected strokes (i.e. the start point will become the end one, and vice versa).
Set Uniform Thickness
参照
- Mode(モード):
Edit Mode(編集モード)
- Menu(メニュー):
Stroke ‣ Set Uniform Thickness
Makes the thickness equal for the entire stroke.
- Thickness(幅)
Thickness value to use on all points of the stroke.
Set Uniform Opacity
参照
- Mode(モード):
Edit Mode(編集モード)
- Menu(メニュー):
Stroke ‣ Set Uniform Opacity
Makes the opacity equal for the entire stroke.
- Opacity(不透明度)
Opacity value to use on all points of the stroke.
Scale Thickness
参照
- Mode(モード):
Edit Mode(編集モード)
- Menu(メニュー):
Stroke ‣ Scale Thickness
When enabled, scales the stroke thickness during scale transformations.
Set Curve Type
参照
- Mode(モード):
Edit Mode(編集モード)
- Menu(メニュー):
Stroke ‣ Set Curve Type
Sets the spline type for the splines in the stroke component that are in the selection.
- Type(タイプ)
選択範囲のスプラインをどのタイプに変換するか。さまざまなスプラインタイプの詳細については、Spline Types(スプラインタイプ) のページを参照してください。
- Bézier(ベジエ):
Convert to a Bézier spline. A spline converted from a poly spline gets vector handles, while one converted from NURBS or Catmull Rom spline gets auto handles.
注釈
NURBSスプラインからベジエスプラインに変換する場合、少なくとも6つのポイントが必要です。ポイントの数が3の倍数でない場合、完全な変換は不可能であり、スプラインを切り詰める必要があります。
- NURBS:
NURBSスプラインに変換します。
- Poly(多角形):
ポリスプラインに変換します。
- Catmull Rom:
Convert to a Catmull Rom spline.
- Handles(ハンドル)
Take handle information into account in the conversion
Set Curve Resolution
参照
- Mode(モード):
Edit Mode(編集モード)
- Menu(メニュー):
Stroke ‣ Set Curve Resolution
Sets the number of points generated along each curve segment (between two handles).
Reset UVs
参照
- Mode(モード):
Edit Mode(編集モード)
- Menu(メニュー):
Stroke ‣ Set Curve Resolution
Reset UV transformation to default values.


