Object
Visibility
Référence
- Panneau
Voir aussi
Il y a plusieurs autres propriétés visibilité générale.
- Mask
- Shadow Catcher
Enables the object to only receive shadow rays. It is to be noted that, shadow catcher objects will interact with other CG objects via indirect light interaction. This simplifies compositing CGI elements into real-world footage.
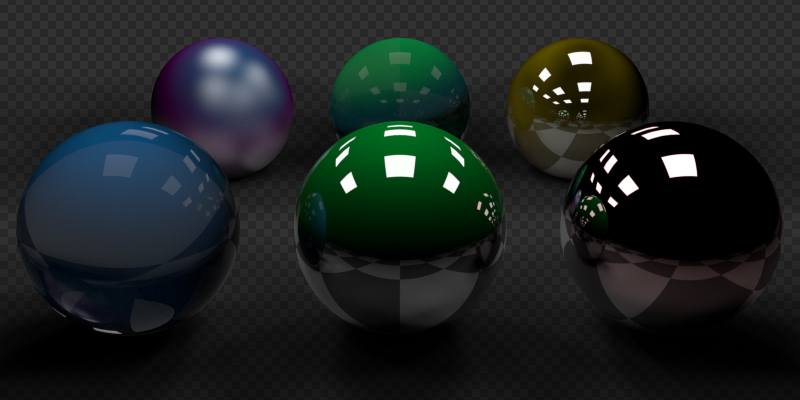
Exemple du shadow catcher. Notez la manière dont le matériau du plan peut encore être visualisé dans les sphères.
- Holdout
Render objects as a holdout or matte, creating a hole in the image with zero Alpha, to fill out in compositing with real footage or another render.
Ray Visibility
Objects can be set to be invisible to particular ray types. This can be used, for example, to make an emitting mesh invisible to camera rays. For instanced objects, visibility is inherited; if the parent object is hidden for some ray types, the children will be hidden for these too.
In terms of performance, using these options is more efficient that using a shader node setup that achieves the same effect. Objects invisible to a certain ray will be skipped in ray traversal already, leading to fewer ray casts and shader executions.
- Camera
Rend l’objet visible dans les rayons de la caméra.
- Diffuse
Rend l’objet visible dans les rayons diffus.
- Glossy
Rend l’objet visible dans les rayons brillants.
- Transmission
Rend l’objet visible dans les rayons de transmission.
- Volume Scatter
Rend l’objet visible dans les rayons de transmission.
- Shadow
Permet à l’objet de jeter des ombres.
Culling
Pour activer ces options, les options camera cull doivent être activées dans le :ref:`panneau simplify <render-cycles-settings-scene-simplify>`_ de la scène.
- Use Camera Cull
Ignorer et cette manière rend les objets invisibles aux rayons hors du frustrum de caméra.
- Use Distance Cull
Va éliminer tout objet plus loin d’une certaine distance de la caméra. utilisé en combinaison avec le camera frustum culling, ceci peut être utilisé pour éviter d’éliminer des objets proches qui sont hors du champ de la caméra, mais encore visibles dans les réflexions. C’est aussi utile d’éliminer les petits objets éloignés de la caméra.
Motion Blur (flou de mouvement)
Référence
- Panneau
Each object has its own motion blur settings along with the Scene Level Motion Blur These settings can be found in the Object Properties tab of the Properties.
- Steps
Controls accuracy of deformation motion blur, more steps uses more memory. The actual number of time steps is \(2^{steps -1}\).
- Deformation
Active le flou de mouvement pour les maillages déformés tels que les personnages animés, y compris les cheveux.
Avertissement
An object modifier setup that changes mesh topology over time can not render deformation motion blur correctly. Deformation blur should be disabled for such objects. Common examples of this are animated Booleans, Deformation before Edge Split, Remesh, Skin or Decimate modifiers.
Shading
Référence
- Panneau
- Shadow Terminator Offset
Pushes the shadow terminator (the line that divides the light and dark) towards the light to hide artifacts on low-poly geometry such as the ones below:
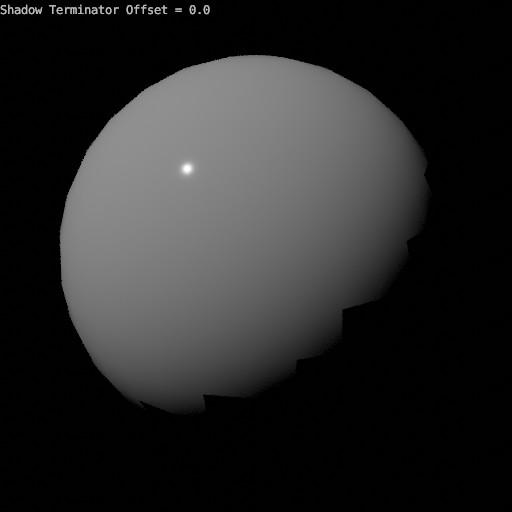
Shadow Terminator Artifacts.
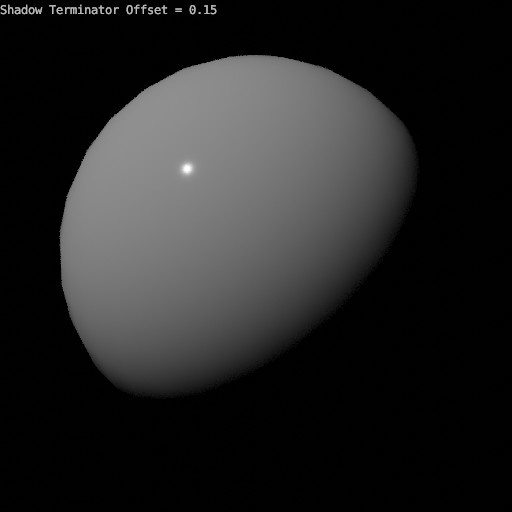
Result of using an offset of 0.15.
Note
This property artificially alters the scene’s lighting and is not energy conserving and consequently not physically accurate.