Mask (Màn Chắn)
Masking to control which areas of the mesh are influenced by sculpting.
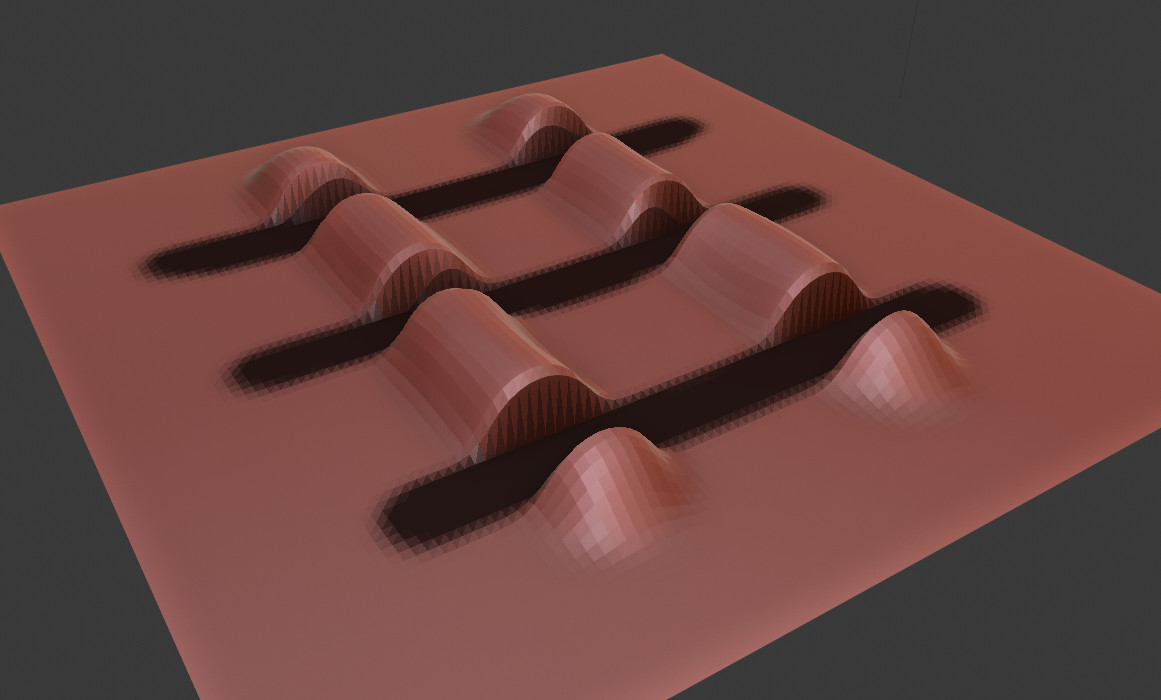
Black part is masked.
Đầu Bút (Brush)
To edit the mask, select the Mask Brush from the Brush panel.
Biên Soạn (Editing)
Tham Chiếu (Reference)
- Chế Độ (Mode)
Chế Độ Điêu Khắc (Sculpt Mode)
- Trình Đơn (Menu)
Masks can be edited across the entire model. Using A opens a pie menu to choose different operations.
Đảo Nghịch Màn Chắn (Invert Mask)
Tham Chiếu (Reference)
- Chế Độ (Mode)
Chế Độ Điêu Khắc (Sculpt Mode)
- Trình Đơn (Menu)
- Tổ Hợp Phím Tắt (Shortcut)
Ctrl-I
Inverts an existing mask.
Tô Kín Màn Chắn (Fill Mask)
Tham Chiếu (Reference)
- Chế Độ (Mode)
Chế Độ Điêu Khắc (Sculpt Mode)
- Trình Đơn (Menu)
Fills the whole mask with a value of 1.
Xóa Màn Chắn (Clear Mask)
Tham Chiếu (Reference)
- Chế Độ (Mode)
Chế Độ Điêu Khắc (Sculpt Mode)
- Trình Đơn (Menu)
- Tổ Hợp Phím Tắt (Shortcut)
Alt-M
Fills the mask with a value of 0. To completely remove the mask data, see Clear Sculpt-Mask Data.
Màn Chắn Hình Hộp (Box Mask)
Tham Chiếu (Reference)
- Chế Độ (Mode)
Chế Độ Điêu Khắc (Sculpt Mode)
- Trình Đơn (Menu)
- Tổ Hợp Phím Tắt (Shortcut)
B
Works like the Box Select tool, it creates a rectangular mask region. Hold Shift to clear the mask of the selected region.
Màn Chắn Hình Dây Thòng Lọng (Lasso Mask)
Tham Chiếu (Reference)
- Chế Độ (Mode)
Chế Độ Điêu Khắc (Sculpt Mode)
- Trình Đơn (Menu)
- Tổ Hợp Phím Tắt (Shortcut)
Shift-Ctrl-NCT (LMB)
Can be used to create a free-form mask, similar to the Lasso Select tool.
Mẹo
To clear the mask of areas with the Lasso Mask tool, first invert the mask, apply the Lasso Mask, and then invert the mask back.
Các Bộ Lọc cho Màn Chắn (Mask Filters)
Tham Chiếu (Reference)
- Chế Độ (Mode)
Chế Độ Điêu Khắc (Sculpt Mode)
- Trình Đơn (Menu)
Mask filters are operations that are applied to the whole paint mask.
- Thể Loại (Type)
- Làm Mịn Màng/làm Sắc Nét Màn Chắn (Smooth/Sharpen Mask)
Changes the crispness of the mask edge.
- Tăng Lớn/Thu Nhỏ Màn Chắn (Grow/Shrink Mask)
Changes the size of the mask.
- Gia Tăng/Giảm Mức Tương Phản (Increase/Decrease Contrast)
Thay đổi độ tương phản của màn chắn.
- Số Lần Lặp Lại (Iterations)
The number of times that the filter is going to be applied.
- Số Lần Lặp Lại Tự Động (Auto Iteration Count)
Use an automatic number of iterations based on the number of vertices of the sculpt.
Mở Rộng Màn Chắn theo Cấu Trúc Liên Kết (Expand Mask by Topology)
Tham Chiếu (Reference)
- Chế Độ (Mode)
Chế Độ Điêu Khắc (Sculpt Mode)
- Trình Đơn (Menu)
- Tổ Hợp Phím Tắt (Shortcut)
Shift-A
Creates a mask radiating outwards from the active vertex in a uniform manner.
Ghi chú
This operator is meant to be used interactively through the shortcut.
Phím Nóng (Hotkeys)
- Confirm
LMB Confirms the action of the operator.
- Cancel
Esc/RMB Cancels the action of the operator.
- Đảo Nghịch (Invert)
F Flips between expanding a positive mask (value of one) or a negative mask (value of zero). In the case of face sets, this option flips between including areas inside the masked area or areas outside the masked area.
- Bật/Tắt Bảo Tồn Trạng Thái (Toggle Preserve State)
E Accumulates the new mask on top of the previous one instead of replacing it. For Face Sets, this creates Face Sets boundaries instead of replacing the existing Face Set.
- Bật/Tắt Dốc Màu (Toggle Gradient)
G Enables linear gradient, creates a linear gradient of values from the origin to the current active vertex.
- Tiến Bước Đệ Quy Trắc Địa (Geodesic Recursive Step)
R Generate a new Geodesic falloff from the boundary of the enabled vertices of the current falloff.
- Bước Đệ Quy Cấu Trúc Liên Kết (Topology Recursive Step)
Alt-R Generate a new topology flood fill falloff from the boundary of the enabled vertices of the current falloff.
- Di Chuyển Tọa Độ Gốc (Move Origin)
Spacebar Moves the initial vertex used for calculating the falloff.
- Suy Giảm Dần Trắc Địa (Geodesic Falloff)
1 Sử dụng suy giảm dần dựa trên Geodesic (Trắc Địa) từ ranh giới cạnh đến điểm đỉnh đang hoạt động.
- Suy Giảm Dần theo Cấu Trúc Liên Kết (Topology Falloff)
2 Sử dụng suy giảm dần dựa trên tô phủ tràn kín dùng các cạnh.
- Suy Giảm Dần Chéo Góc (Diagonals Falloff)
3 Sử dụng suy giảm dần dựa trên tô phủ tràn kín dùng các đường chéo và cạnh của đa giác.
- Nhòe Mờ Dần Hình Cầu (Spherical Falloff)
4 Uses a falloff based on the Euclidean distances from the edge boundary to the active vertex.
- Bám Dính vùng Mở Rộng vào các Bề Mặt Ấn Định (Snap Expanded to Face Sets)
Ctrl Cô lập vùng mở rộng trong ranh giới của bề mặt ấn định nằm dưới con trỏ.
- Tăng Số Vòng Tuần Hoàn (Loop Count Increase)
W Increase the number of loops or iterations the operator is run; using four loops will split the mask into 4 parts.
- Giảm Số Vòng Tuần Hoàn (Loop Count Decrease)
Q Decrease the number of loops or iterations the operator is run; using four loops will split the mask into 4 parts.
- Bật/Tắt Dốc Màu của Đầu Bút (Toggle Brush Gradient)
B Similar to linear gradient but uses the current brush Falloff to define the shape of the falloff
- Tăng Biến Dạng Chất Liệu (Texture Distortion Increase)
Y Tăng lên khoảng cách suy giảm dần khi sử dụng chất liệu để làm biến dạng hình dạng màn chắn.
- Giảm Biến Dạng Chất Liệu (Texture Distortion Decrease)
T Decreases the falloff distance when using a texture to distort the mask shape.
Cách Sử Dụng (Usage)
Chất Liệu (Textures)
Textures can be used to affect the "strength" of the mask. This feature can be combined with loops and recursion to create really unique looking masks. To enable textures, you first need to create/select a texture to use, this is done by in the Properties editor's Texture Properties. Next select the texture in the Texture Brush Settings, while there make sure to enable 3D Mapping. Now, you can use Y and T to increase or decrease the affect the texture has on the edge of the mask.
Mở Rộng Màn Chắn theo Pháp Tuyến (Expand Mask by Normals)
Tham Chiếu (Reference)
- Chế Độ (Mode)
Chế Độ Điêu Khắc (Sculpt Mode)
- Trình Đơn (Menu)
- Tổ Hợp Phím Tắt (Shortcut)
Shift-Alt-A
Creates a mask radiating outwards from the active vertex while following the curvature of the mesh. This operator uses the same internal operator as Mở Rộng Màn Chắn theo Cấu Trúc Liên Kết (Expand Mask by Topology) meaning all the hotkeys and functionality works the same as that tool.
Ghi chú
This operator is meant to be used interactively through the shortcut.
Trích Xuất Màn Chắn (Mask Extract)
Tham Chiếu (Reference)
- Chế Độ (Mode)
Chế Độ Điêu Khắc (Sculpt Mode)
- Trình Đơn (Menu)
Creates a duplicate mesh object based on masked geometry.
- Ngưỡng (Threshold)
Giá trị màn chắn tối thiểu để cân nhắc điểm đỉnh là hợp lệ, hòng trích xuất bề mặt ra khỏi khung lưới gốc.
- Thêm Vòng Mạch Ranh Giới (Add Boundary Loop)
Creates and extra boundary loop on the edges of the geometry, making it ready for adding a Subdivision Surface modifier later.
- Số Lần Làm Mịn (Smooth Iterations)
Số lần tái lặp quá trình làm mịn để áp dụng vào khung lưới trích xuất.
- Phóng Chiếu vào Bản Điêu Khắc (Project to Sculpt)
Phóng chiếu khung lưới đã trích xuất lên đối tượng điêu khắc ban đầu.
- Trích Xuất thành Khối Đặc (Extract as Solid)
Cho thêm Bộ Điều Chỉnh Đắp Dày (Solidify Modifier) vào đối tượng khung lưới mới được sinh tạo ra.
Cắt Rời Vùng Chắn Lọc (Mask Slice)
Tham Chiếu (Reference)
- Chế Độ (Mode)
Chế Độ Điêu Khắc (Sculpt Mode)
- Trình Đơn (Menu)
Xóa các điểm đỉnh đã được chắn lọc khỏi khung lưới.
- Ngưỡng (Threshold)
Giá trị màn chắn tối thiểu để cân nhắc điểm đỉnh là hợp lệ, hòng trích xuất bề mặt ra khỏi khung lưới gốc.
- Lấp Lỗ Hổng (Fill Holes)
Lấp đầy các lỗ hổng lõm bằng hình học có thể xảy ra do kết quả của thao tác "Cắt Rời Vùng Chắn Lọc".
- Cắt Rời thành Đối Tượng Mới (Slice to New Object)
Tạo một đối tượng mới từ hình học màn chắn.
Dirty Mask
Tham Chiếu (Reference)
- Chế Độ (Mode)
Chế Độ Điêu Khắc (Sculpt Mode)
- Trình Đơn (Menu)
Generates a mask based on the geometry cavity and pointiness.
Màn Chắn Ngẫu Nhiên (Random Mask)
Tham Chiếu (Reference)
- Chế Độ (Mode)
Chế Độ Điêu Khắc (Sculpt Mode)
- Trình Đơn (Menu)
Sinh tạo màn chắn với các giá trị ngẫu nhiên cho toàn bộ đối tượng dựa trên dữ liệu khung lưới khác nhau.
- Mỗi Điểm Đỉnh (Per Vertex)
Ấn định một giá trị màn chắn ngẫu nhiên cho mỗi điểm đỉnh.
- Mỗi Bề Mặt Ấn Định (Per Face Set)
Ấn định một giá trị màn chắn ngẫu nhiên cho mỗi Bề Mặt Ấn Định (Face Set).
- Từng Màn Chắn Lọc Rời Rạc một (Per Loose Mask)
Ấn định một giá trị màn chắn ngẫu nhiên cho từng phần rời rạc của khung lưới.
Sắp Đặt về Hiển Thị (Display Settings)
Tham Chiếu (Reference)
- Chế Độ (Mode)
Chế Độ Điêu Khắc (Sculpt Mode)
- Bật Đè Lên Trên (Popover)
Sự hiển thị màn chắn có thể được chuyển thành lớp vẽ lồng của cổng nhìn (viewport overlay). Trong cửa sổ bật lên vẽ lồng, độ đục của lớp vẽ lồng màn chắn có thể được điều chỉnh, làm cho nó hiển thị rõ hơn, hoặc mờ hơn, trên khung lưới.
Xóa Dữ Liệu Màn Chắn Điêu Khắc (Clear Sculpt-Mask Data)
Tham Chiếu (Reference)
- Chế Độ (Mode)
Chế Độ Đối Tượng/Biên Soạn
- Trình Đơn (Menu)
Phóng thích toàn bộ tầng lớp dữ liệu màn chắn ra khỏi khung lưới. Mặc dù cái này không mang lại lợi ích lớn lắm, song chức năng này có thể tăng tốc độ điêu khắc lên nếu không sử dụng màn chắn nữa.