Introducción
The first step is to unwrap your mesh. You want to unwrap when you feel your mesh is complete with respect to the number of faces it needs to have. If you do add faces or subdivide existing faces when a model is already unwrapped, Blender will add those new faces for you, but you may need to do additional mapping or editing. In this fashion, you can use the UV texture image to guide additional geometry changes.
Acerca de las UV
Every point in the UV map corresponds to a vertex in the mesh. The lines joining the UVs correspond to edges in the mesh. Each face in the UV map corresponds to a mesh face.
Each face of a mesh can have many UV textures. Each UV texture can have an individual image assigned to it. When you unwrap a face to a UV texture in the UV Editor, each face of the mesh is automatically assigned four UV coordinates: These coordinates define the way an image or a texture is mapped onto the face. These are 2D coordinates, which is why they are called UV, to distinguish them from XYZ coordinates. These coordinates can be used for rendering or for real-time viewport display as well.
Cada cara en Blender puede tener un enlace a una imagen diferente. Las coordenadas UV definen cómo se mapea esta imagen en la cara. Esta imagen se puede renderizar o mostrar en tiempo real. Una vista 3D debe estar en el modo «Selección de Cara» para poder asignar imágenes o cambiar las coordenadas UV del objeto de malla activo. Esto permite que una cara participe en muchas texturas UV. Una cara en la línea del cabello de un personaje podría participar en la textura UV facial, y en la textura UV del cuero cabelludo/cabello.
Estos se describen con más detalle en las siguientes secciones.
Primeros Pasos
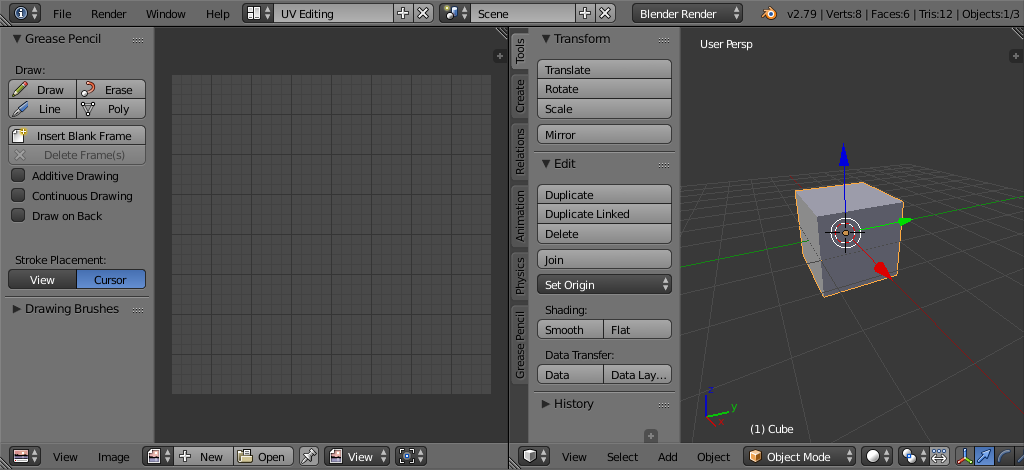
UV Editing screen layout.
Por defecto, las mallas no se crean con UV. Primero debe mapear las caras, luego puede editarlas. El proceso de desplegar su modelo se realiza dentro del Modo Edición en la Vista 3D. Este proceso crea una o más islas UV en el Editor UV.
Para comenzar, elija el espacio de trabajo UV Editing de la lista de selección en la parte superior de su pantalla en el encabezado de Preferencias. Esto configura una de las áreas para mostrarle el Editor UV y la otra área para la Vista 3D.
Ingrese al Modo Edición, ya que todo despliegue se realiza en el Modo Edición. Puede estar en el modo de selección de vértice, cara o arista.
Flujo de Trabajo
The process for unwrapping is straightforward, but there are a lot of options available, each of which dramatically affect the outcome of the unwrap. By understanding the meaning behind the options, you will become more efficient at unwrapping.
The process is:
Mark Seams if necessary.
Select all of the mesh components.
Select a UV mapping method from the UV Unwrap menu.
Adjust the unwrap settings.
Agregue una imagen de prueba para ver si habrá alguna distorsión. Consulte Aplicando imágenes a UV.
Ajuste los UV en el editor UV. Vea Editar UVs.